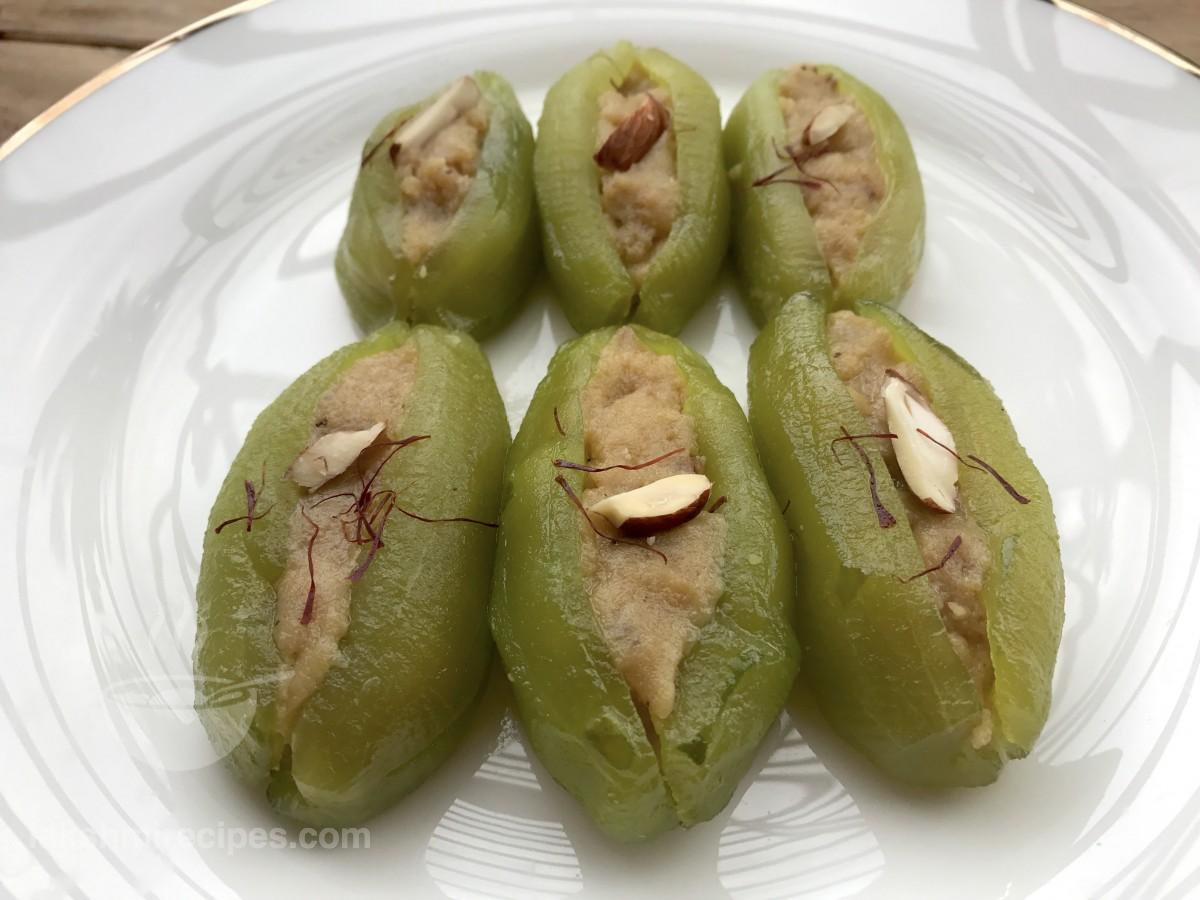
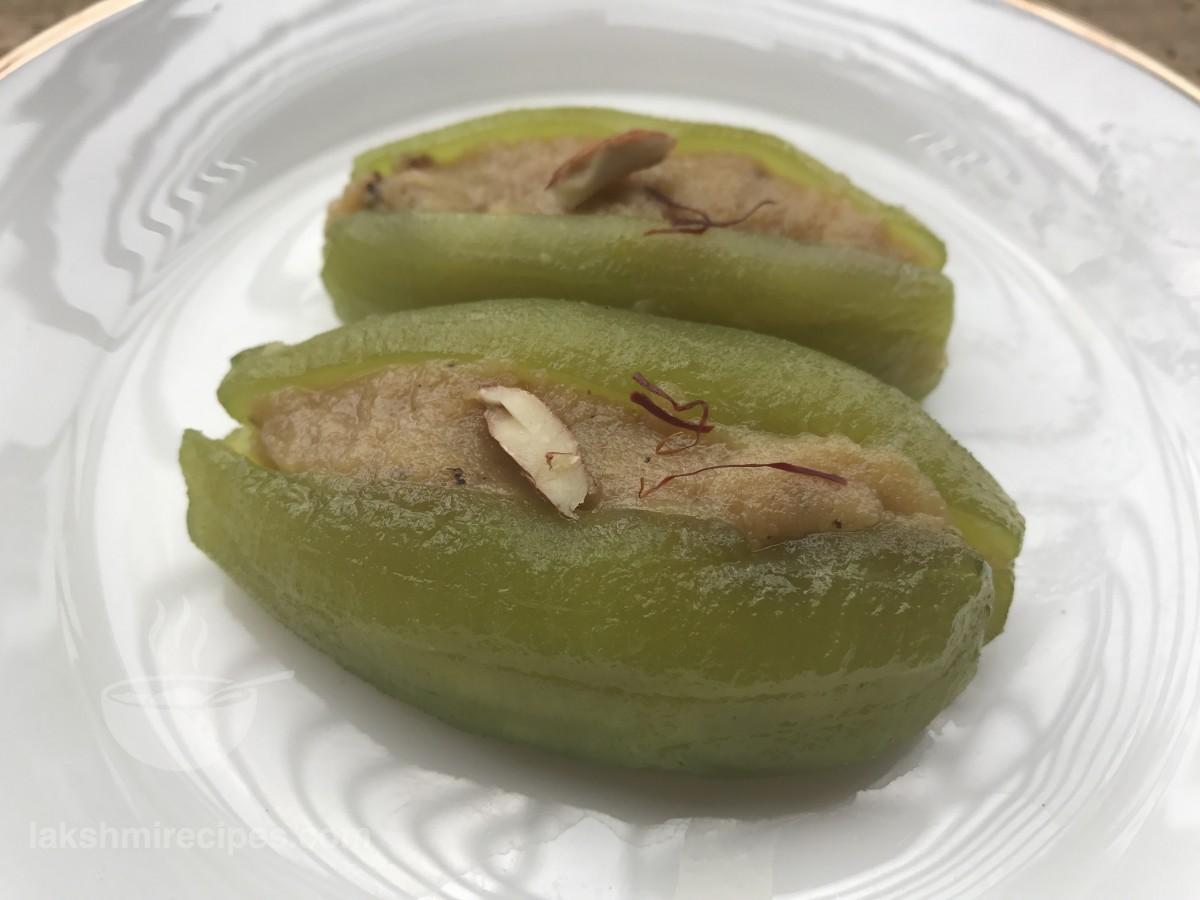
Parwal ki Mithai is a famous and beautiful looking dessert commonly made in East India. Sweet and juicy parwals stuffed with creamy mawa together make a palatable dish for special and festivals. It is easy to make and looks beautiful when garnished with saffron and dry-fruits.
Make fresh Parwal Ki Mithai for your guests and family in your kitchen with the help of an easy and detailed recipe given below:
Preparation Time: 10 minutes
Cooking Time: 10-15 minutes boil + 10-15 minutes for cooking parwal in chashini and preparing the stuffing + 10 minutes for cooling + 5 minutes for filling the mawa or khoya stuffing in the pointed gourds or parwal
Recipe Yield: 7 servings
Ingredients for making Parwal Ki Mithai:
- Poited Gourds or Parwal - 7; (परवल)
- Mawa or Khoya - 200 gms; (मावा या खोया)
- Sugar - 80 gms or 1 small cup; (चीनी)
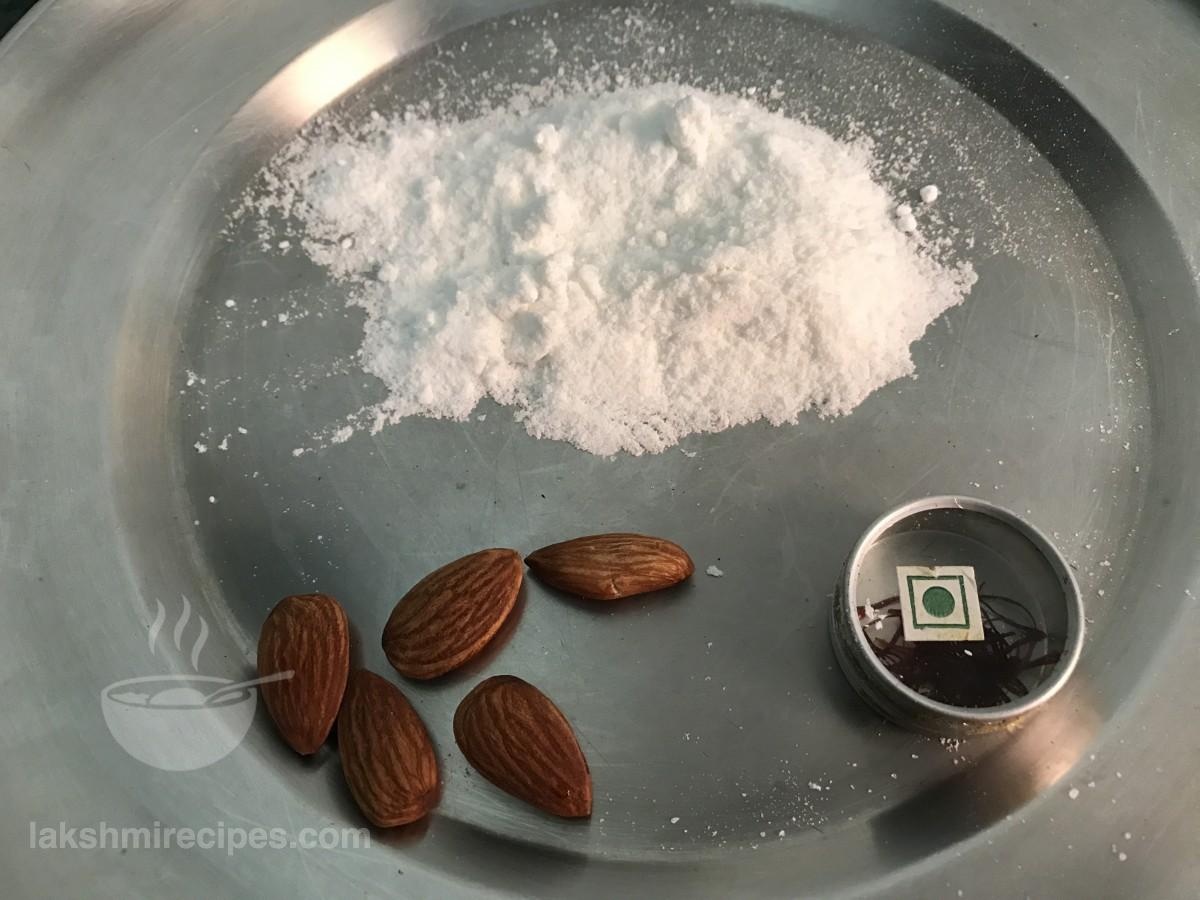
- Powdered Sugar - 1 table spoon; (पिसी हुई चीनी)
- For Garnishing:
- Dry fruits: (ड्राई-फ्रूट्स)
- Almonds - 5-6
- Saffron Strands - as per requirement; (केसर)
- Dry fruits: (ड्राई-फ्रूट्स)
- Small Cardamom - 1; (छोटी इलायची)
Procedure for making Parwal Ki Mithai:
- Take 4 big sized pointed gourds or parwal and peel off their skin nicely. Then chop off both the pointed ends of all the 4 pointed gourds or parwal.
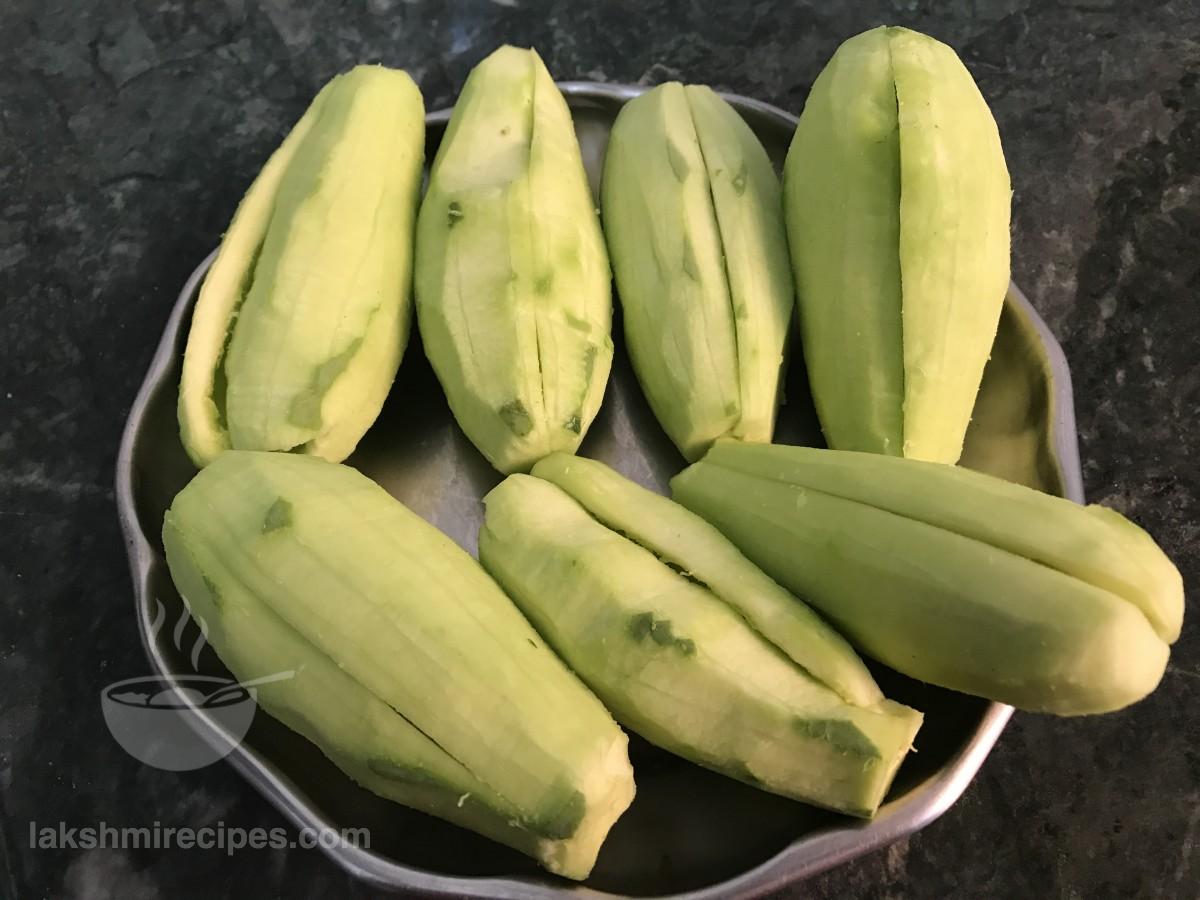
- Now take one pointed gourd or parwal, and make one cut along its length (as shown in the image below). Then take out the flesh and seeds of the pointed gourd or parwal, from its inside with the help of a knife. Make sure that there is no seed or flesh left inside, otherwise the Parwal ki Mithai will not taste good. Prepare the remaining pointed gourds or parwal in the same manner. Check with your hands that the pointed gourds or parwal are clean and hollow from inside.
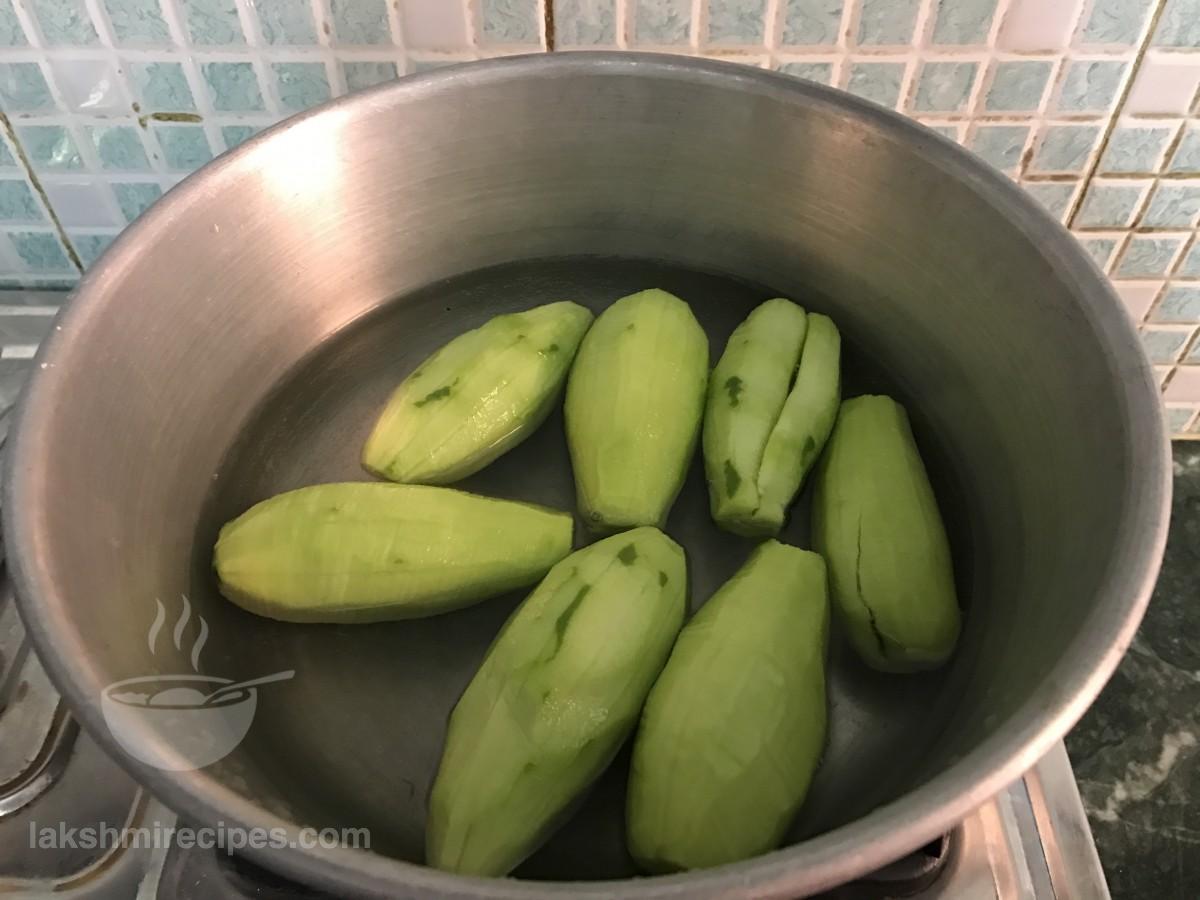
- Now take a deep vessel and transfer th pointed gourds or parwal to it.
- Then fill this vessel with water so that the pointed gourds or parwal are completely submerged in it.
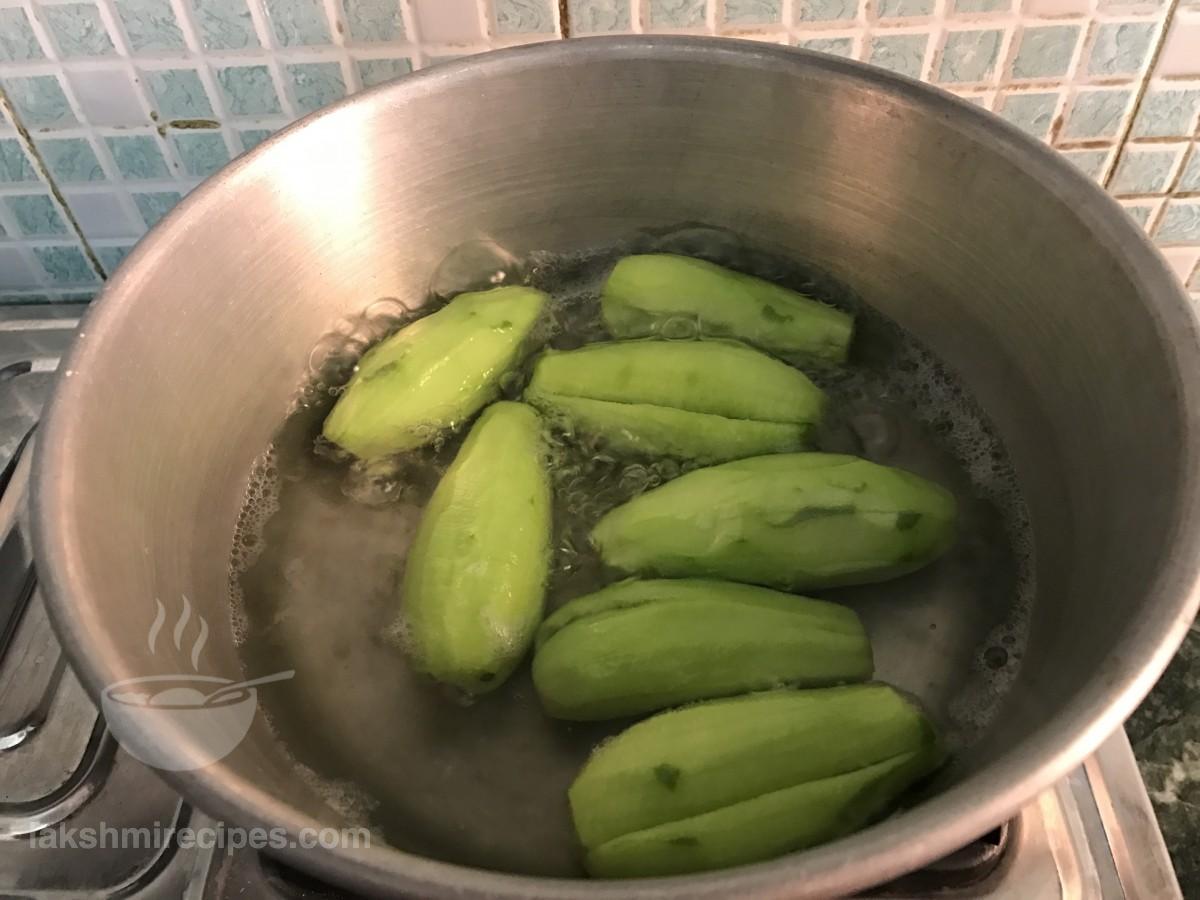
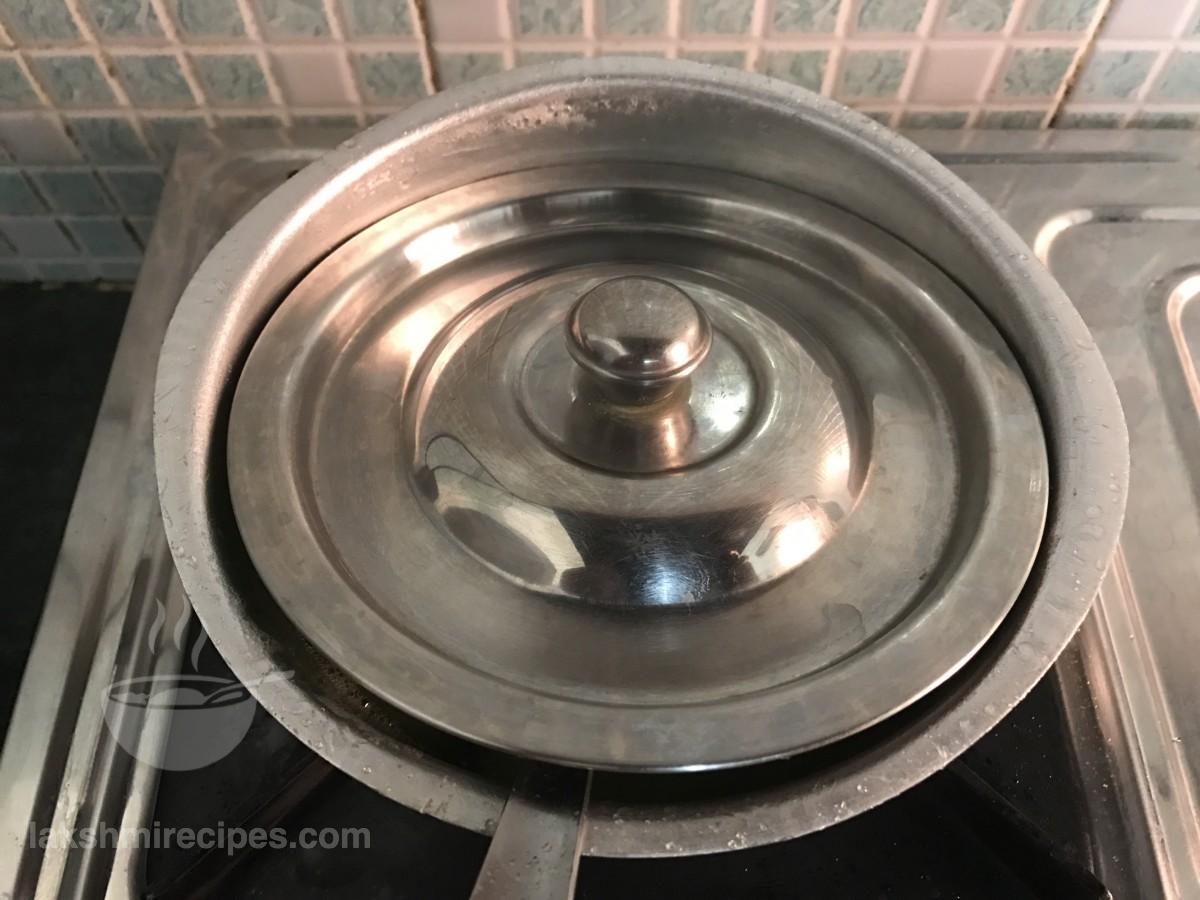
- Now set ingredients to boil. When the water comes to a boil, then lower the flame to medium level and let the pointed gourds or parwal in the boiling water for 10-15 minutes.
- Check the pointed gourds or parwal at regular intervals. Cook the pointed gourds or parwal like this until they are 90% cooked. We shall cook the remaining 10% in sugar syrup.
- When the pointed gourds or parwal are 90% cooked then removed them from the boiling water to a plate.
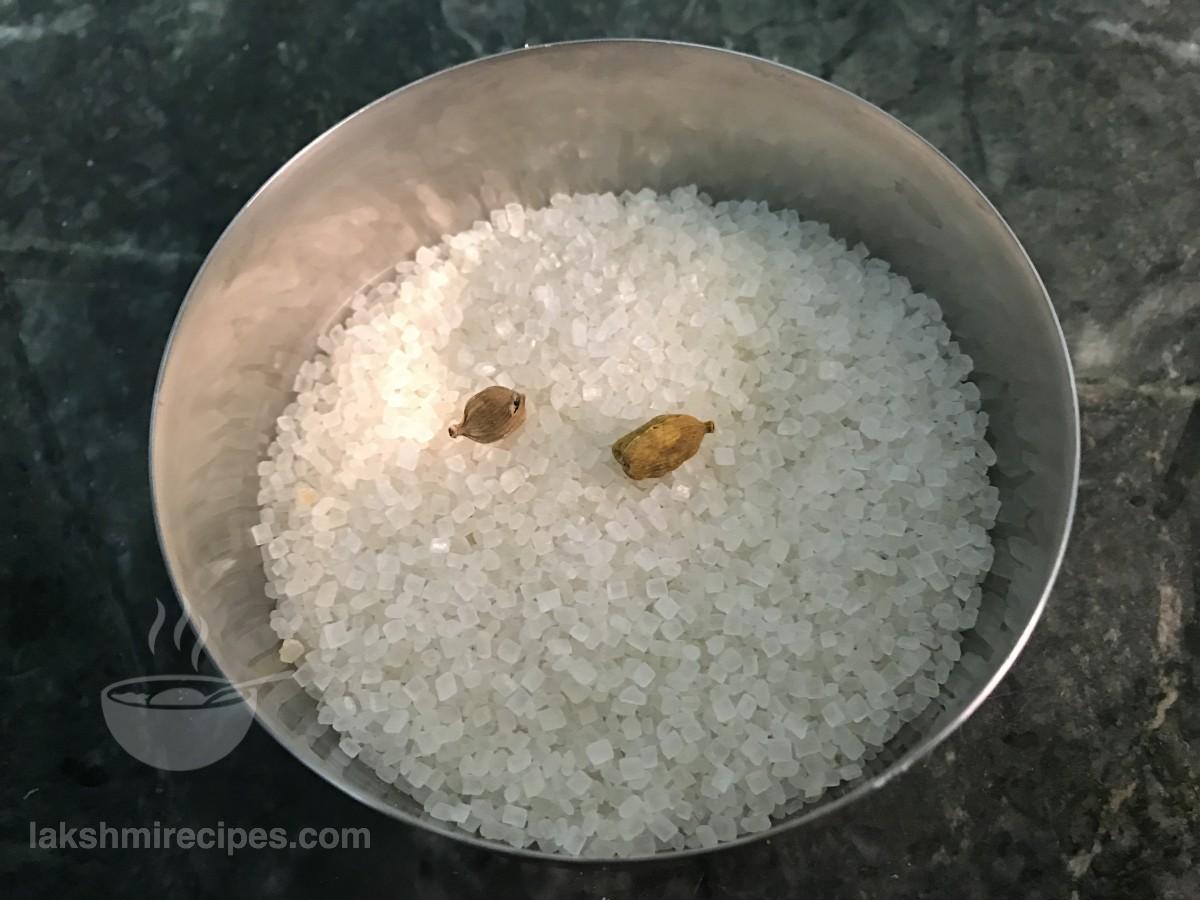
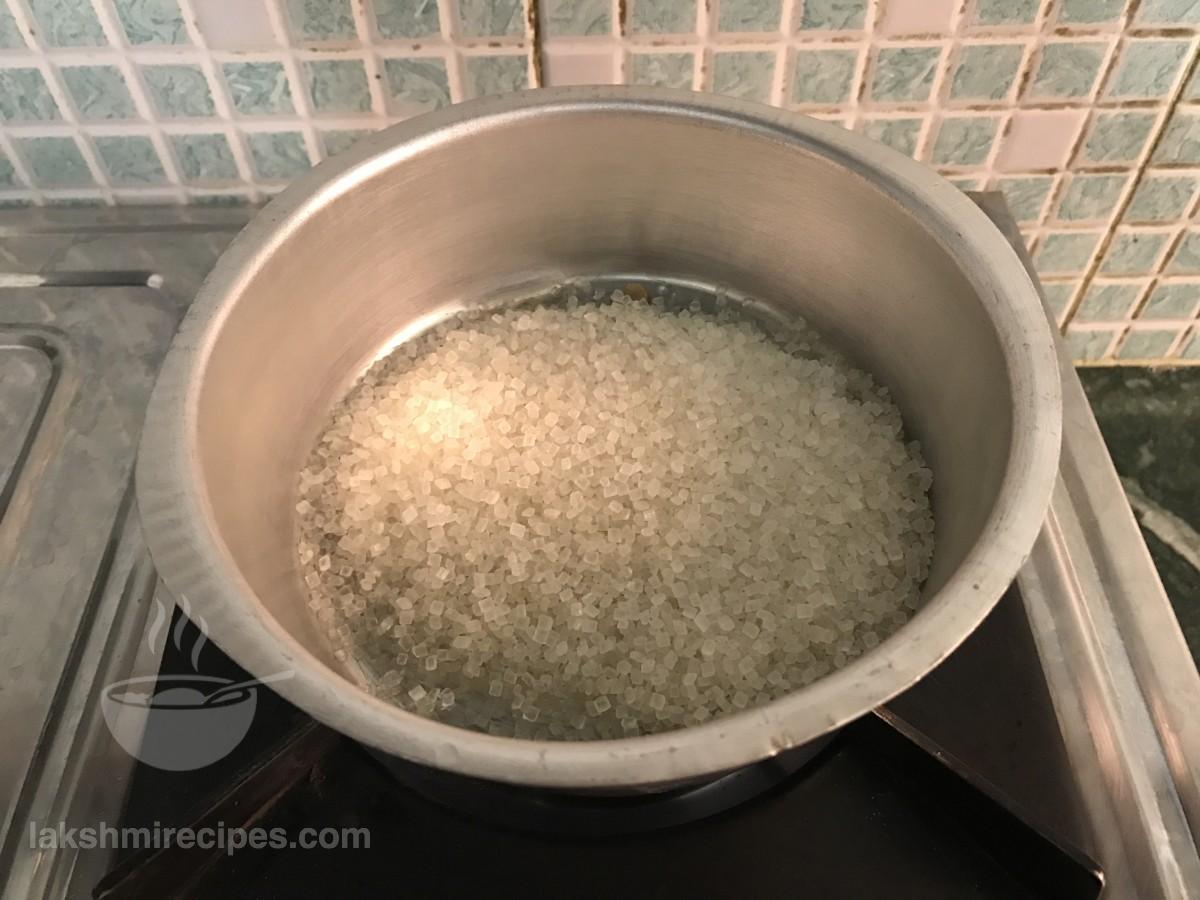
- Now take another deep vessel and add sugar to it. Also add equal amount of water to it. Then set the ingredients to boil so that the sugar dissolves in water.
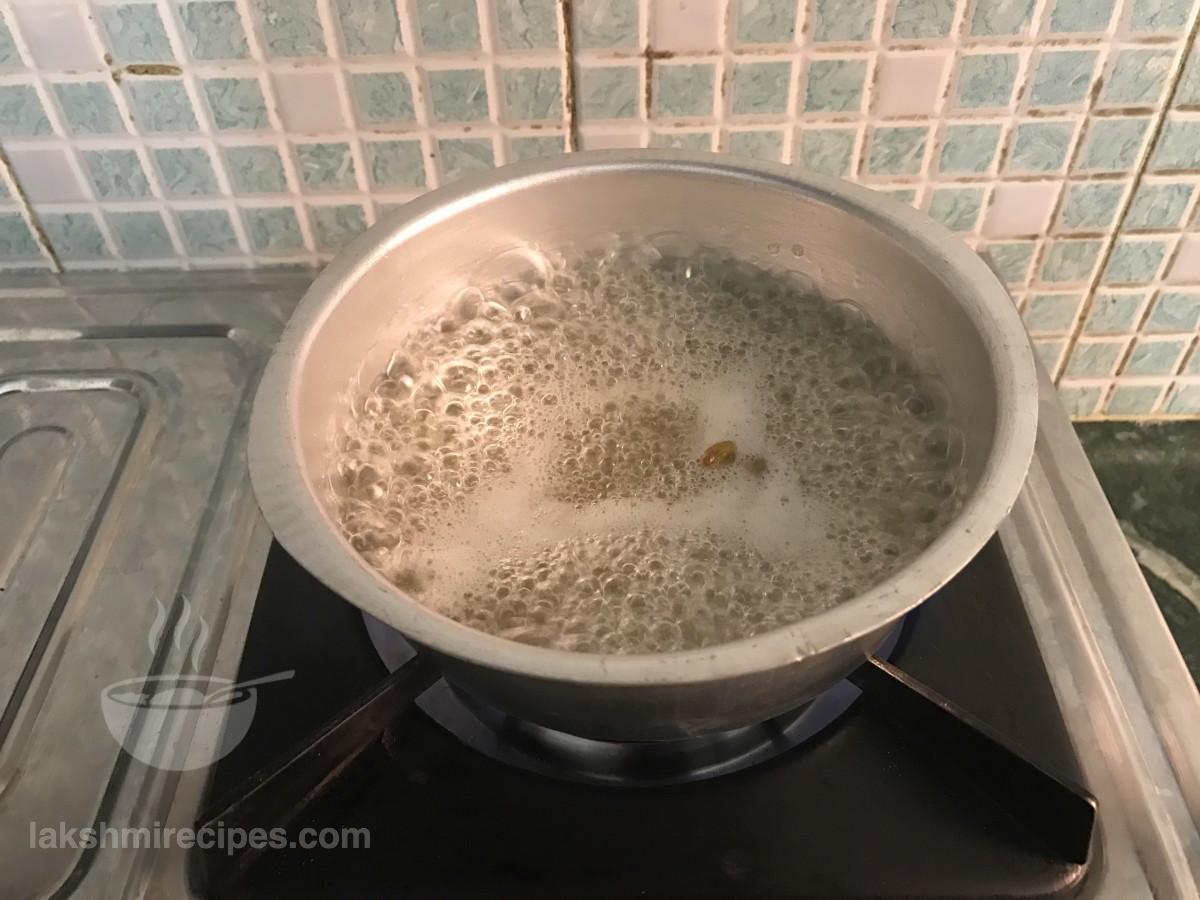
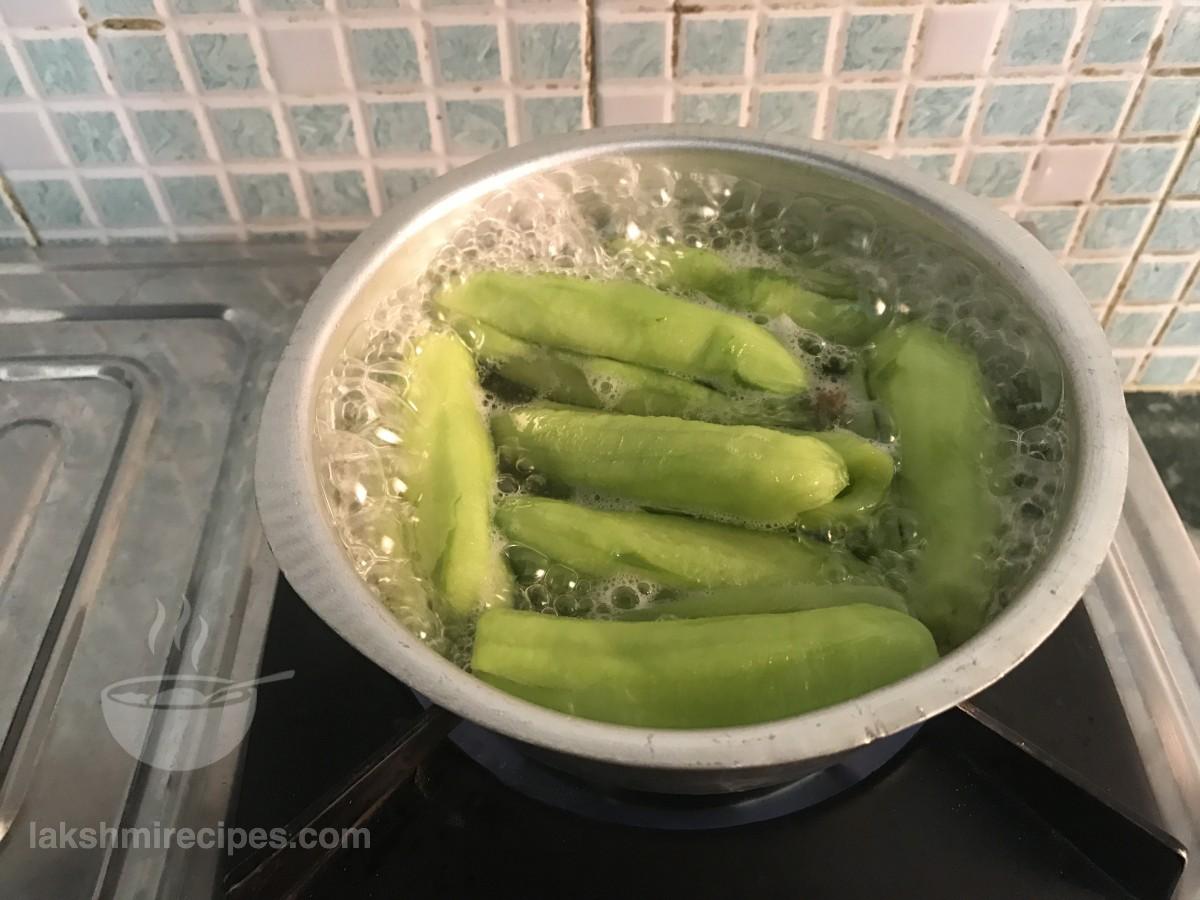
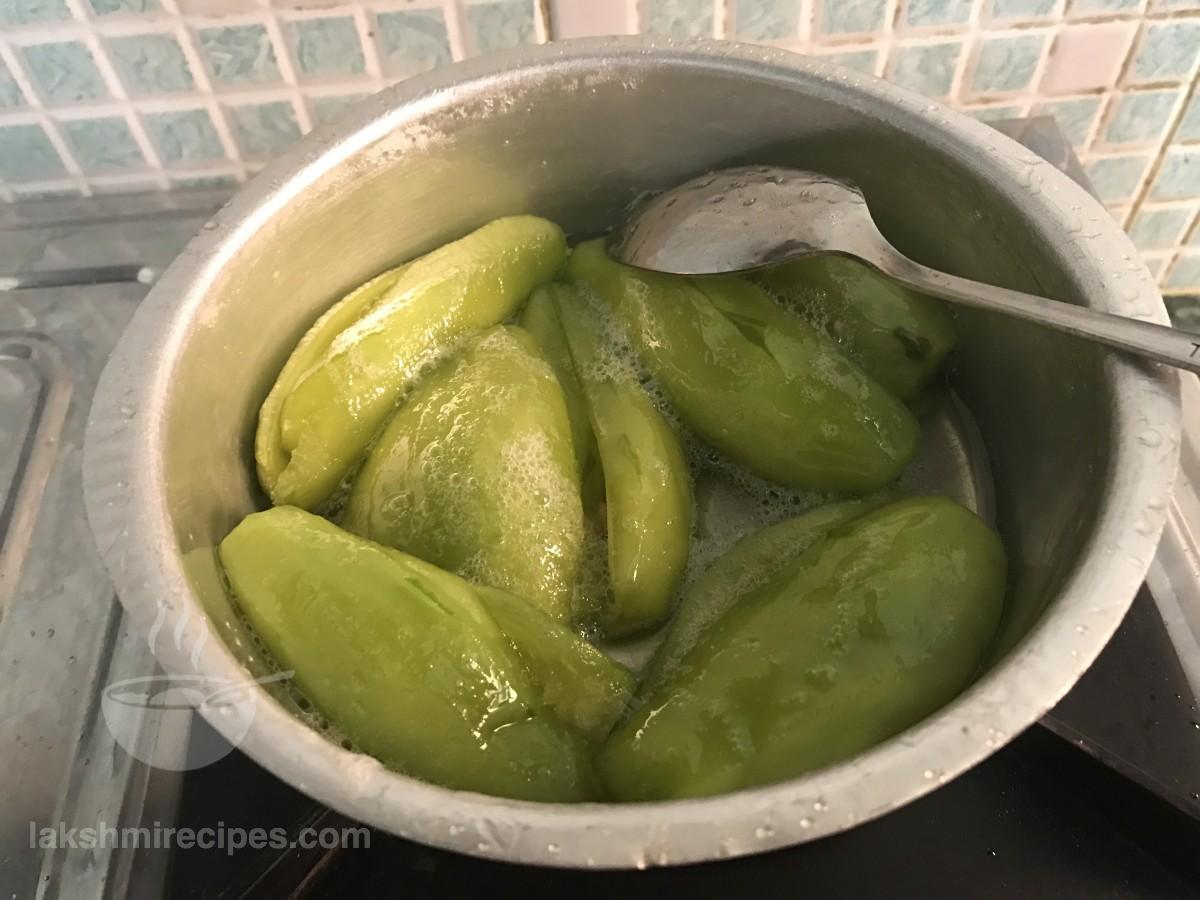
- When the sugar is completely dissolved in the water forming a uniform sugar syrup and it begins to boil, then add cardamom and the boiled pointed gourds or parwal to it.
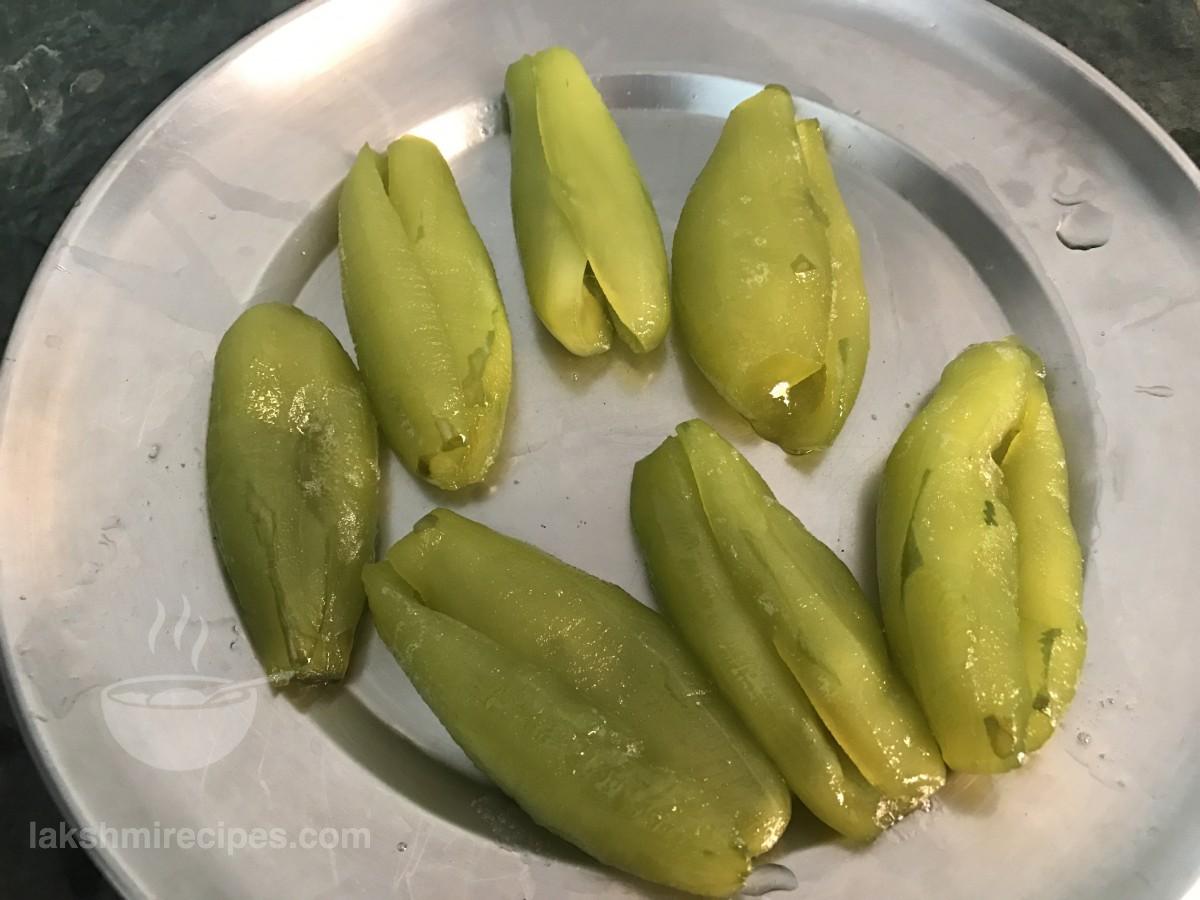
- Allow the pointed gourds or parwal to cook slowly in the sugar syrup until they become soft and soak up up all the sugar syrup.
- When almost all the sugar syrup is soaked up by the pointed gourds or parwal then turn off the flame. Leave the pointed gourds or parwal in that same vessel, so that they soak up the remaining sugar syrup as well.
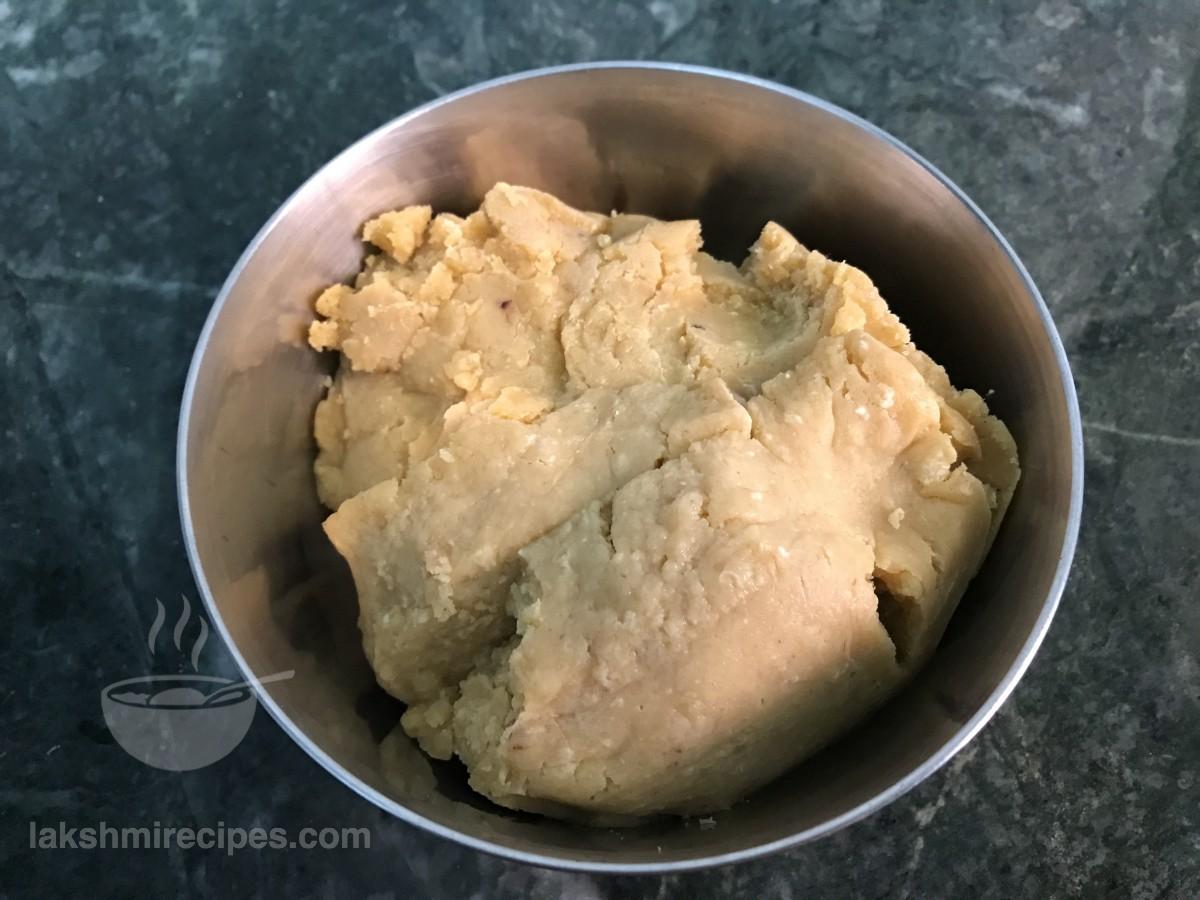
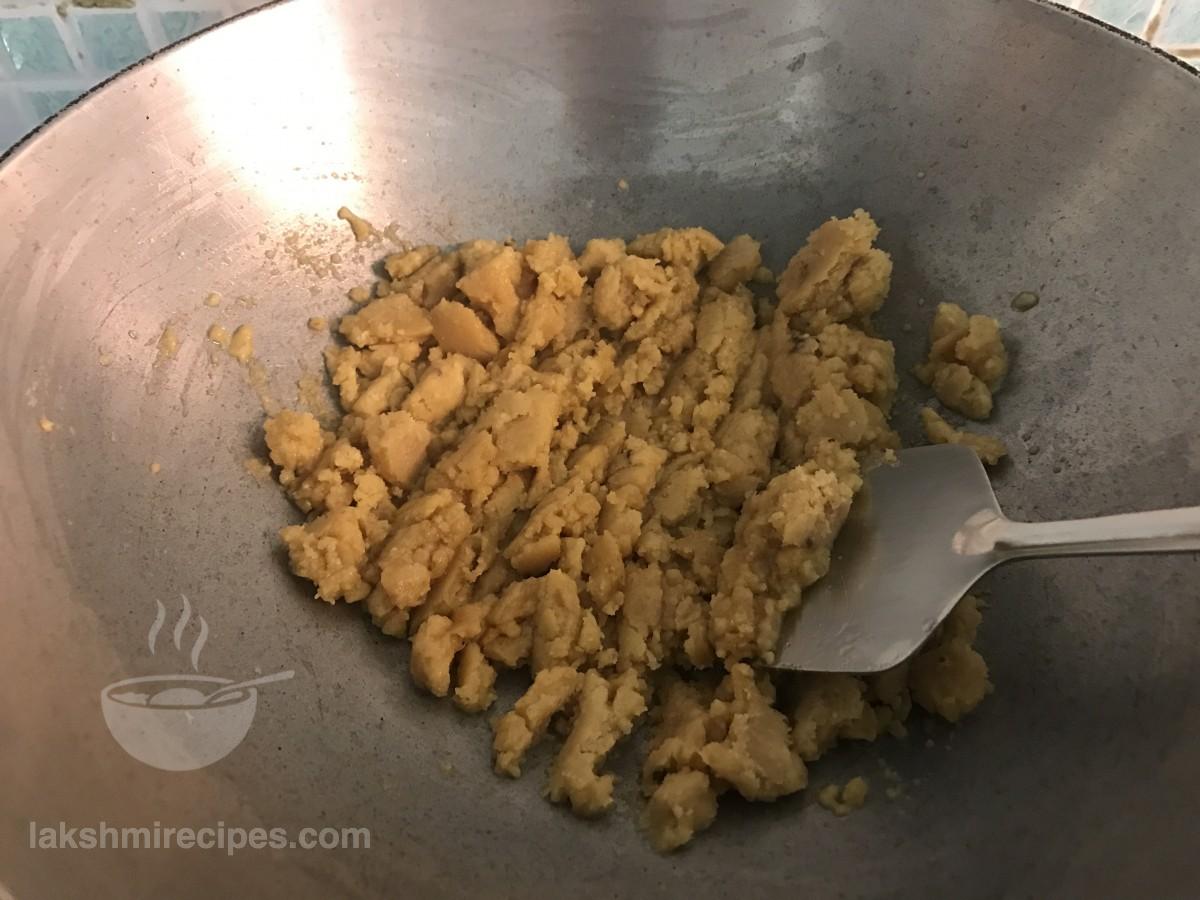
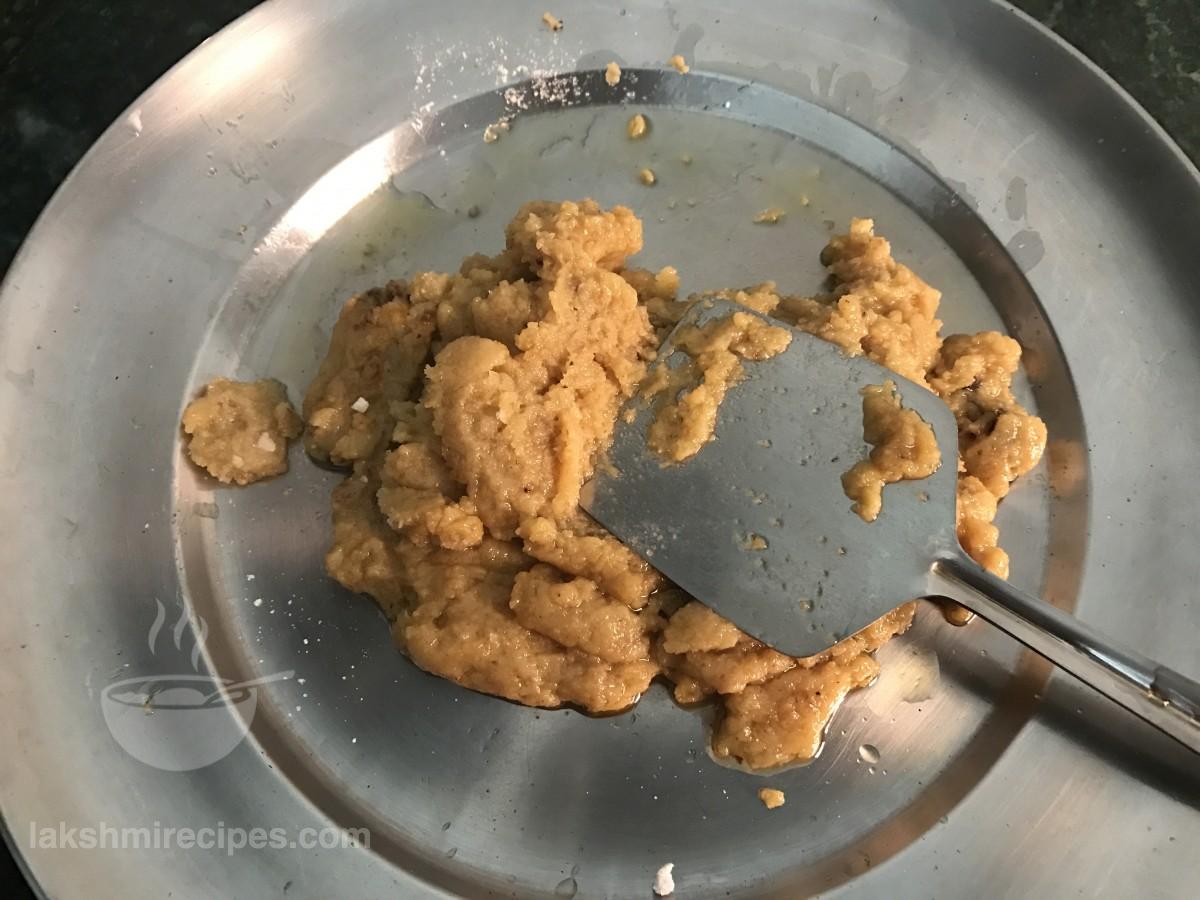
- During this process heat a kadhai and add mawa or khoya to it. Cook the mawa or khoya till it becomes soft and moist and then turn off the flame. Transfer the mawa or khoya to a plate.
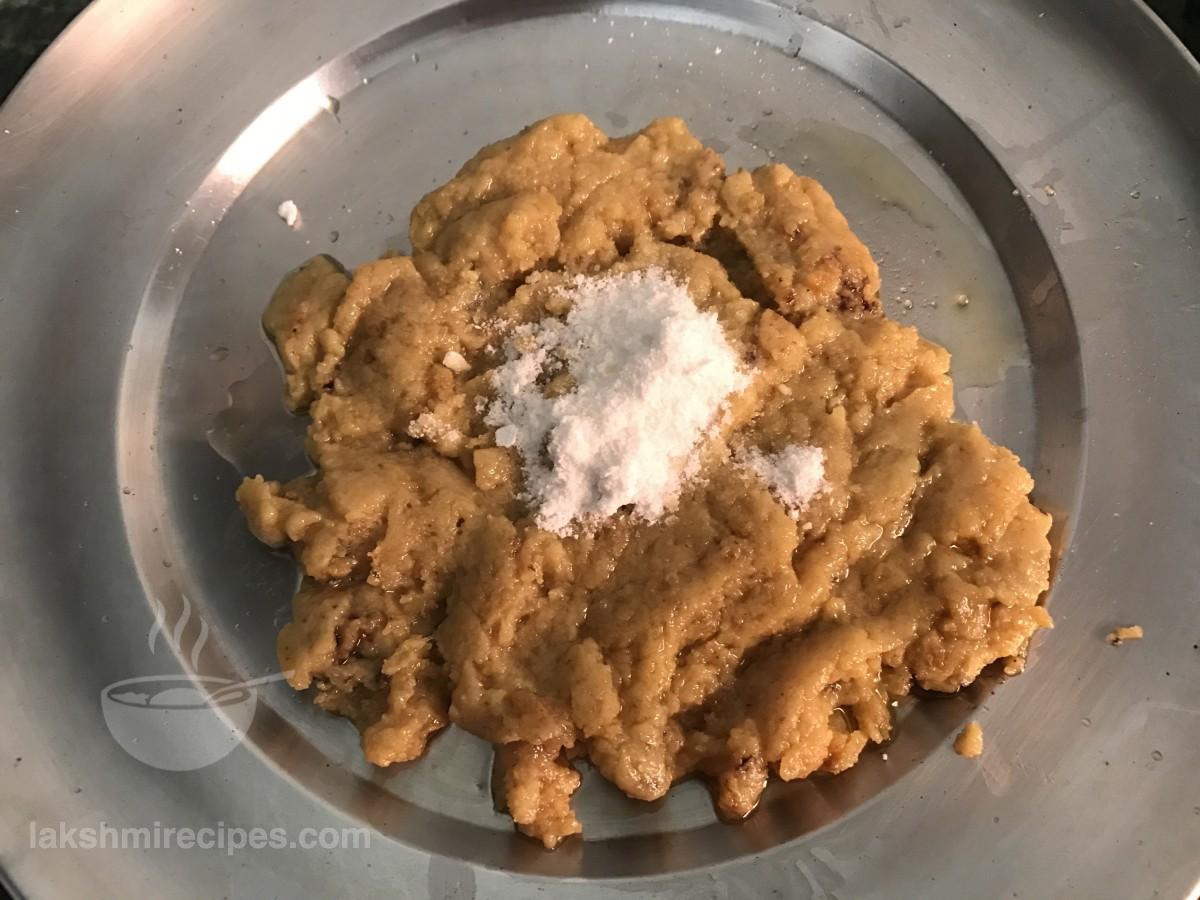
- Now add powdered sugar to the mawa or khoya and mix well to form a uniform smooth stuffing for the pointed gourds or parwal.
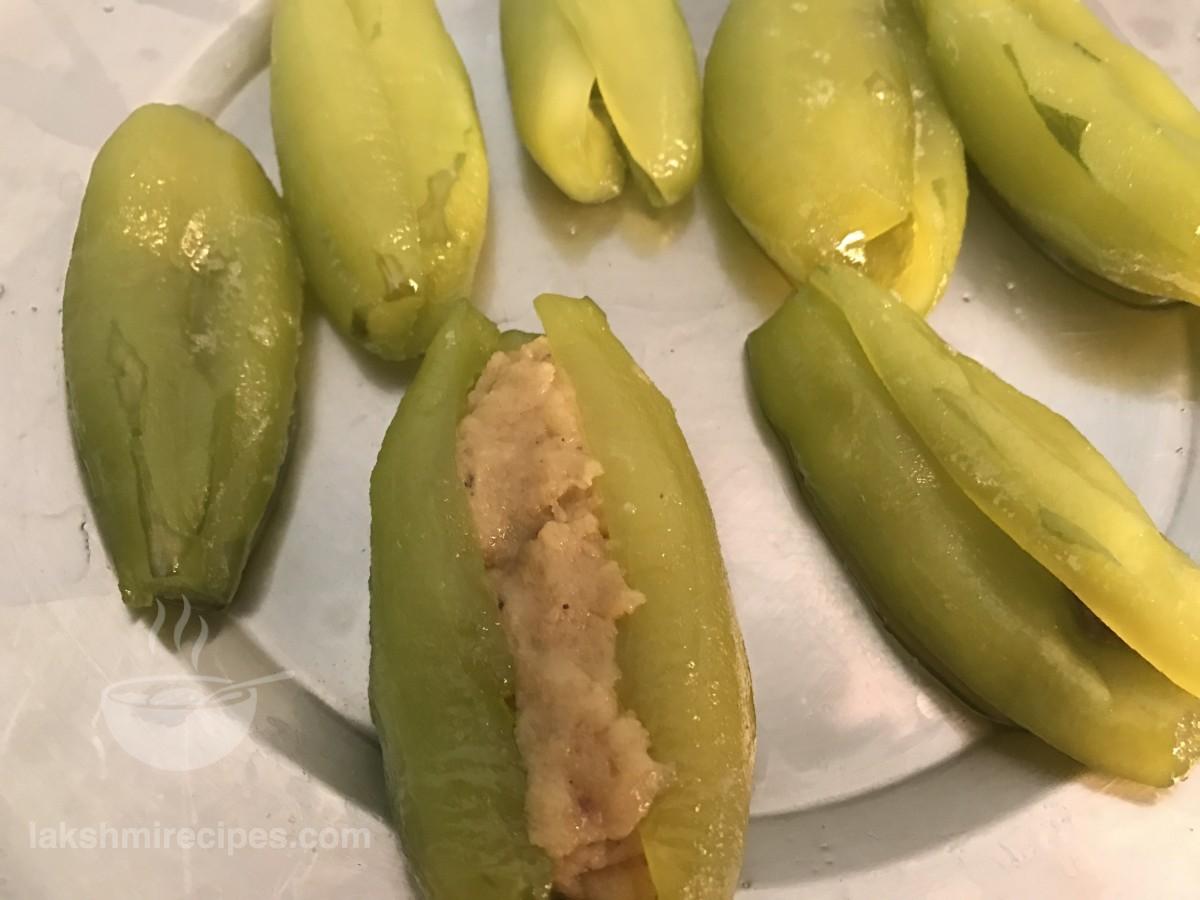
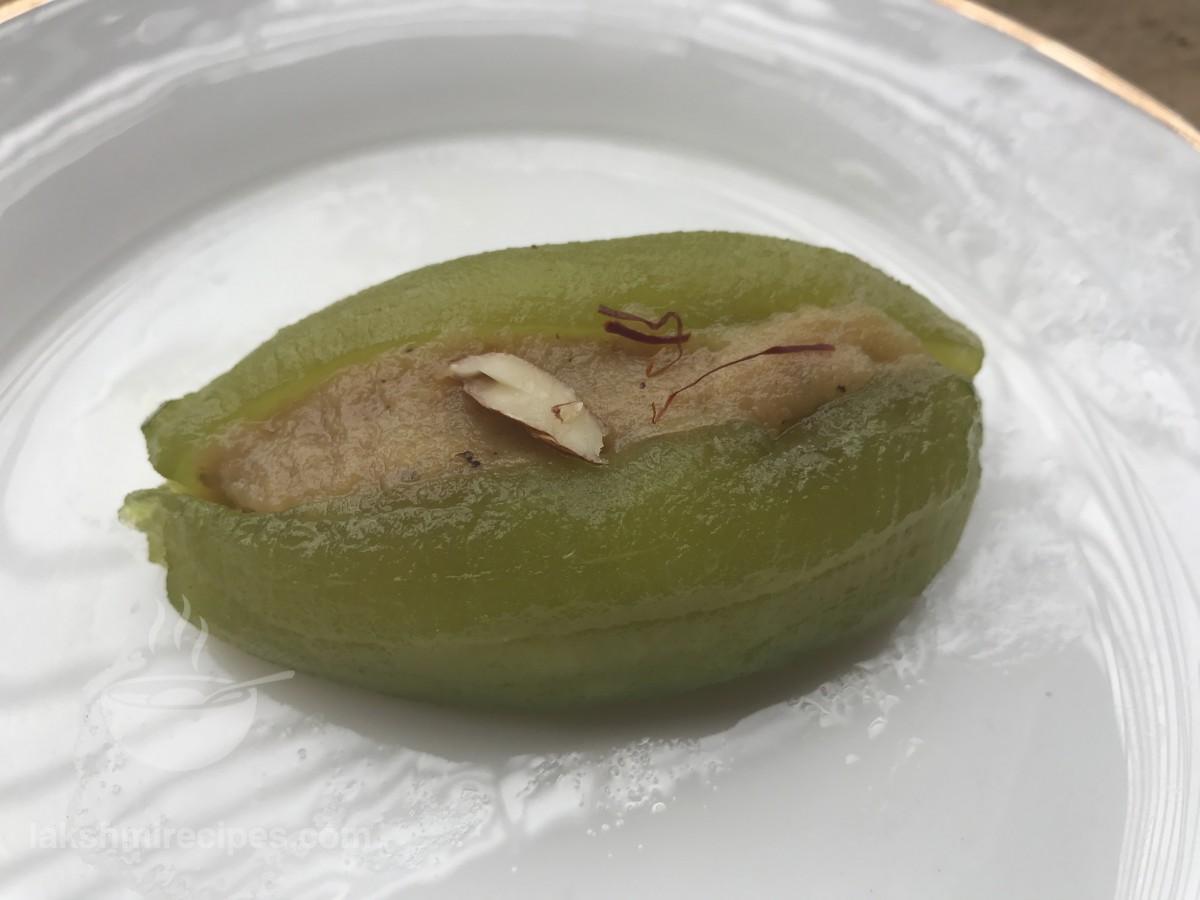
- Then transfer the cooked pointed gourds or parwal to a plate and first one of them. With your fingers open the slit cut of the pointed gourd or parwal and fill in the mawa or khoya stuffing nicely. Stuff the other pointed gourds or parwal in the same way.
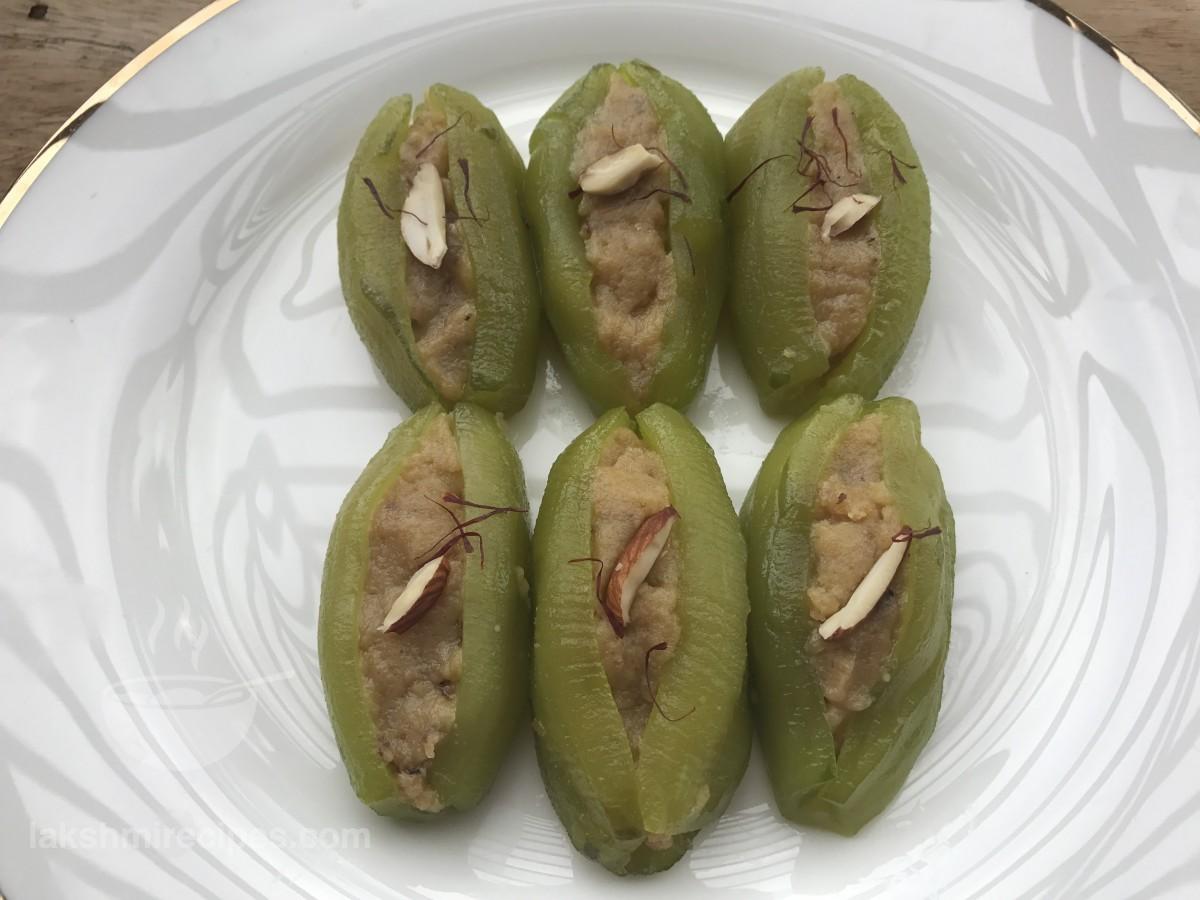
- Garnish these pointed gourds or parwal with saffron strands and chopped dry fruits. The delicious, juicy and beautiful parwal ki mithai is ready to be served.
परवल की मिठाई बनाने की प्रक्रिया:
- 7 बड़े आकार के परवल लें और अच्छी तरह से उनको छील दें। फिर सभी परवल के दोनों सिरों को काट लें।
- अब एक परवल लें, और उसके बीच में लंबाई में एक चीरा लगा दें (जैसा कि नीचे की छवि में दिखाया गया है)। फिर चाकू की मदद से अंदर से परवल के बीज और गूदे को निकाल लें। सुनिश्चित करें कि कोई बीज अंदर न रह गया हो, अन्यथा परवल की मिठाई का स्वाद बिगड़ जाएगा। इसी तरीके से शेष परवल तैयार करें। अपने हाथों से जांच लें कि परवल अन्दर से साफ हैं या नहीं।
- अब एक गहरा पतीला लें और इसमें परवल को डालें।
- फिर इस पतीले में पानी भर दें, ताकि परवल उसमें अच्छी तरह से डूब जाएं।
- अब परवल को पानी में उबलने केलिए गैस पर रख दें। जब पानी में उबाल आजाए तो आँच को मध्यम स्तर तक कम करें और परवल को इस तरह 10-15 मिनट के लिए पानी में उबलने दें।
- नियमित अंतराल पर परवल को जांचते रहें कि वे ज्यादा न पक जाएं। परवल को इस तरह से केवल 90% ही पकाना है। शेष 10% चीनी की चाशिनी में पकाना है।
- जब परवल को 90% तह पक जाएं तो उन्हें उबलते हुए पानी से हटा कर एक प्लेट में निकाल लें।
- अब एक साफ और गहरा बर्तन लें और इसमें चीनी डालें। जितनी चीनी है उतना ही पानी भी इसमें जोड़ें। फिर उबलने के लिए सामग्री को गैस पर सेट करें ताकि चीनी पानी में घुल जाए।
- जब चीनी पूरी तरह से घुल कर एक समान चाशिनी बन जाए, तो इसमें इलायची और उबले हुए परवल को जोड़ दें।
- जब तक परवल नरम न हो जाएं और चाशिनी सोख न लें, तब तक परवल को धीरे-धीरे चाशिनी में पकने दें।
- जब परवल लगभग सारी चाशिनी सोख लें और बहुत थोड़ी सी चाशिनी बर्तन के तले में बची हो तो आँच बंद कर दें। परवल को उसी पतीले में छोड़ दें, ताकि वे शेष चाशिनी को भी सोख लें।
- इस प्रक्रिया के दौरान एक कढ़ाई गरम करें और इसमें मवा या खोया डालें। मवा या खोया को नरम होने तक भूनें और फिर आँच बंद कर दें। फिर एक प्लेट में मावा या खोया को निकाल लें।
- अब मावा या खोया में पिसी हुई चीनी जोड़ें और अच्छी तरह मिक्स करें ताकि परवल में भरने के लिए एक समान चिकनी स्टफिंग तैयार होजाए।
- उसके बाद पके हुए परवल को एक प्लेट में निकालें और उनमें से पहले एक परवल उठाएं। अपनी उंगलियों से परवल के चीरे को खोलें और उसमें मावा या खोया की स्टफिंग अच्छी तरह से भर दें। इसी तरह से बाकि परवल को भरें।
- अब इनको केसर और बारीक कटे हुए ड्राई-फ्रूट्स से गार्निश करें। आपकी स्वादिष्ट, रसदार और खूबसूरत परवल की मिठाई परोसने के लिए तैयार है।





SHARE YOUR FEEDBACK