
Rawa Dosa is a tasty and healthier variation of the famous Dosa from the South-India. You do not need to ferment the batter overnight. It can be made instantly by allowing the batter to rest only for 20-30 minutes. It tastes good with Hari Chutney or Peanuts Chutney or Nariyal ki chutney and Sambhar.
It can be made for breakfast as well as snack. Make these tempting, crispy and healthy rawa dosa with the help of a detailed recipe, step by step photos and recipe video given below:
Preparation Time: 5 minutes
Cooking Time: 20-30 minutes for allowing the batter for rawa dosa to rest + 4-5 minutes for cooking each dosa
Recipe Yield: 10 rawa dosa
Ingredients for making Rawa Dosa / :
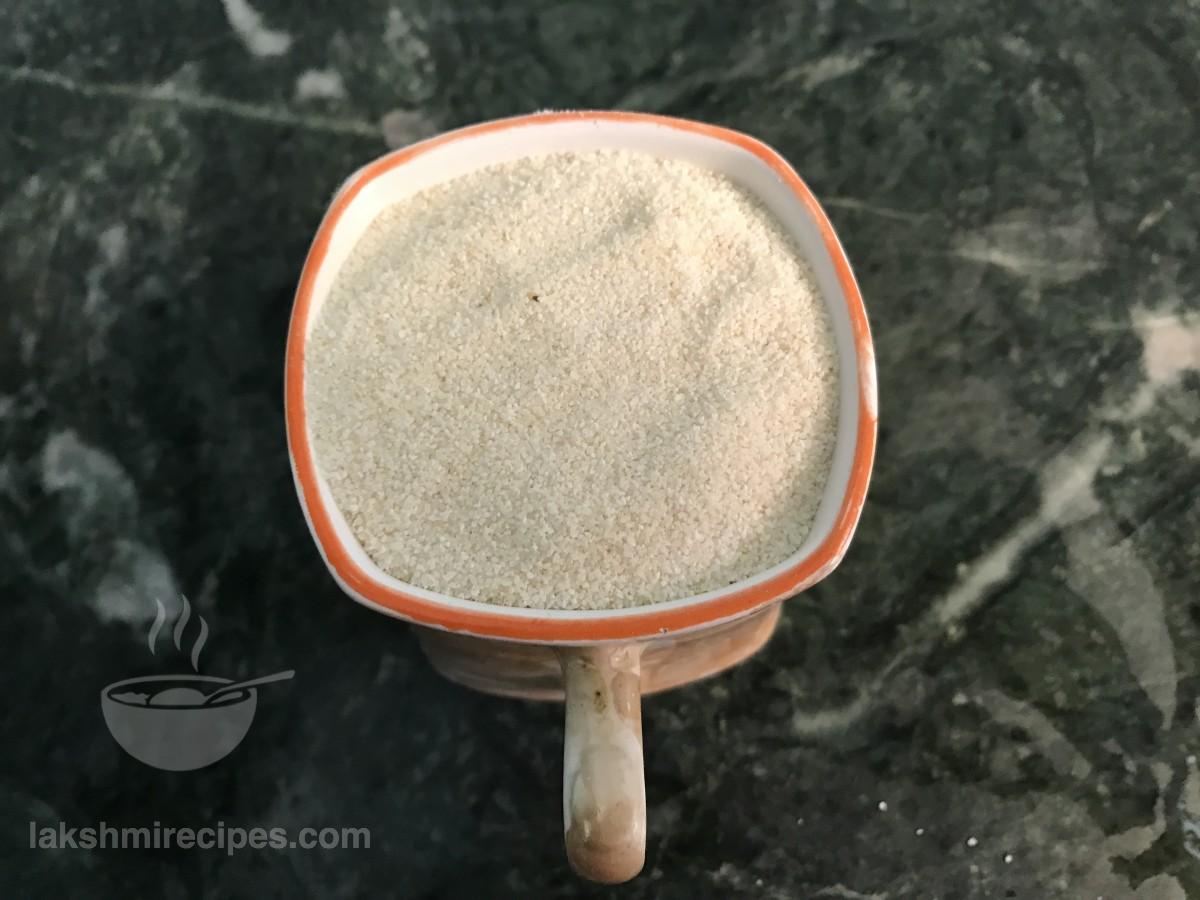
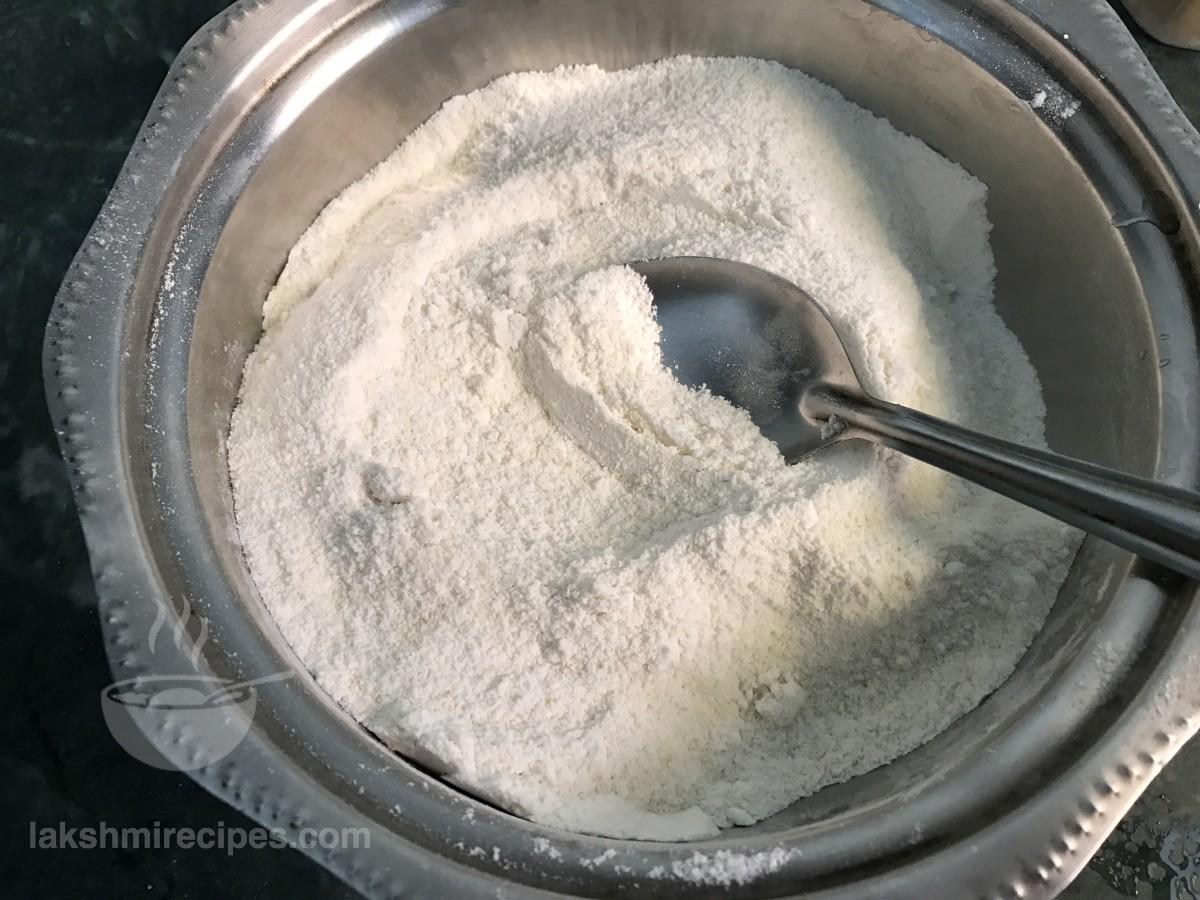
- Semolina or Sooji or Rawa - 1 small cup;
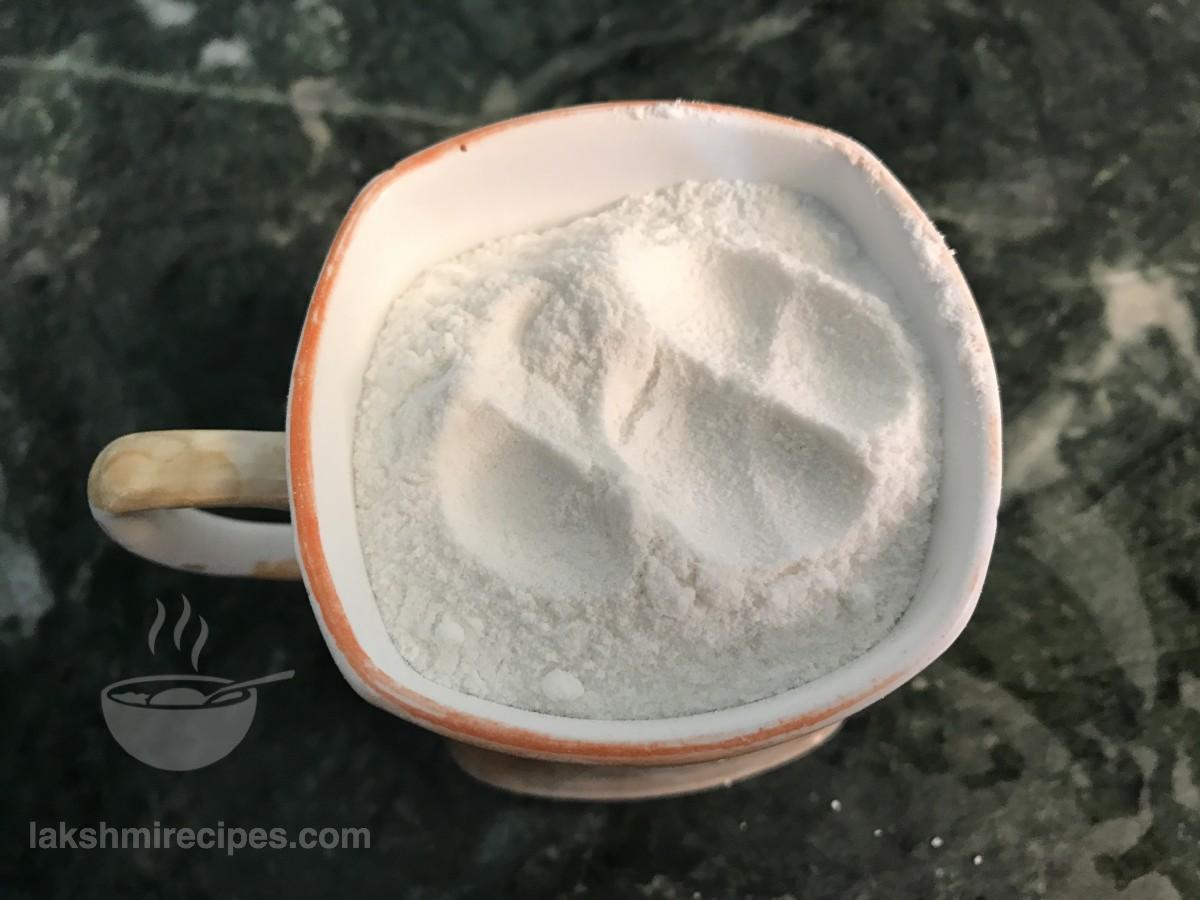
- Rice Flour - 1 small cup;
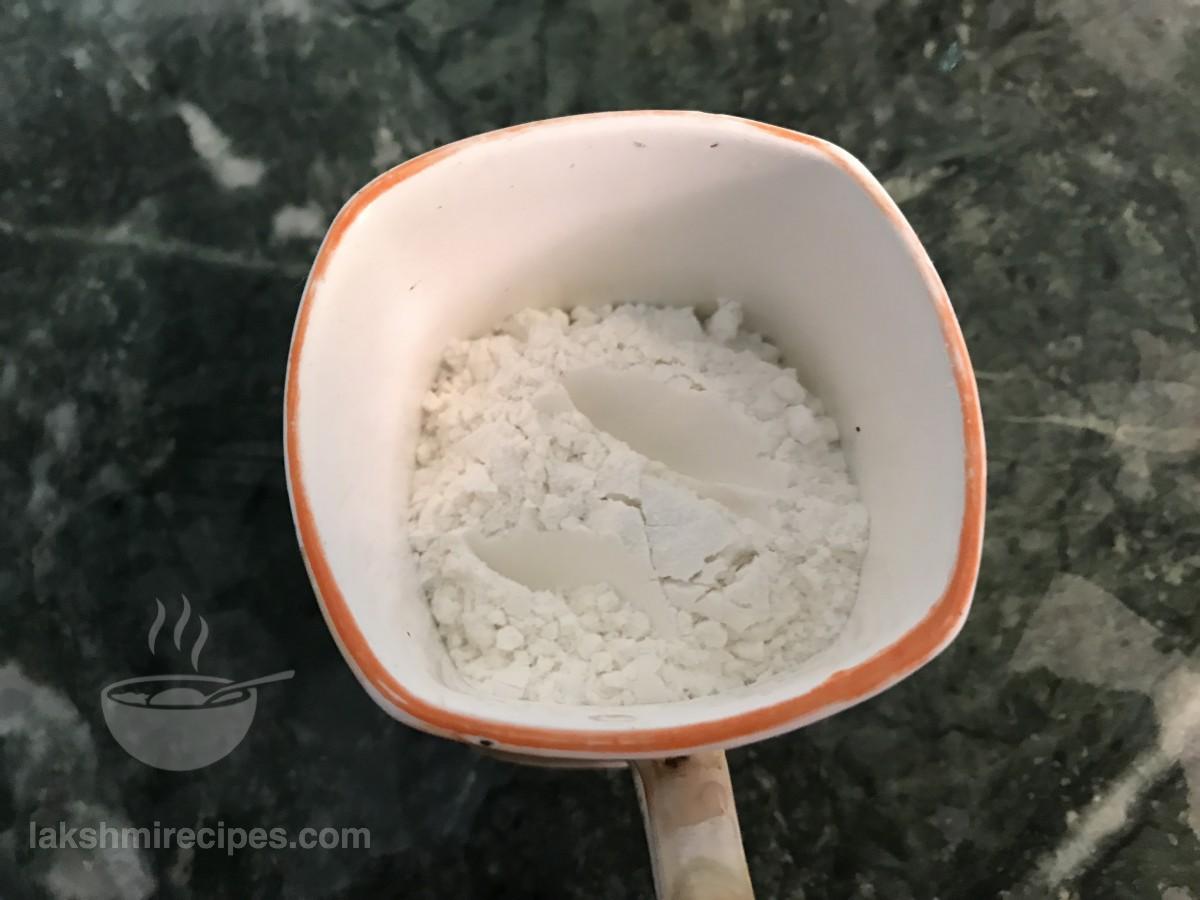
- All Purpose Flour - 1/2 small cup;
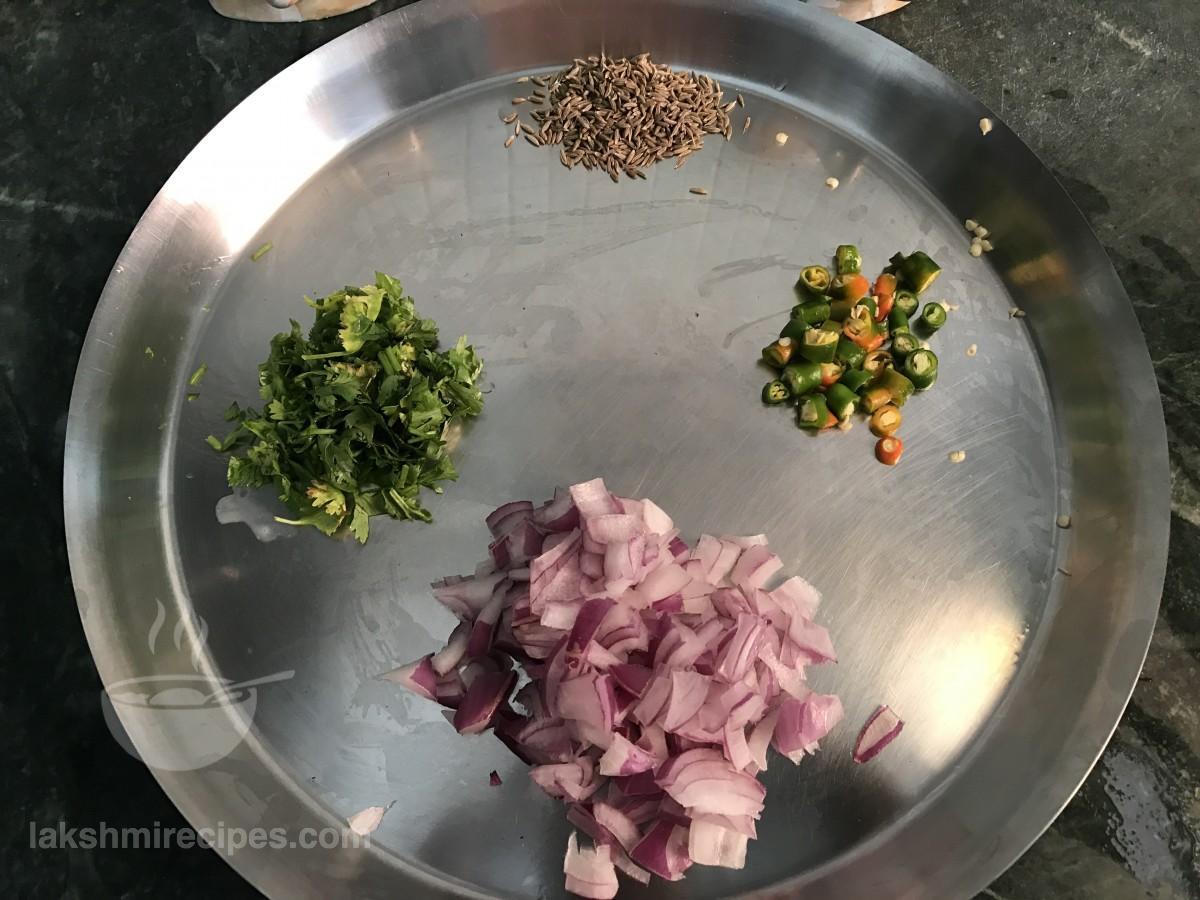
- Onion - 1 medium size, finely chopped;
- Green Chilli - 4, finely chopped (you can vary the amount of green chilli as per your taste)
- Green Coriander Leaves - 1 table spoon, finely chopped (or you can also use curry leaves as per your taste);
- Whole Cumin Seeds - as per requirement;
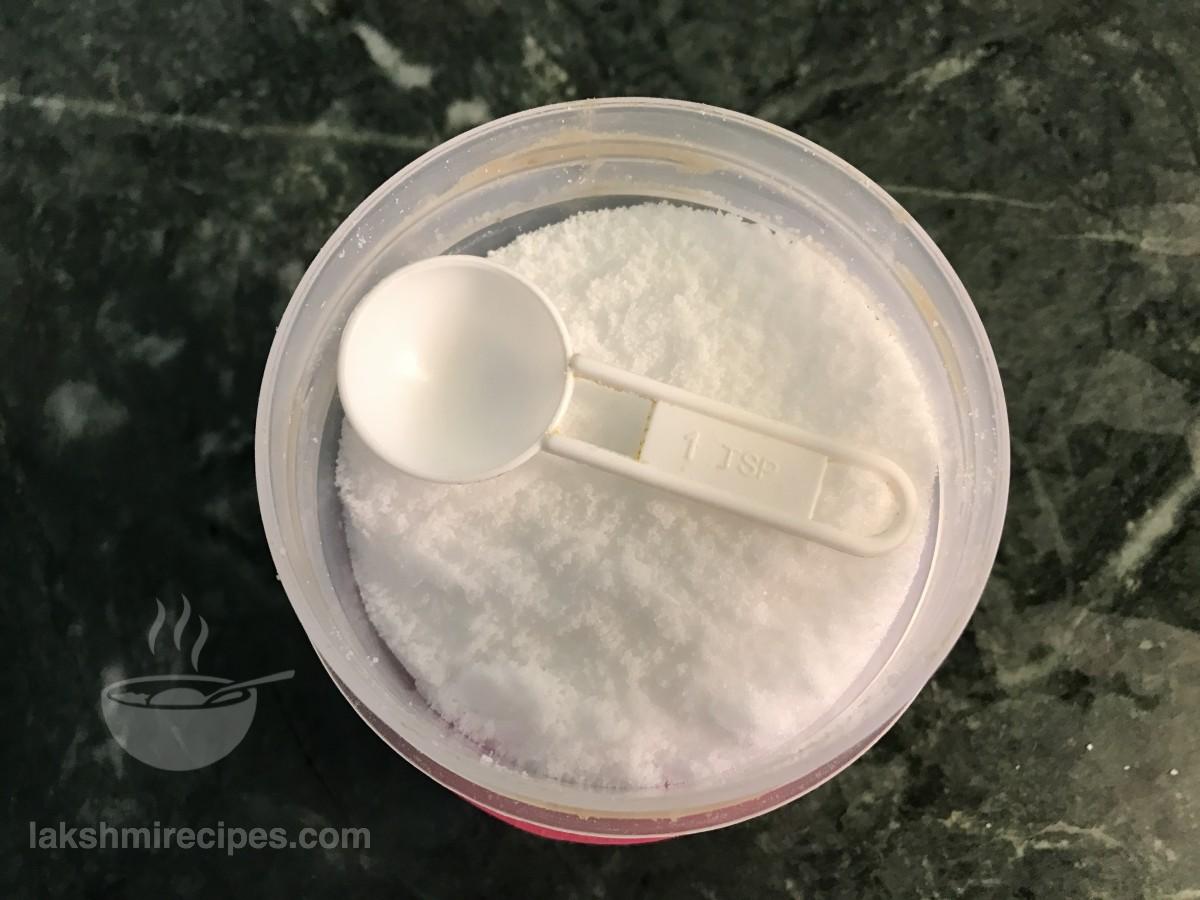
- Salt as per taste
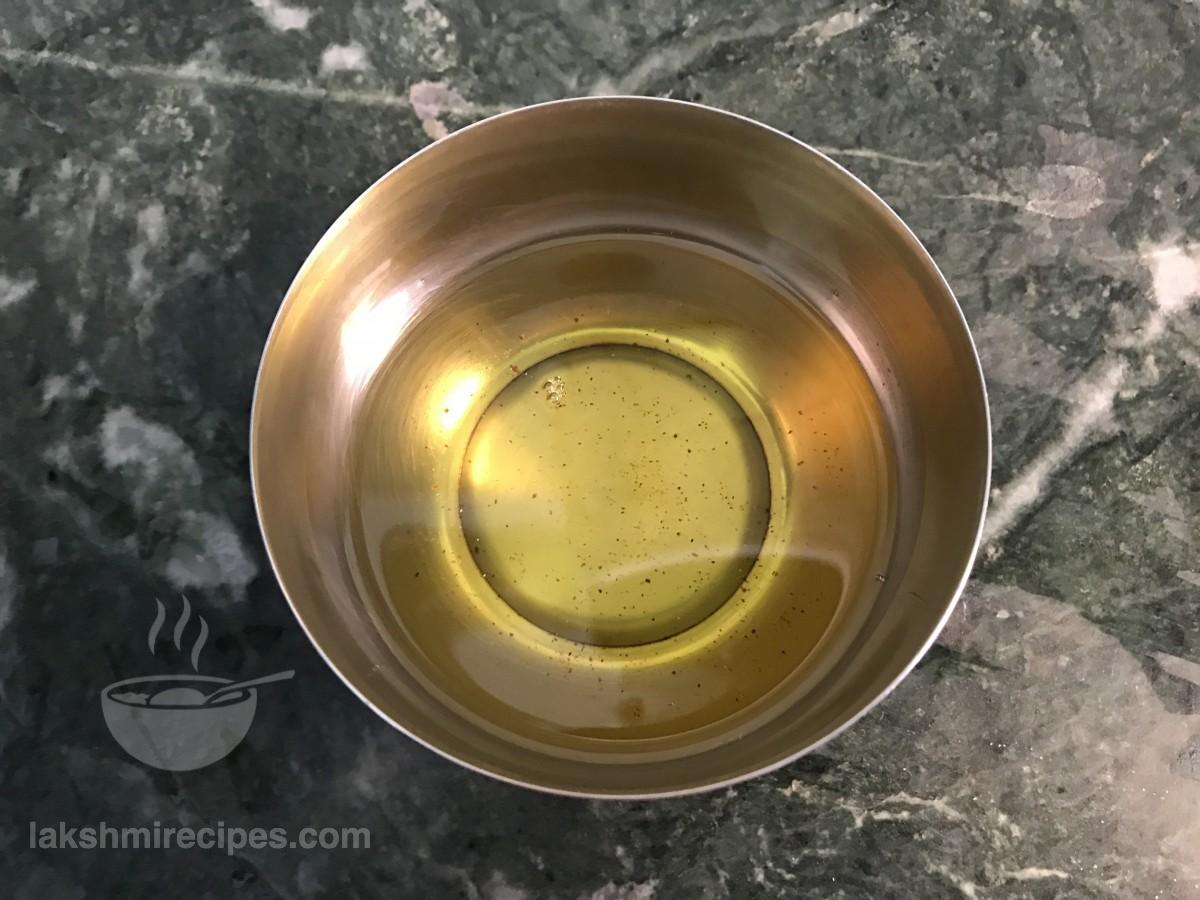
- Refined oil - for cooking the dosa
Procedure for making Rawa Dosa:
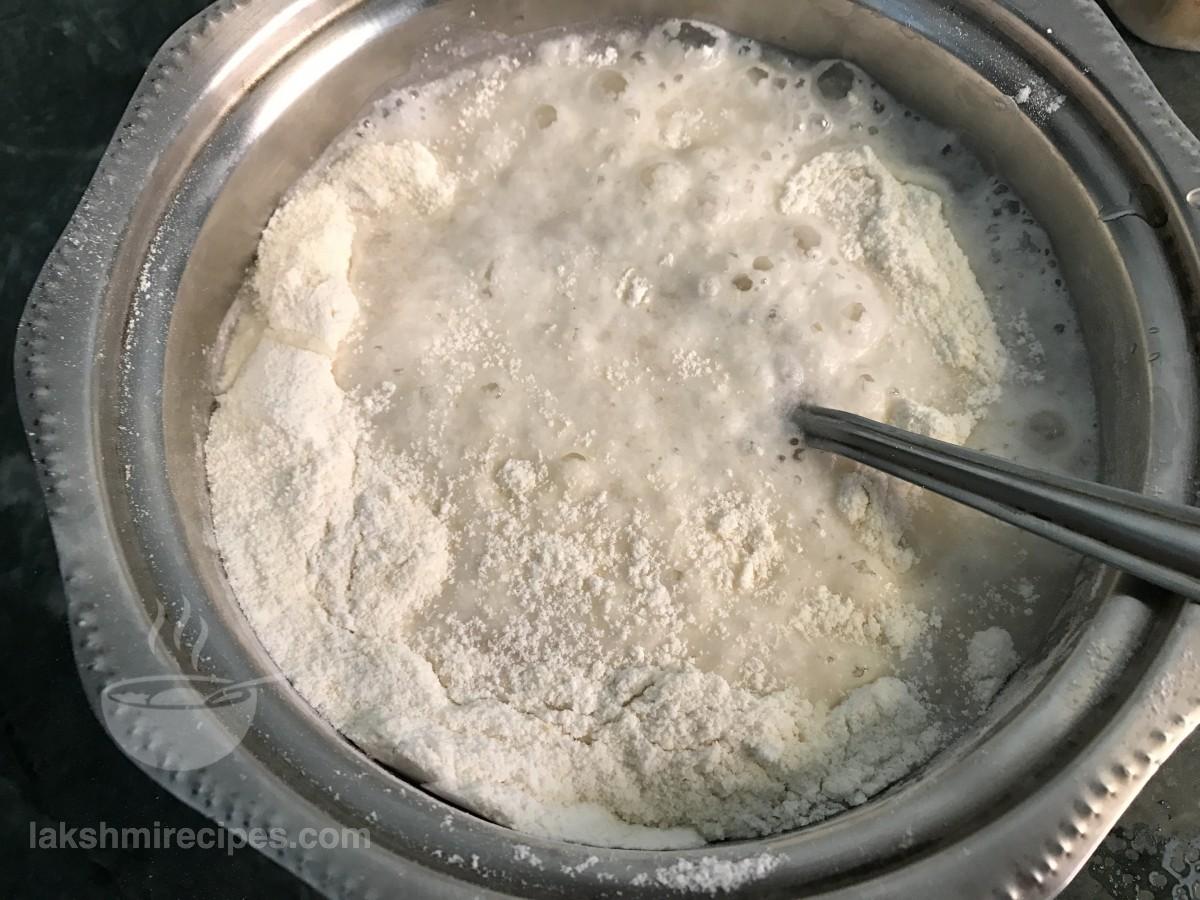
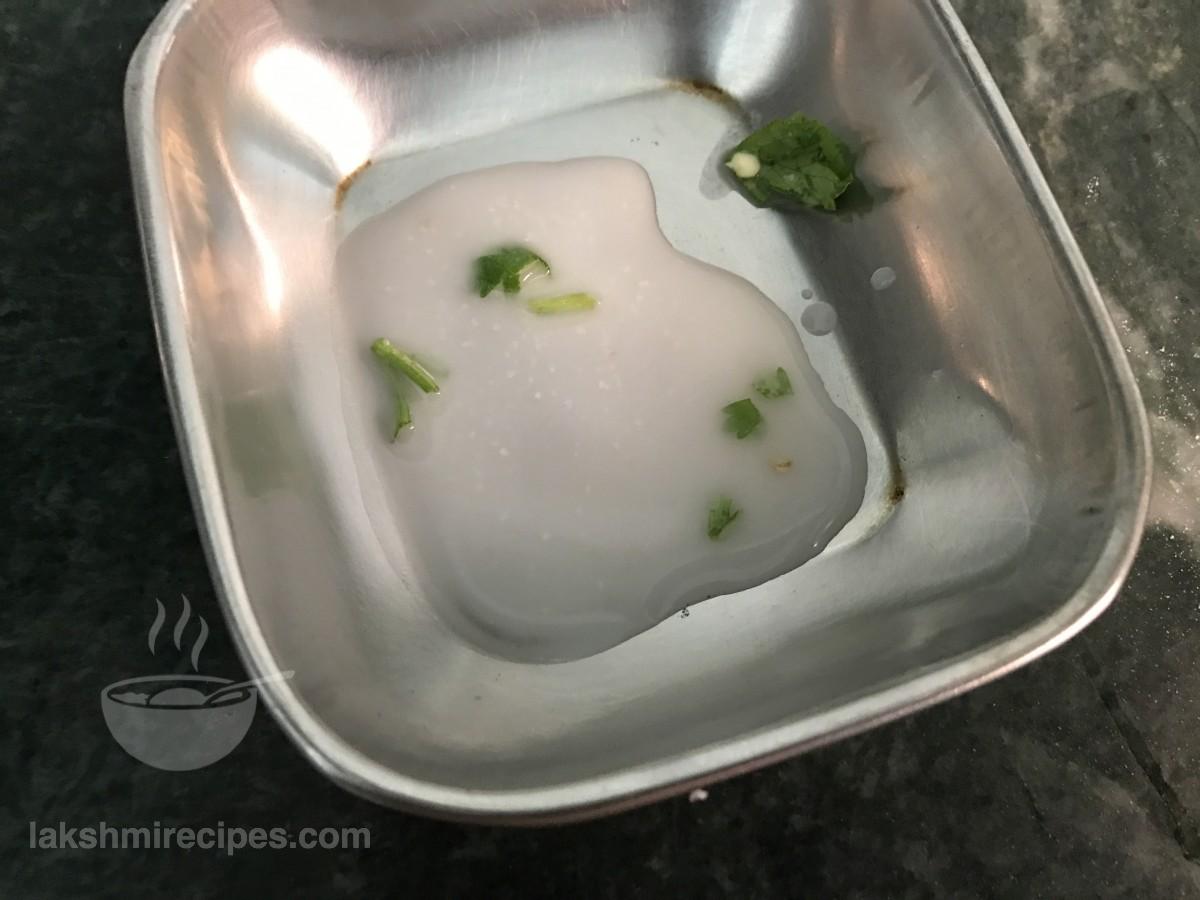
- In a deep vessel take semolina (rawa or sooji), rice flour and all purpose flour (maida) and mix the dry ingredients together.
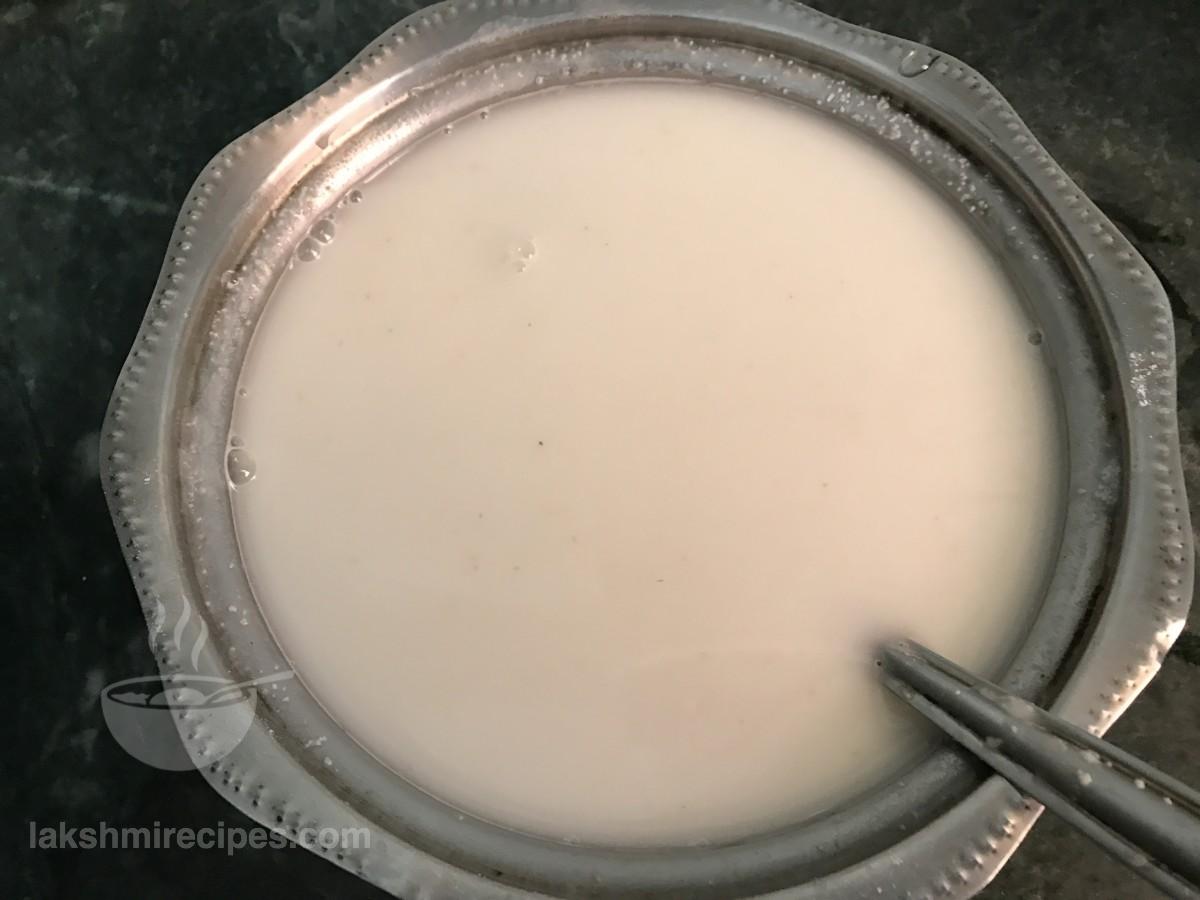
- Now start adding water slowly to the dry mixture and mix well. First make a thick batter to avoid formation of any lumps. Then add more water to thick batter to prepare a flowly batter for rawa dosa. (Remember that the batter prepared for rawa dosa should be of thin consistency and flowly like water. The batter for the rawa dosa should be flowy enough so that its spread on its own when poured on the non-stick pan)
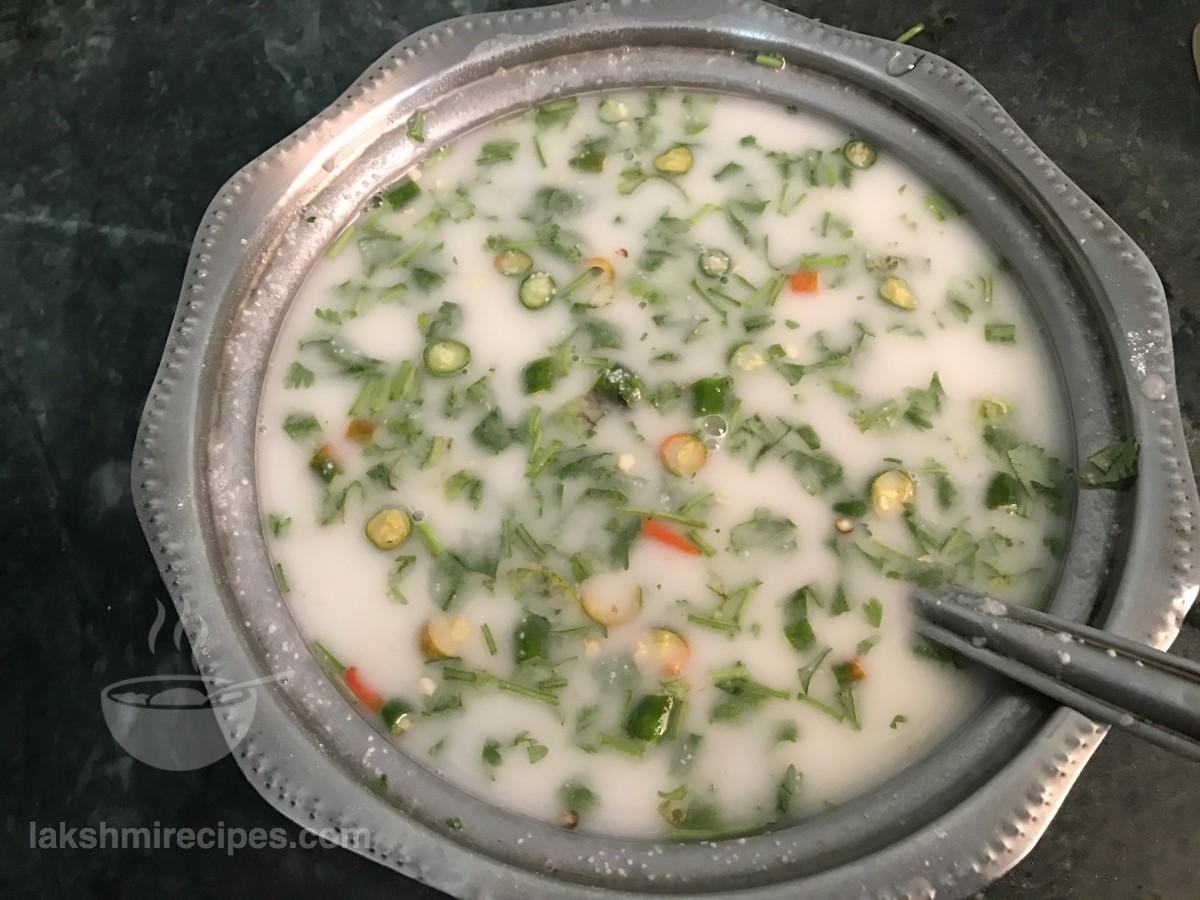
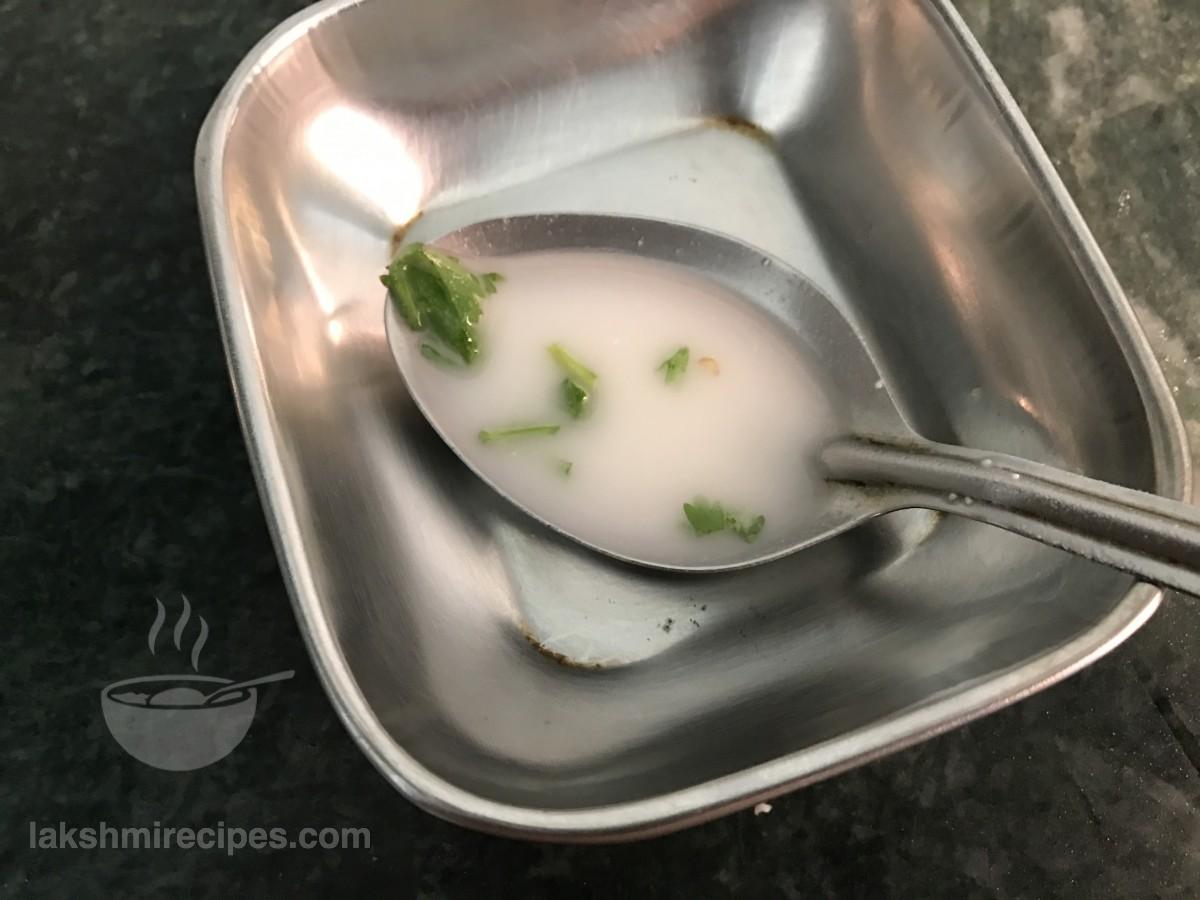
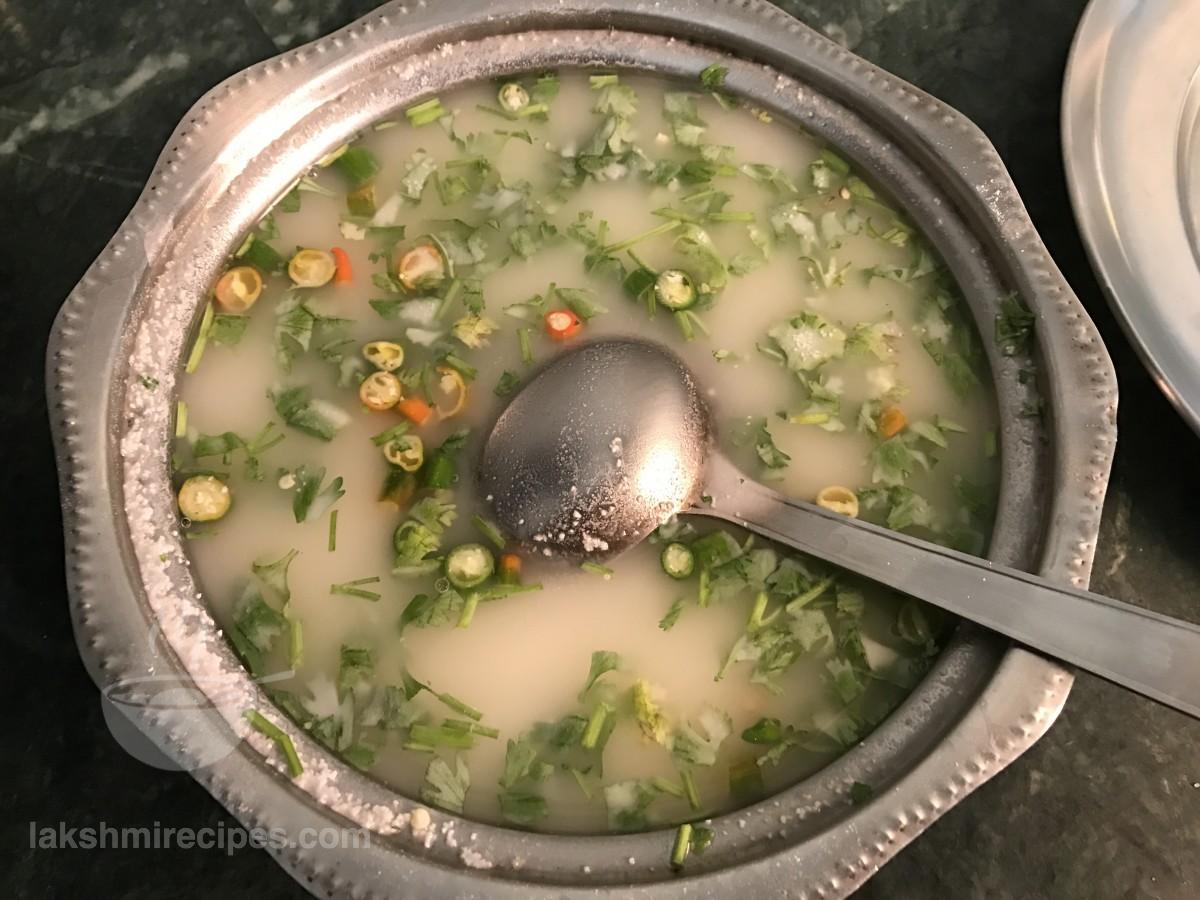
- Now add salt as per taste, finely chopped green chilli and coriander leaves (you can also use curry leaves instead of coriander leaves) to the batter. Mix well and then cover the vessel with a lid. Leave the batter for rawa dosa to rest for 20-30 minutes.
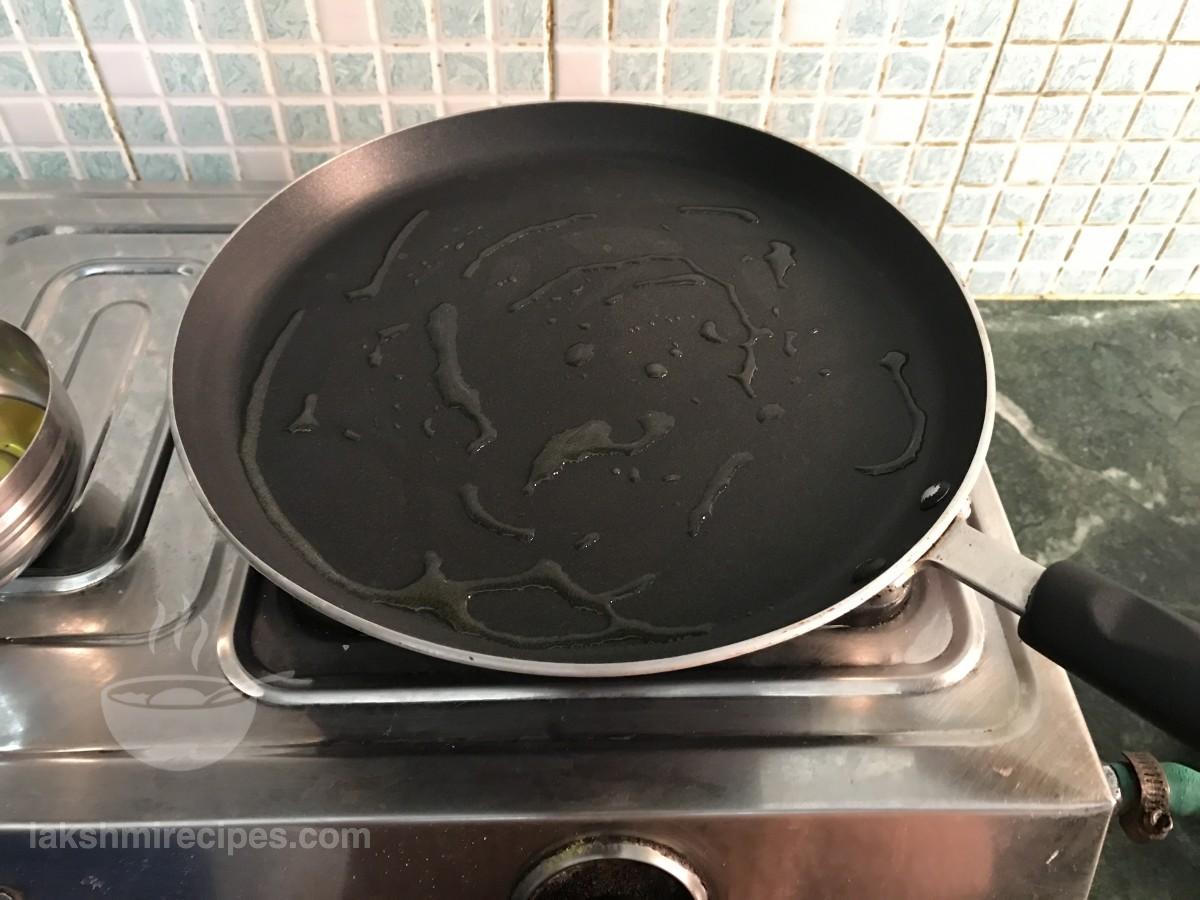
- After 20-30 minutes, heat thick based non-stick pan, lower the flame to medium level and grease it with 1 tea spoon refined oil.
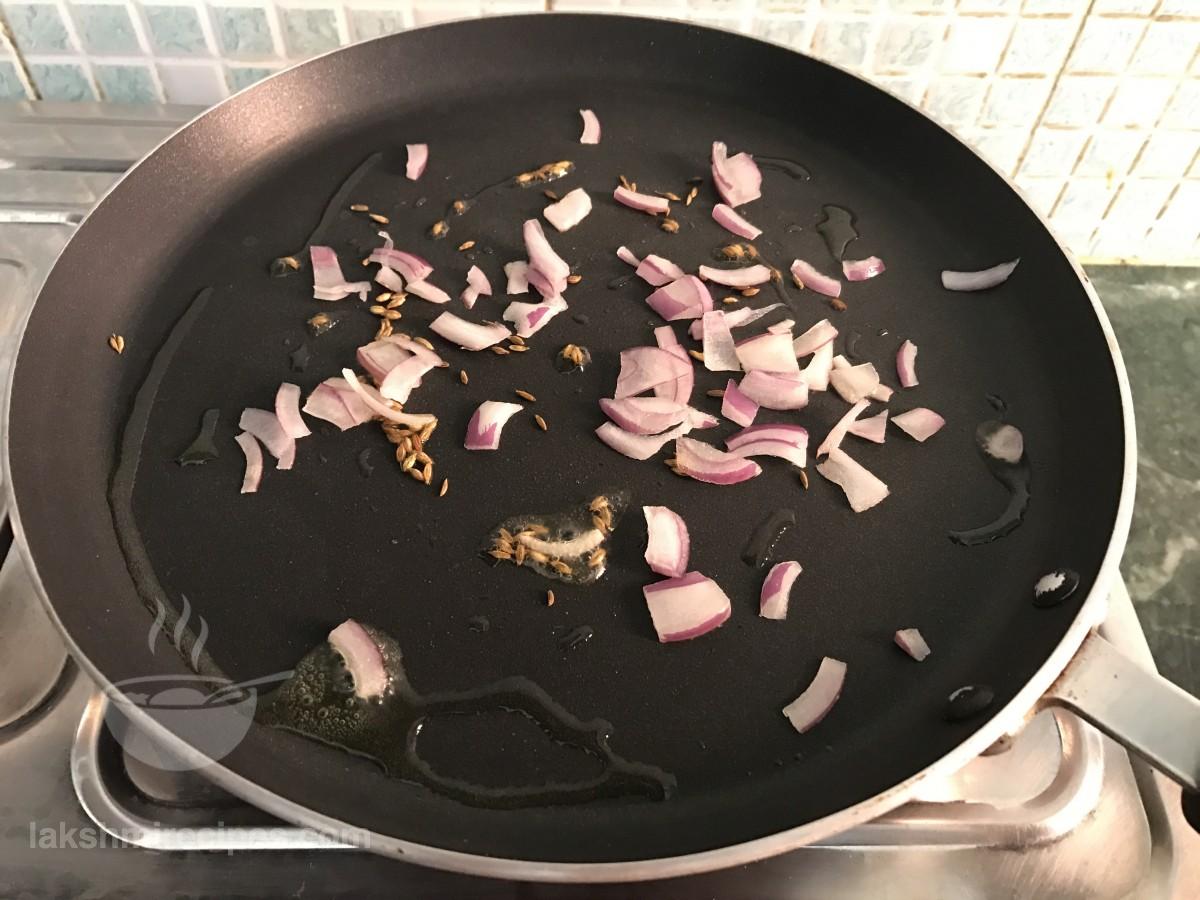
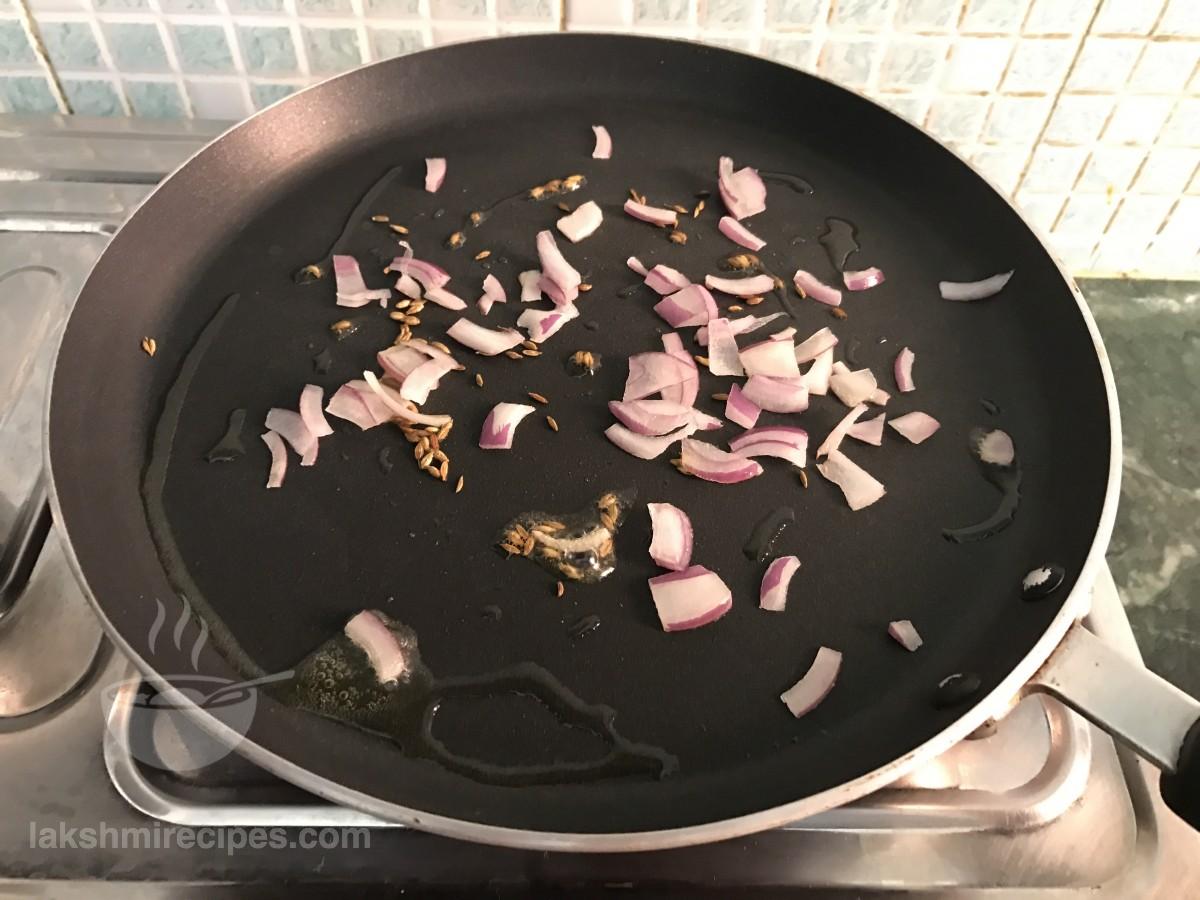
- Sprinkle some cumin seeds (as per taste) and finely chopped onion over the non-stick pan. After a few seconds increase the flame.
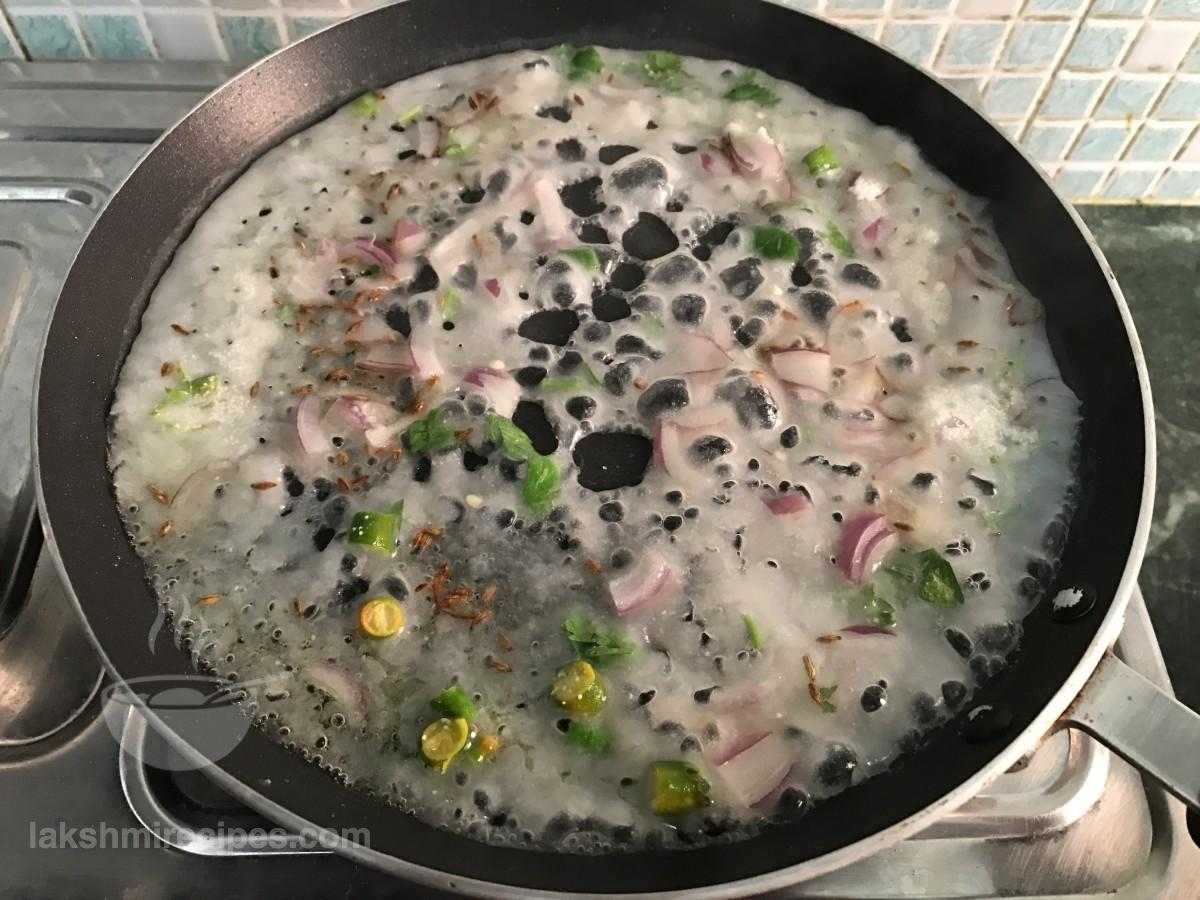
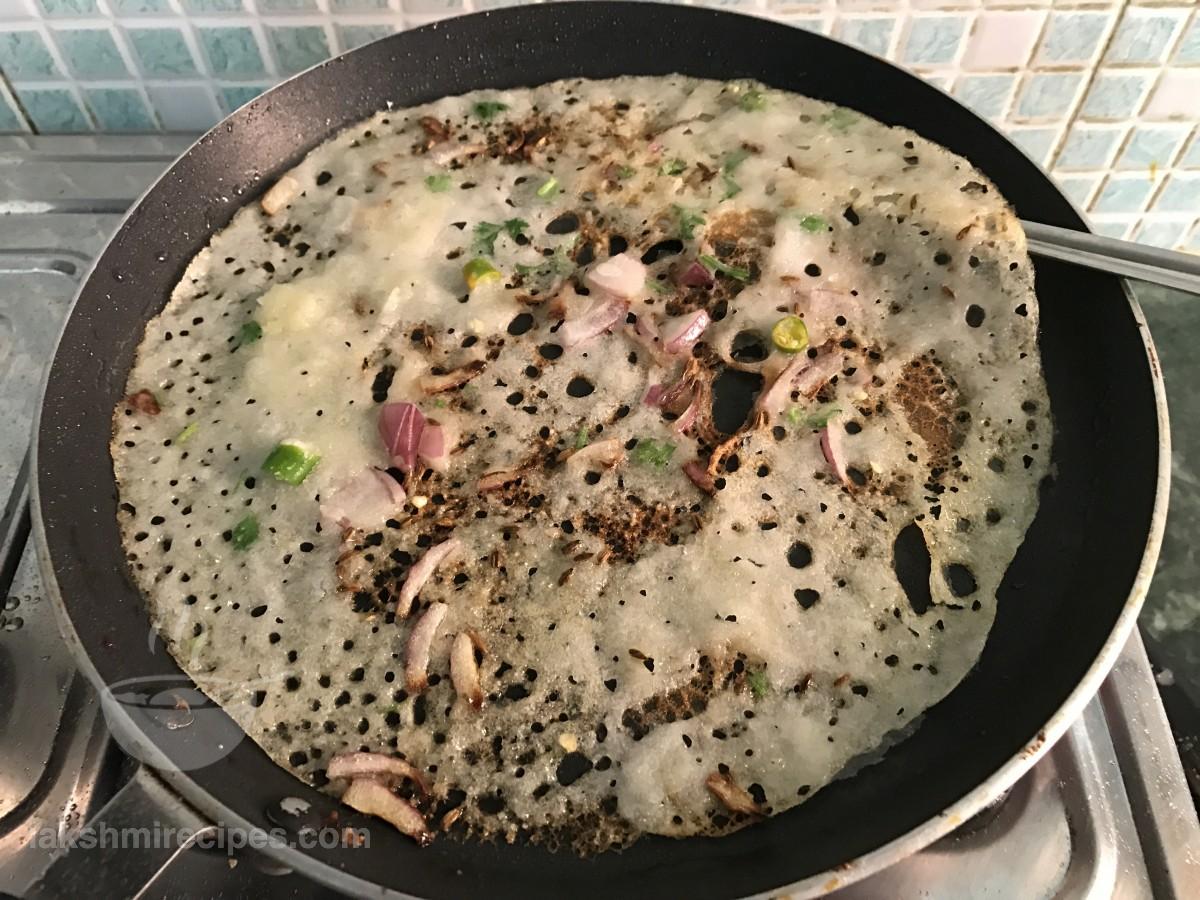
- Then stir the batter once and pour ladle full batter slowly all over the non-stick pan using a round ladle. You do not need to apread the batter. It will spread on its own. (Remember not pour excess batter at one place. The rawa dosa should be thin and net like in texture.) Lower the flame to medium level.
- After 1-2 minutes pour 1 tea spoon refined oil all over the cooking rawa dosa.
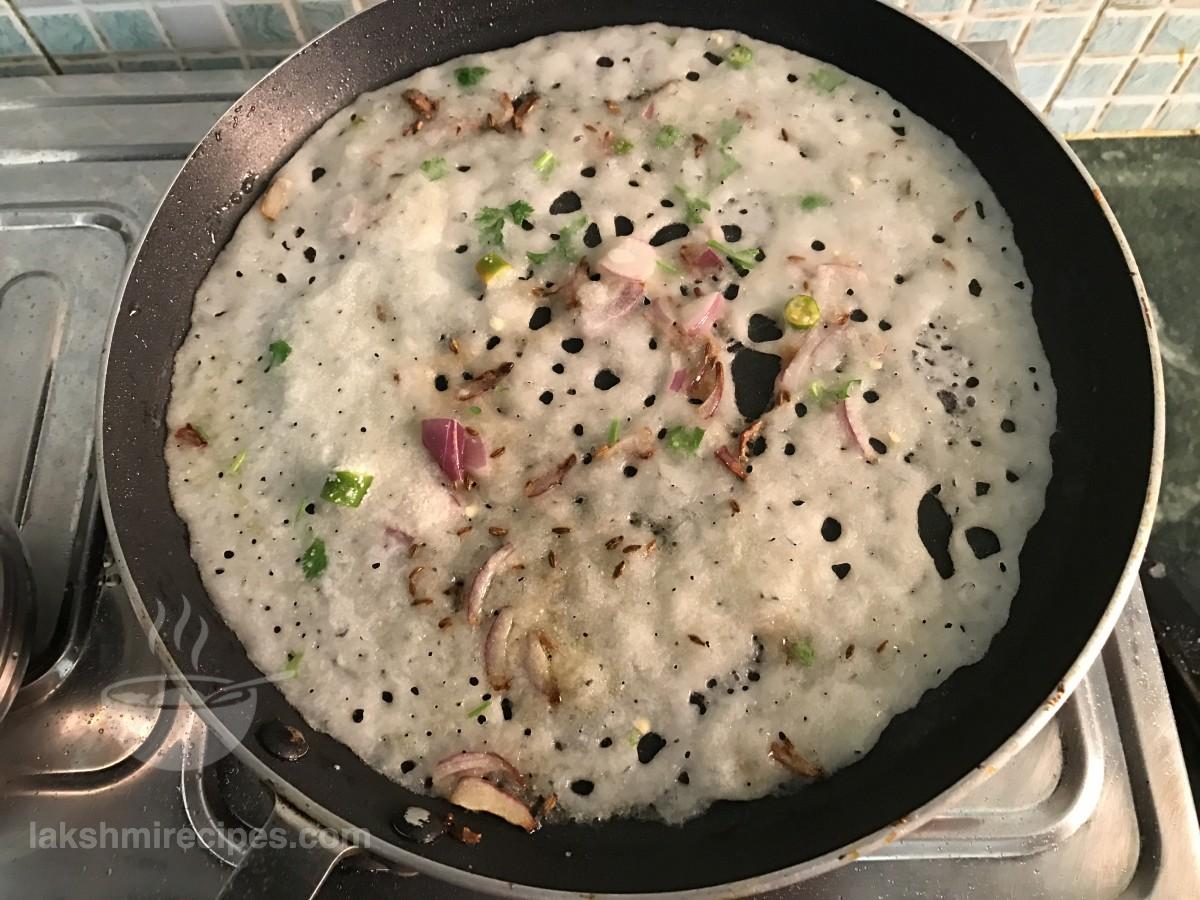
- After 2-3 minutes you shall notice that the color of the rawa dosa changes to crispy red at its base (as shown in the image below).
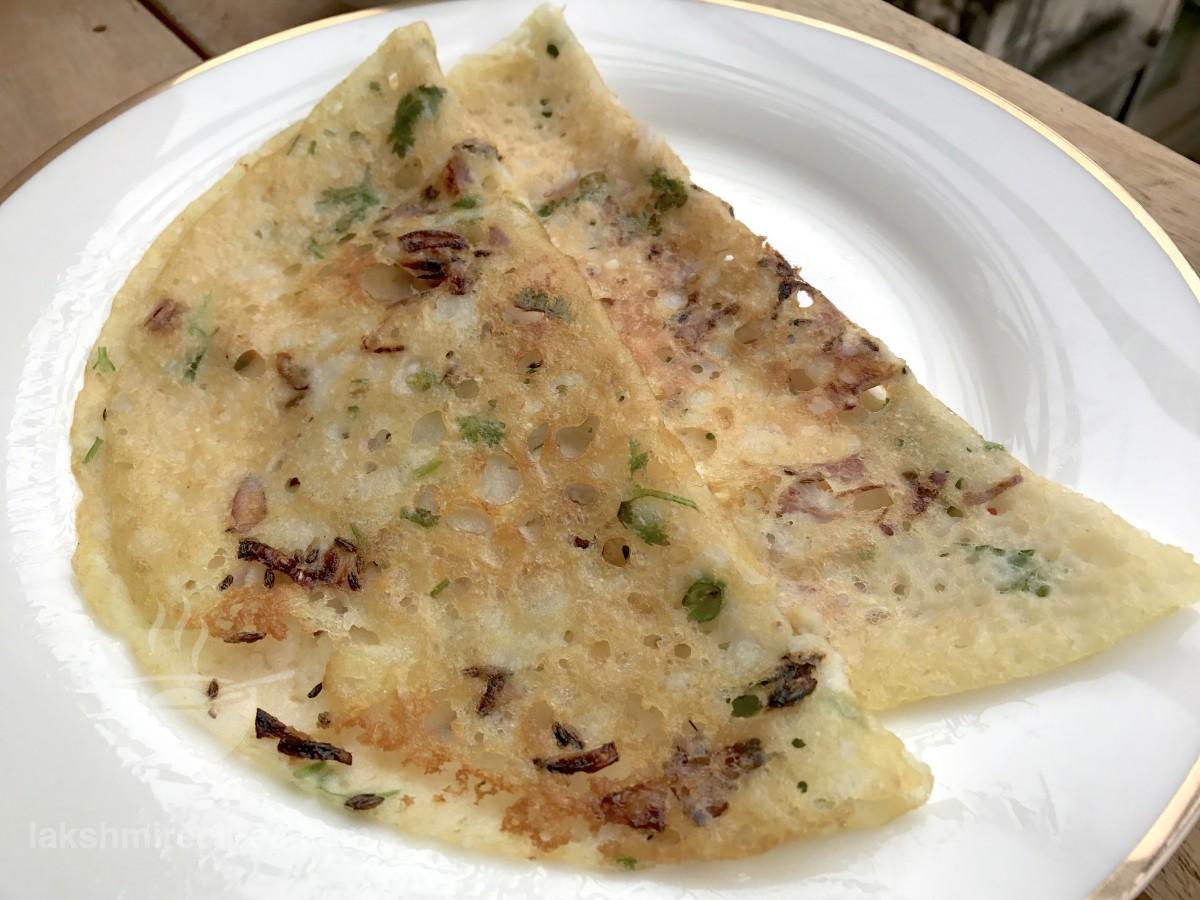
- At this moment use a flat ladle to lift and fold the cooked rawa dosa and remove it from the pan to a plate.
- Prepare rawa dosa of the remaining batter in the same manner and serve with Hari Chutney or Peanuts Chutney or Nariyal Ki Chutney and Sambhar.
रवा डोसा बनाने की प्रक्रिया:
- एक गहरे पतीले में रवा या सूजी, चावल का आटा और मैदा लें और सूखी सामग्री को एक साथ अच्छे से मिला लें।
- अब सूखी सामग्री के मिश्रण में धीरे-धीरे थोड़ा-थोड़ा पानी जोड़ें और अच्छी तरह मिलाएं। पहले एक गाढ़ा घोल बनाएं जिस्से कि घोल में कोई गांठ न पड़े। फिर इस घोल में और पानी जोड़ें और रवा डोसा के लिए एक पतला तैयार करें। (याद रखें कि रवा डोसा के लिए तैयार घोल, एकदम पतली स्थिरता का होना चाहिए। रवा डोसा के लिए घोल पानी की तरह बहने वाला होना चाहिए ताकि नॉन-स्टिक पैन पर डालते ही फैल जाए।
- अब इसमें स्वाद के अनुसार नमक डालें, बारीक कटी हुई हरी मिर्च और धनिया की पत्ती (आप धनिया पत्ती की जगह करी पत्ता का उपयोग कर सकते हैं) घोल में डालें। अच्छी तरह मिलाएं और फिर एक ढक्कन के साथ पतीले को कवर कर दें। 20-30 मिनट के लिए रवा डोसा के घोल को बिना हिलाएं छोड़ दें।
- 20-30 मिनट के बाद, एक मोटे तले का नॉन-स्टिक पैन गरम करें, आँच को मध्यम स्तर तक कम करें और 1 छोटी चम्मच रिफाइंड तेल के साथ इसे ग्रीस कर दें।
- थोड़ा जीरा (स्वाद के अनुसार) छिड़कें और नॉन-स्टिक पैन पर बारीक कटा हुआ प्याज डालें। कुछ सेकंड बाद आँच बढ़ा दें।
- फिर रवा डोसा के घोल को एक बार चम्मच से चलाएं और एक गोल कल्छी से धीरे-धीरे घोल को नॉन-स्टिक पैन पर धीरे-धीरे डालें। आपको घोल को फैलाने की ज़रूरत नहीं है यह अपने आप में फैल जाएगा (याद रखें कि एक जगह पर घोल को दोबारा नहीं डालें। रवा डोसा पतला और जाली जैसा होना चाहिए।) आँच को मध्यम स्तर तक कम करें।
- 1-2 मिनट के बाद 1 छोटी चम्मच रिफाइंड तेल पकते हुए रवा डोसा पर घुमा के डालें।
- 2-3 मिनट के बाद आप देखेंगे कि रवा डोसा का रंग अपने नीचे से लाल और क्रिस्पी होने लगेगा (जैसा कि नीचे की छवि में दिखाया गया है)। इसका मतलब है कि रवा डोसा पक चुका है।
- अब इस पके हुए रवा डोसा को आराम और ध्यान से उठाके एक प्लेट में निकाल लें।
- उसी तरह शेष घोल का रवा डोसा तैयार करें और हरी चटनी या मूंगफली की चटनी या नारीयाल की चटनी और सांभर के साथ गरमा-गरम परोसें।
(Tips: Try to remove the cooked Rawa Dosa from the pan only when it appears nice crispy red at its base. So that it doesn't stick and breaks while removing from the pan.)
Link to the video: How To Make Rawa Dosa or Rawa Dosa Recipe or रवा डोसा बनाने की प्रक्रिया


SHARE YOUR FEEDBACK