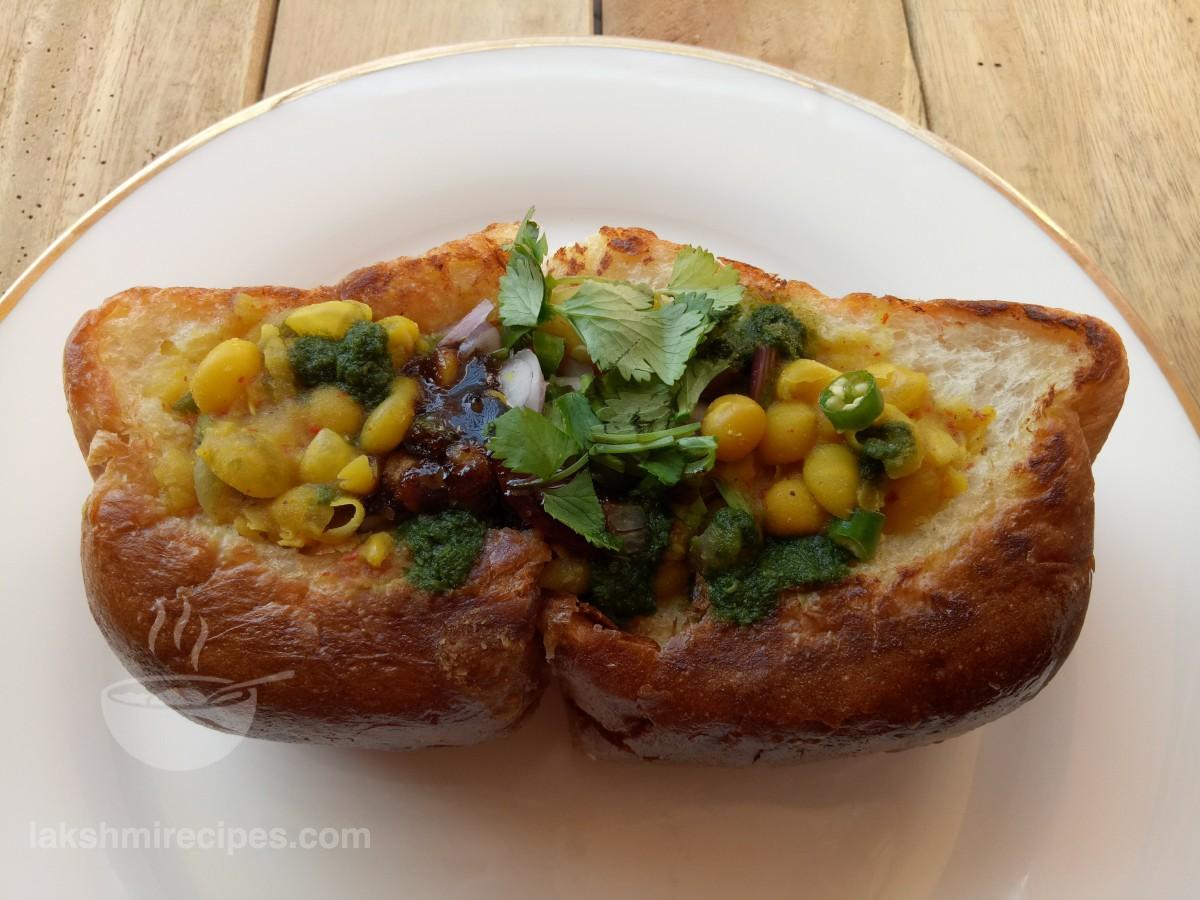
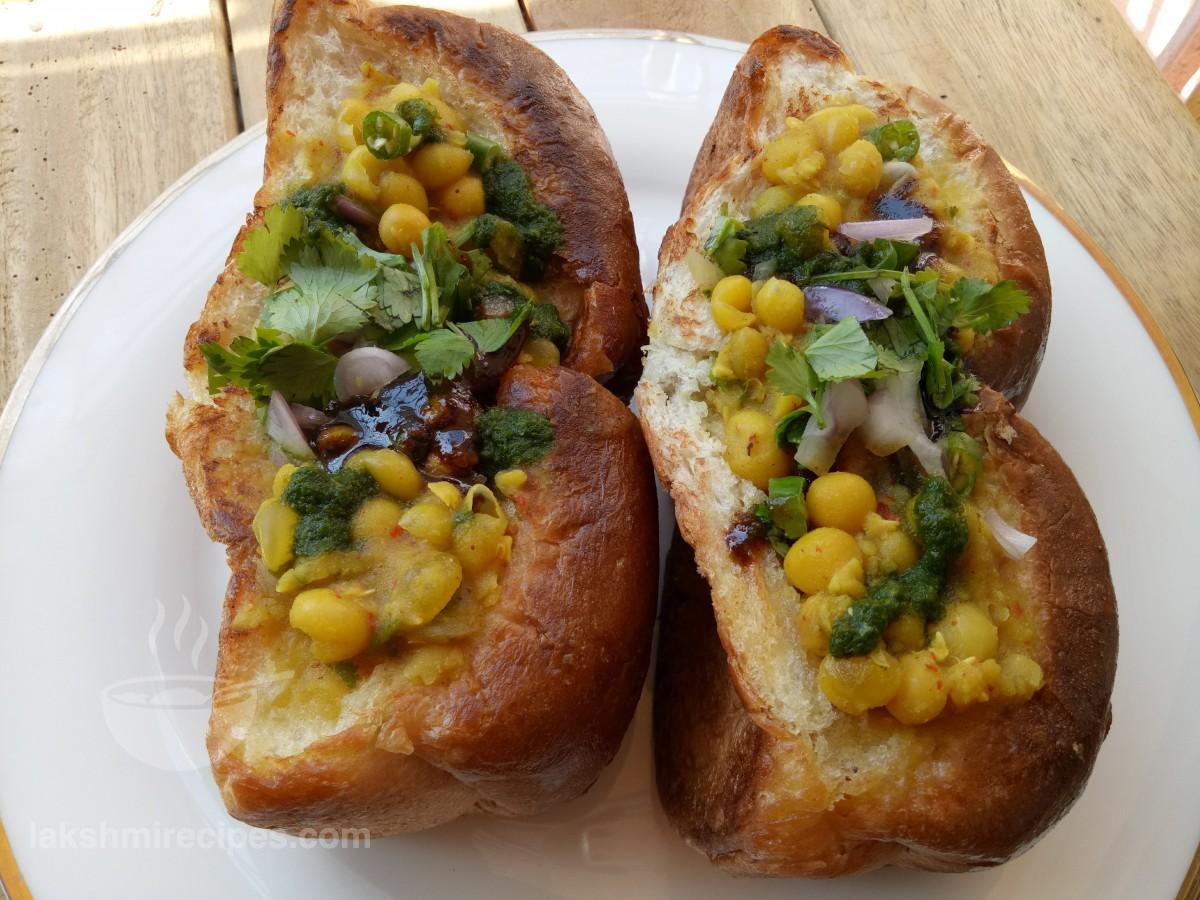
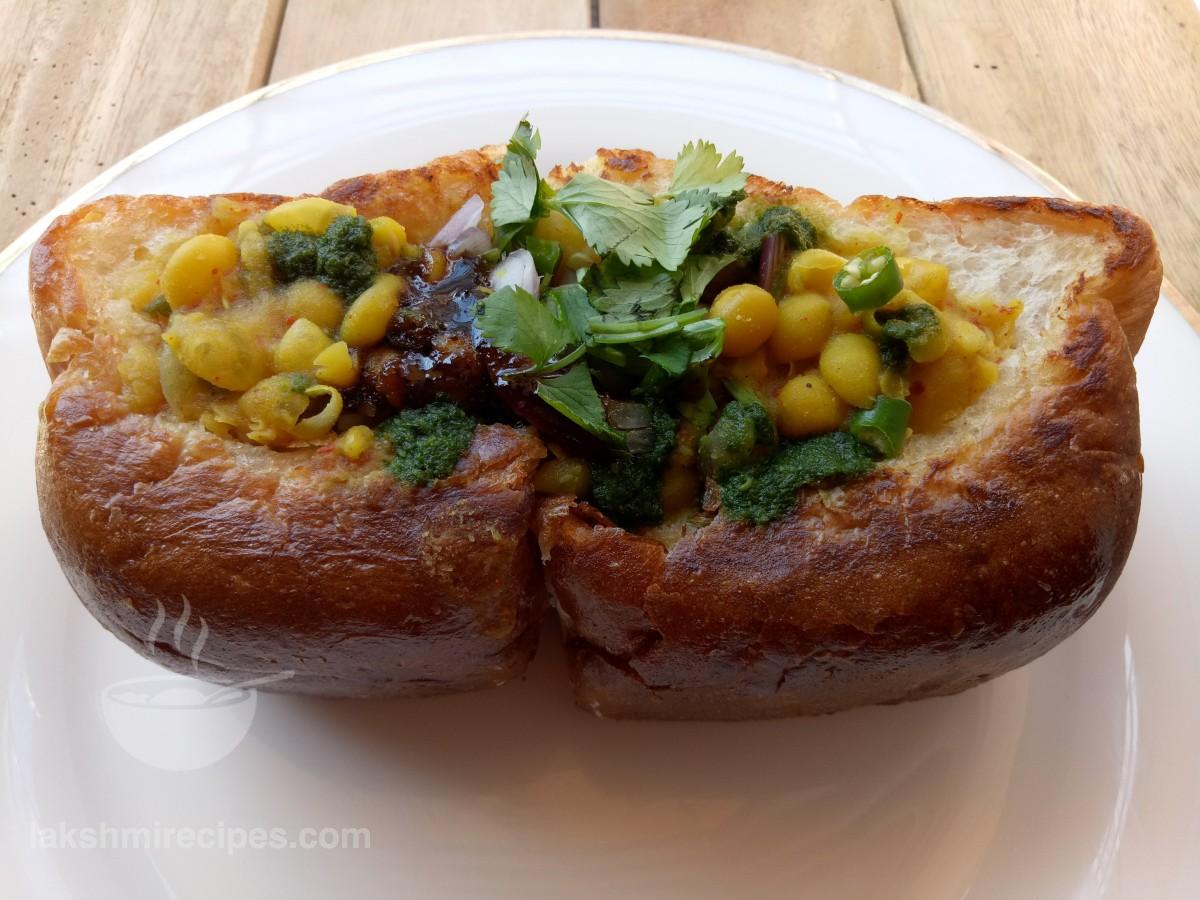
Have you ever been to Shimla, then you must have seen this unique snack available as street food there. Well, I have tried one and it tasted heavenly, and so I thought of making it in my kitchen for my family as a special weekend evening treat. It looks huge but it is very easy to make and has an amazing blend of various flavors that will make you crave for more.
Try out this amazing dish of matar-tikki bun and surprise and impress your family with this snack dish.
Preparation Time: 6 hours + 10 minutes for preparing the ingredients
Cooking Time: 20 minutes for making Matar Ka Chhola + 5 minute for making Aloo Tikki + 5 minute for toasting bun bread + 5 minutes for making Matar-Tikki Bun
Recipe Yield: 3 servings
Ingredients for making Matar-Tikki Bun / सामग्री:
- For Matar Ka Chhola:
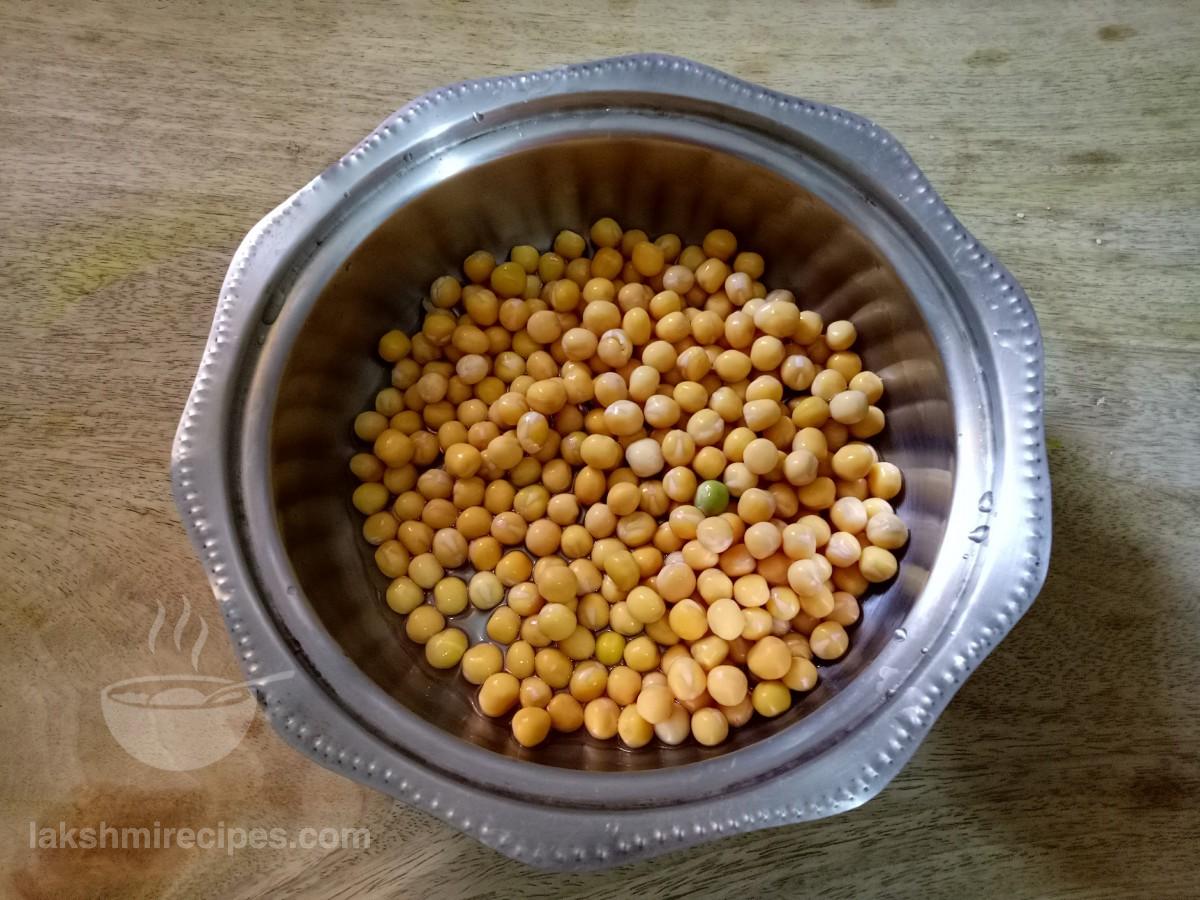
- White dry Peas - 1 small cup, soaked in plain clean water for 6 hours;
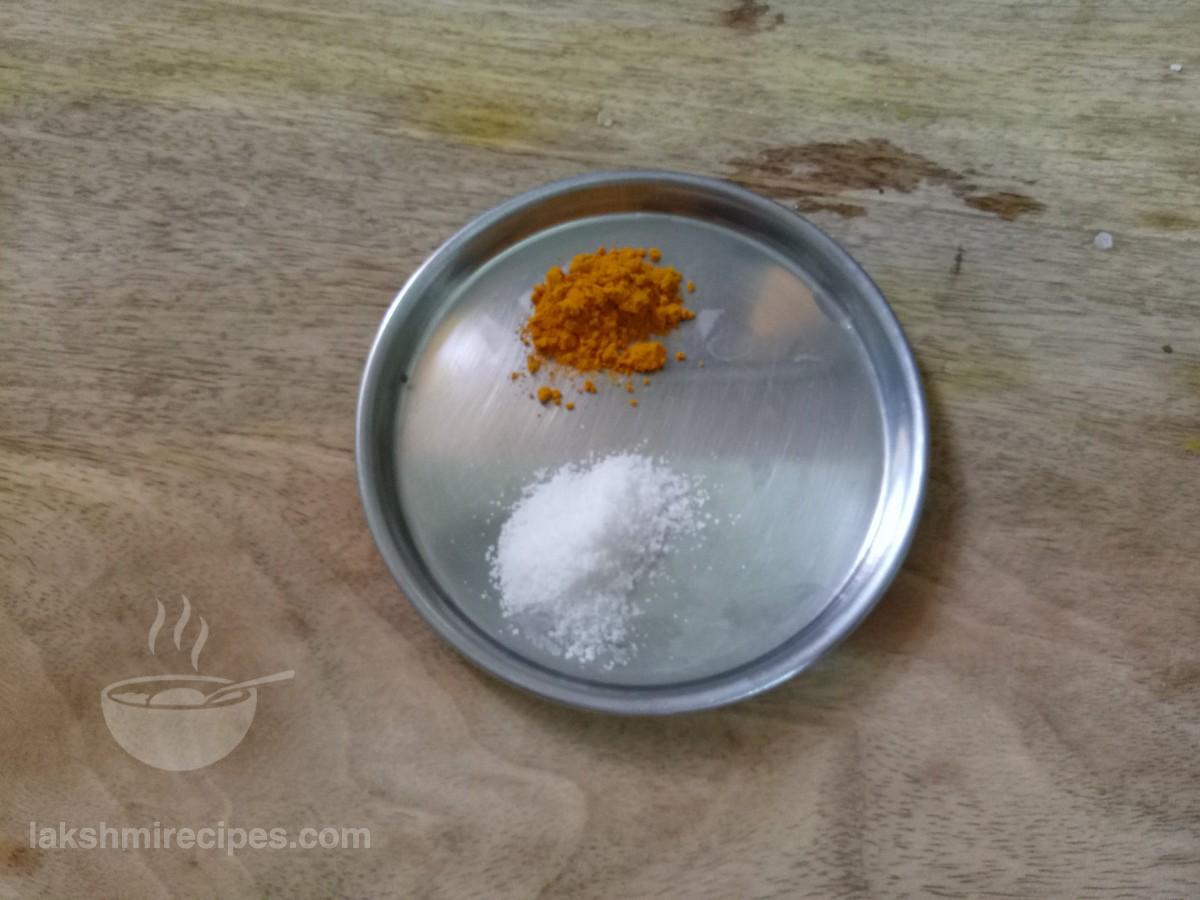
- Turmeric Powder - 1/2 tea spoon;
- Salt as per taste;
- Water as per requirement;
- Red Chilli Powder - 1 tea spoon;
- Chaat Masala Powder - as per requirement;
- Onion - 1 finely chopped;
- Green Chilli - 3-4 finely chopped;
- Ginger - 1 inch piece, finely chopped;
- Coriander Leaves - as per requirement or 1 table spoon, finely chopped;
- Lemon - 1/2 small size;
- For Aloo Tikki:
- Boiled Potatoes - 2-3 big size;
- Salt as per taste;
- All Purpose flour - 1 table spoon, you can use corn flour instead as well;
- Refined Oil - as per requirement;
- Vada Pav Bun Bread - 3;
- Butter - as per requirement;
- Imli ki Meethi Chutney - as per requirement;
- For Garnishing:
- Hari teekhi chuteny - Hare Dhaniye ki Chutney or Pudhine Ki Chutney;
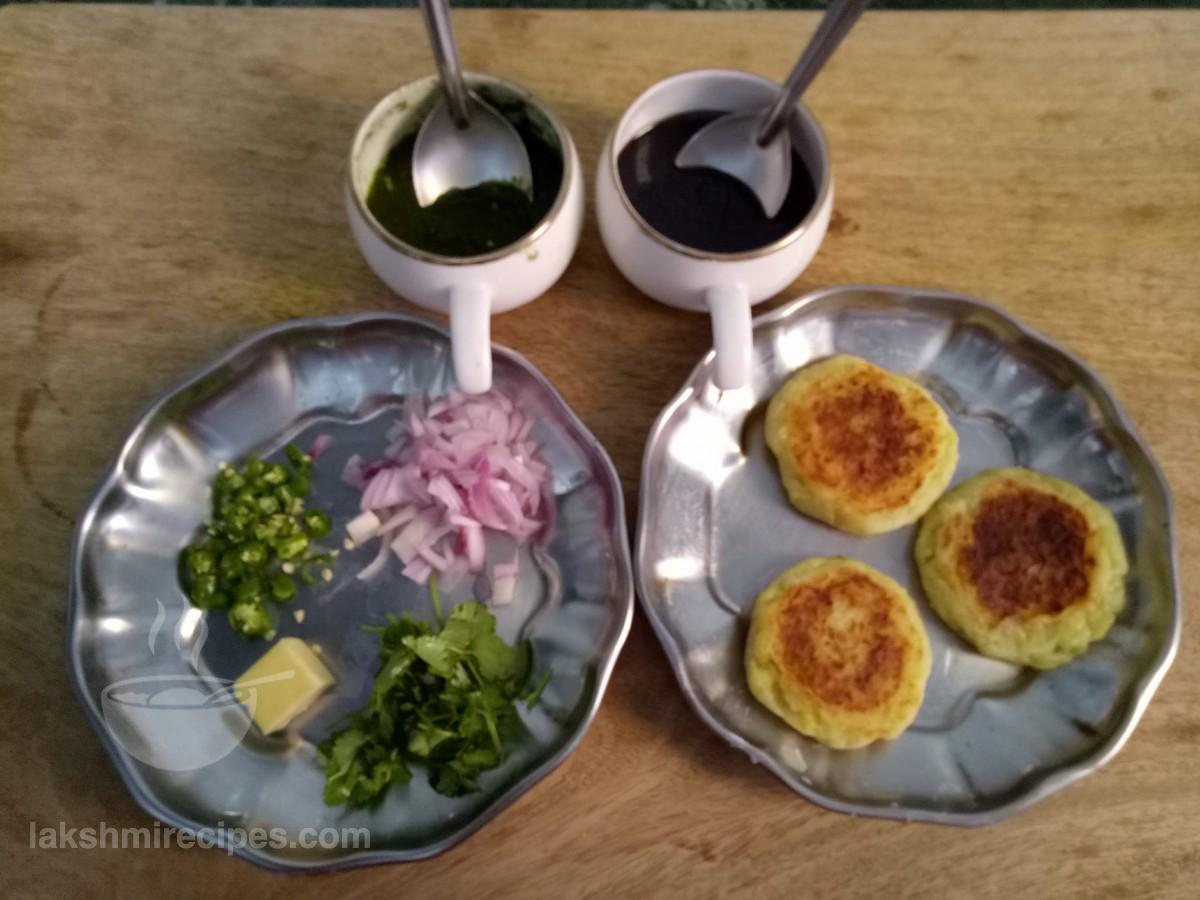
- Onion - as per requirement, finely chopped;
- Green Chilli - as per requirement, finely chopped;
- Coriander Leaves - as per requirement, finely chopped;
Procedure for making Matar-Tikki Bun:
- Preparation of Matar Ka Chhola:
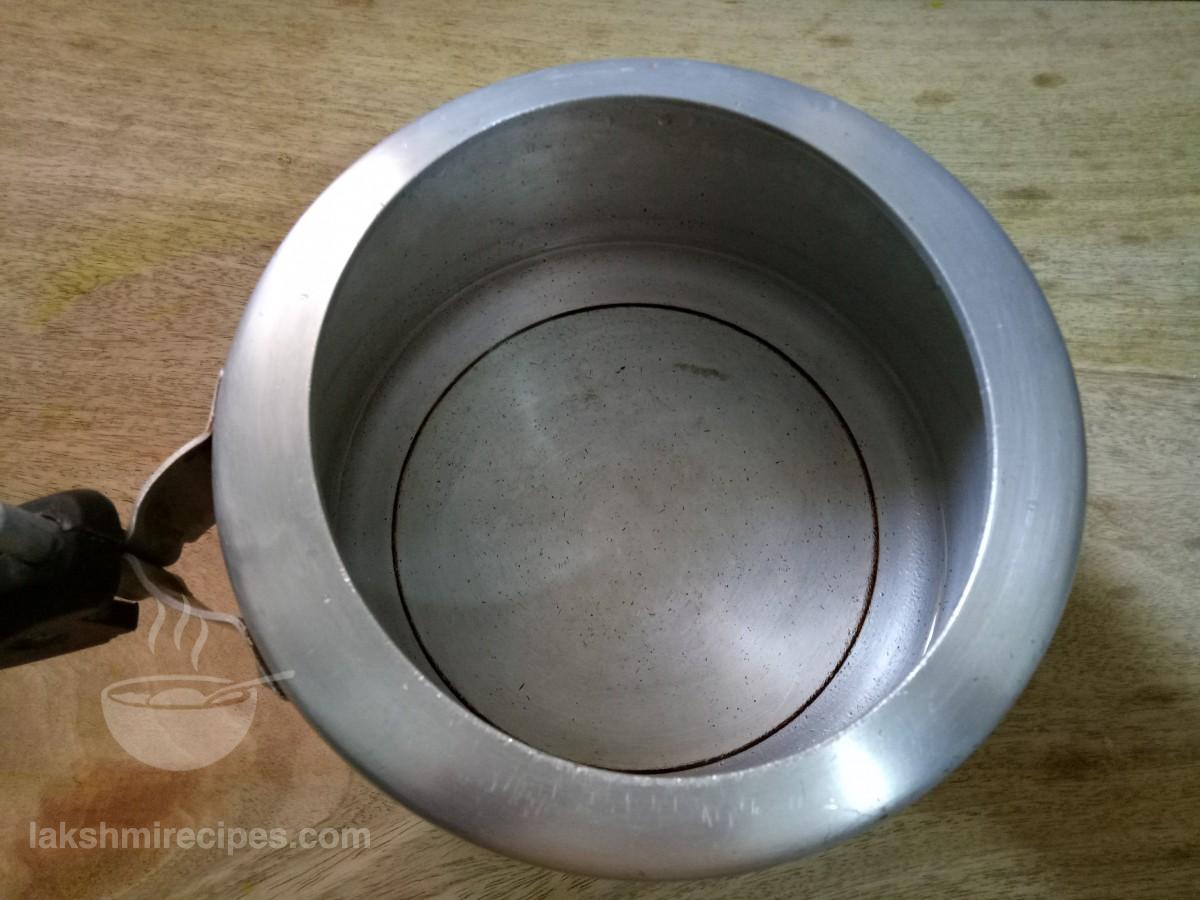
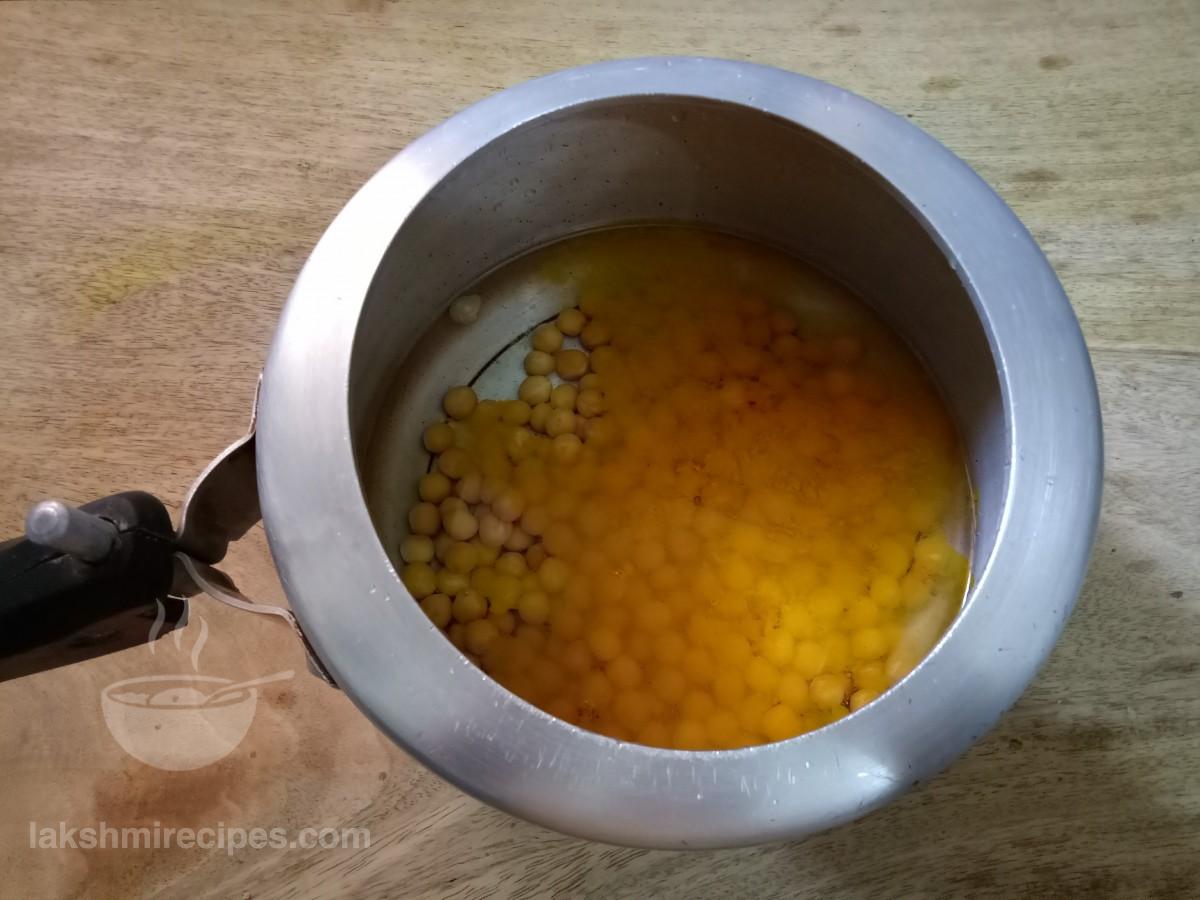
- First, to prepare the Matar ka chhola, wash the soaked white peas with plain water nicely and then transfer them to a pressure cooker.
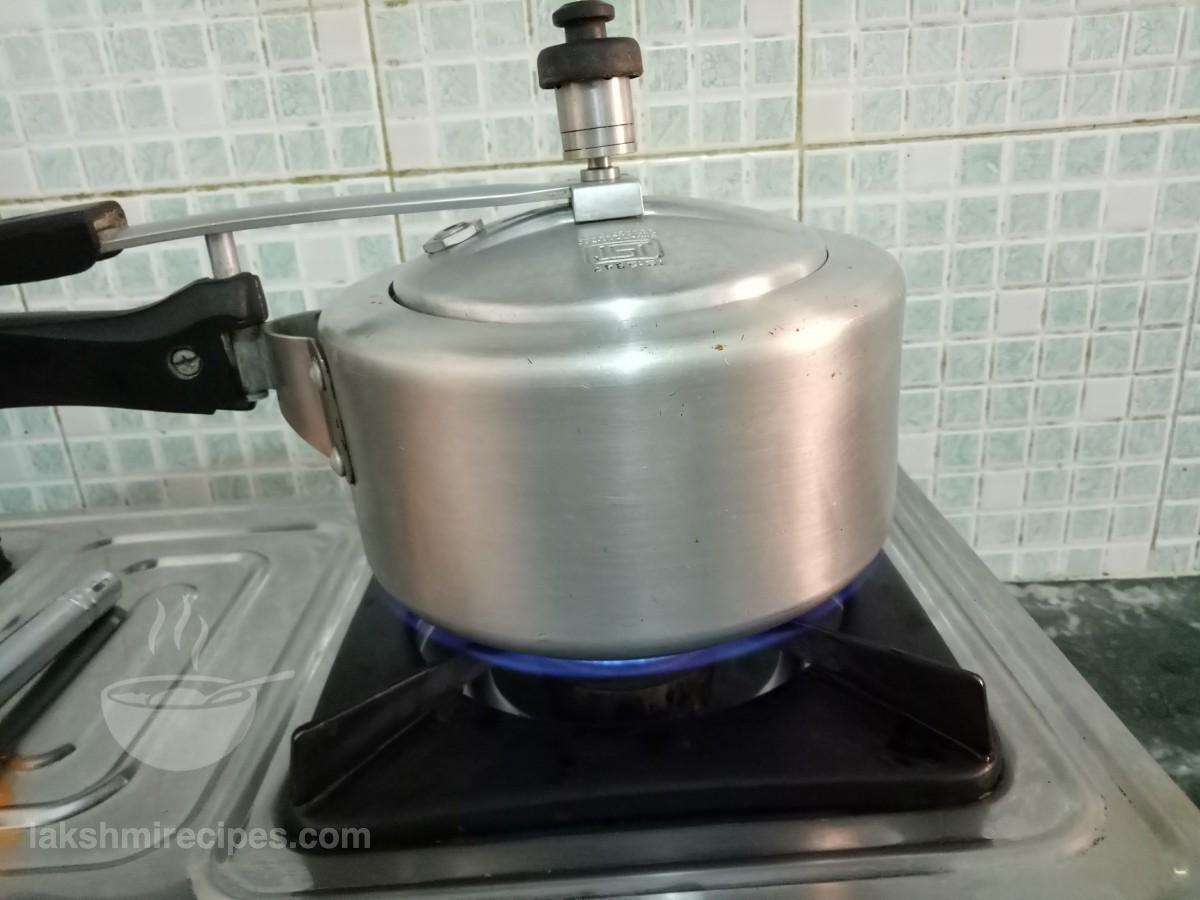
- Add 1.5 small cup water, turmeric powder and salt to the cooker and pressure cook the white peas for one whistle over high flame.
- Lower the flame to medium level after 1 whistle and cook the white peas like this for 15 minutes.
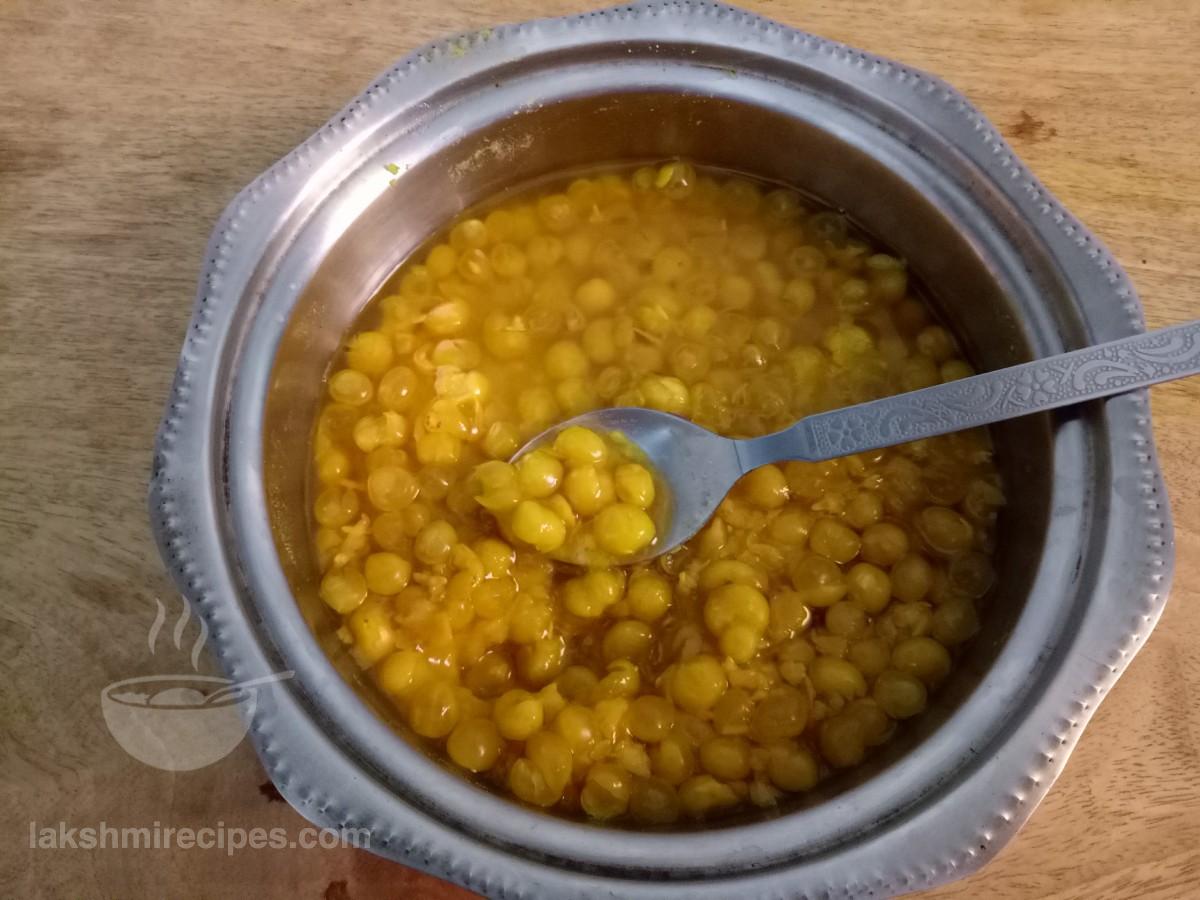
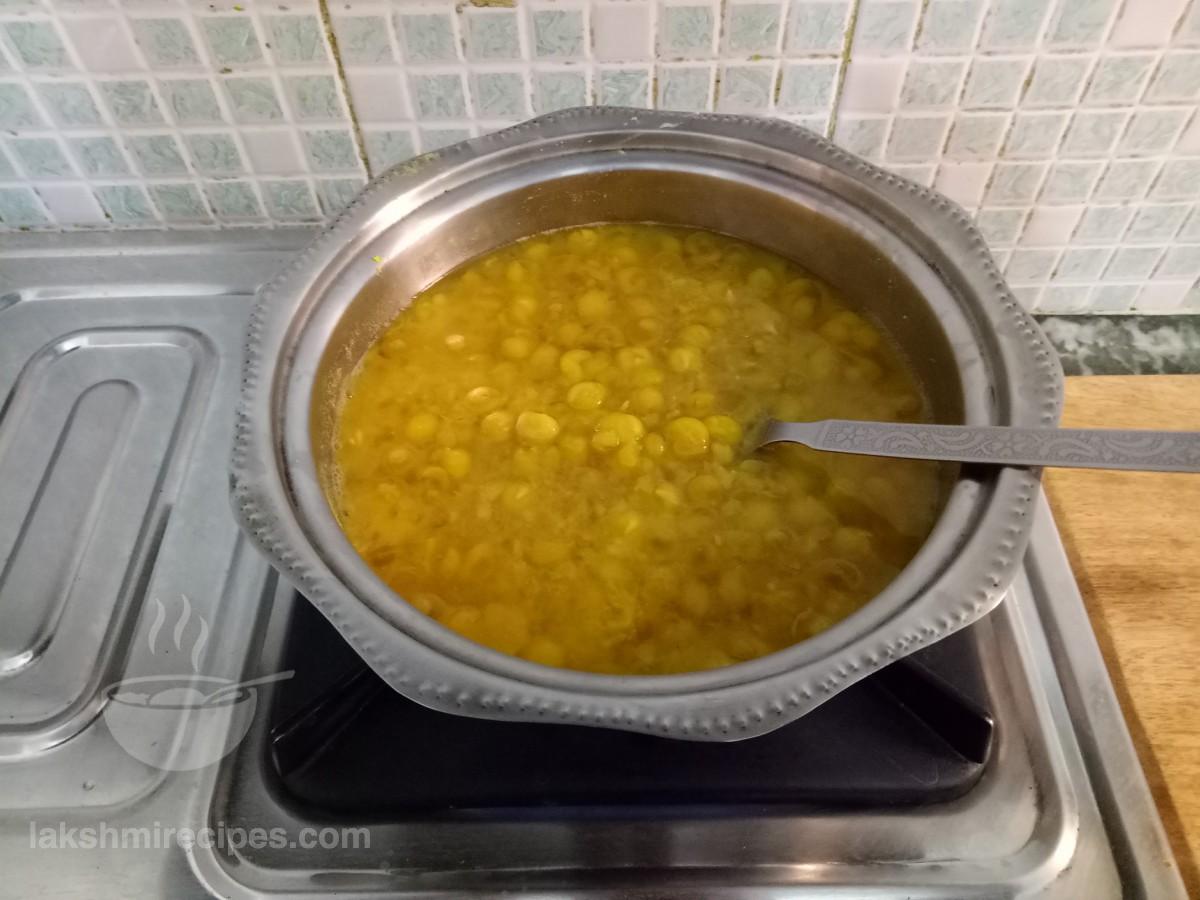
- Turn off the flame after 15 minutes. When the pressure cooker cools and open by itself, then transfer the Matar ka Chhola prepared from white peas to a deep vessel and place it over the gas stove. Remember that the flame should be at low level.
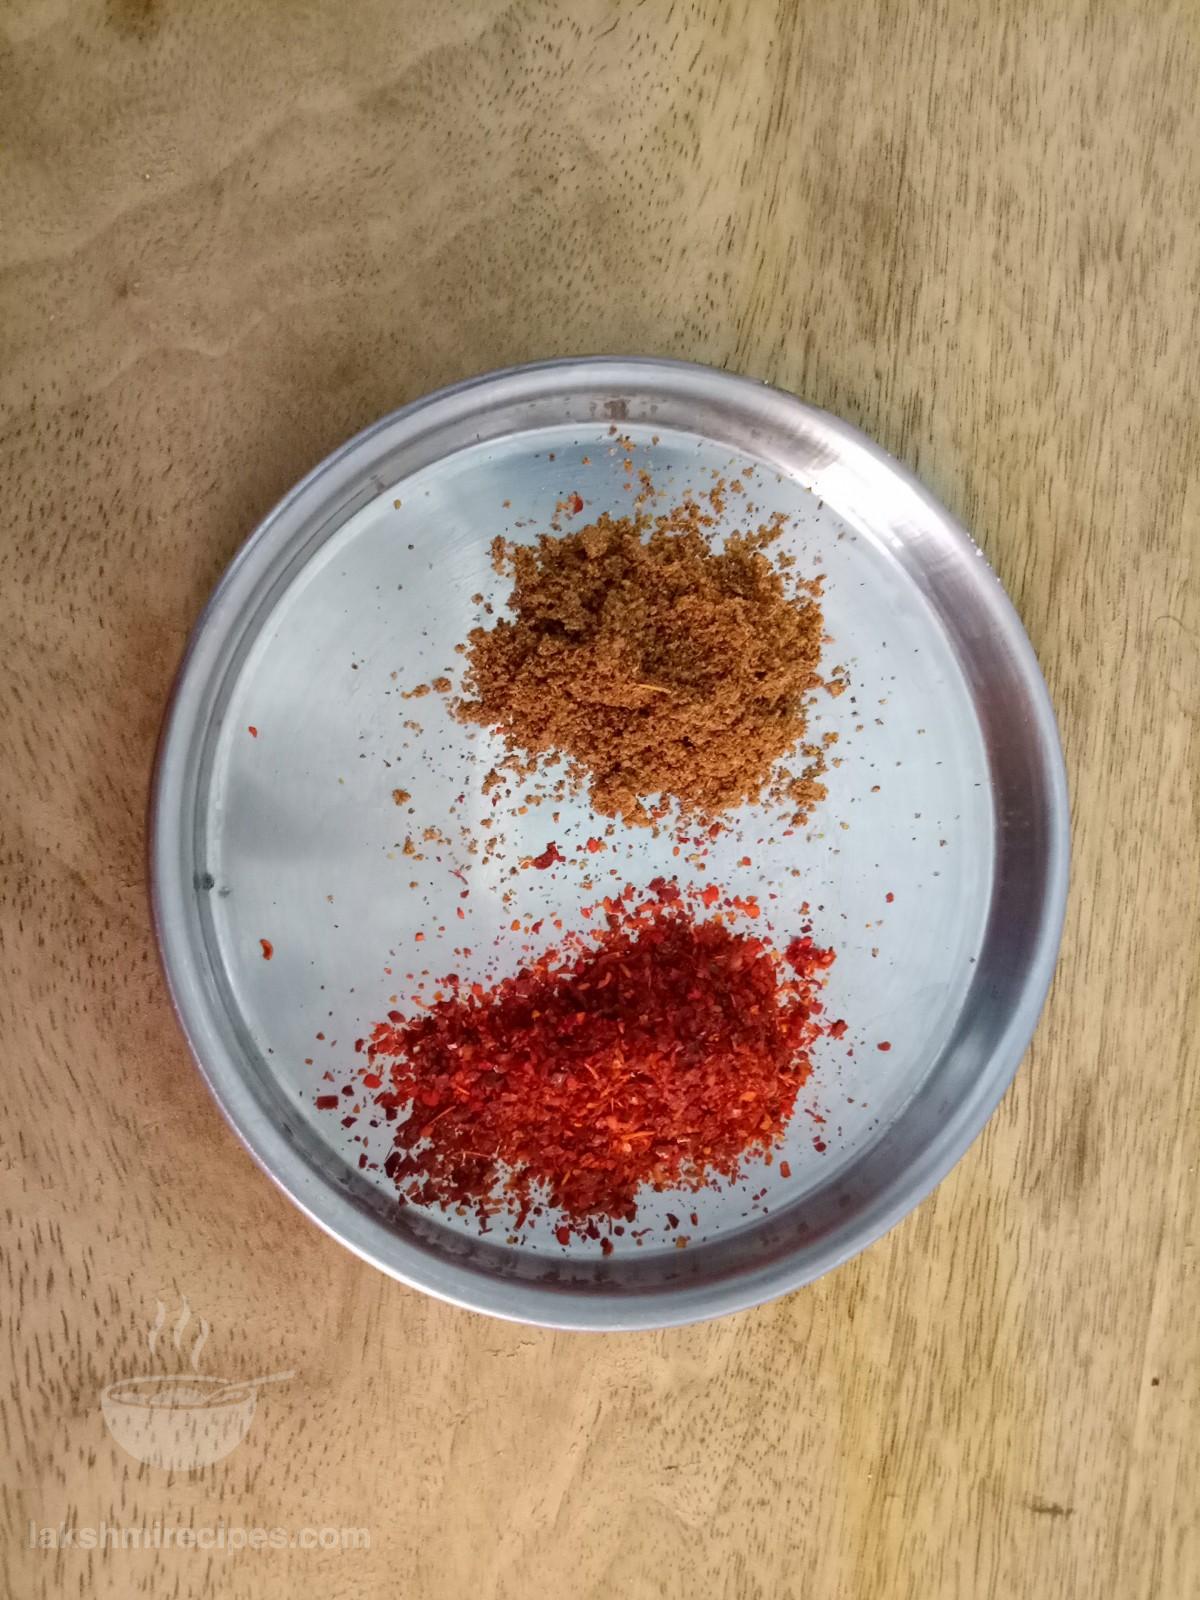
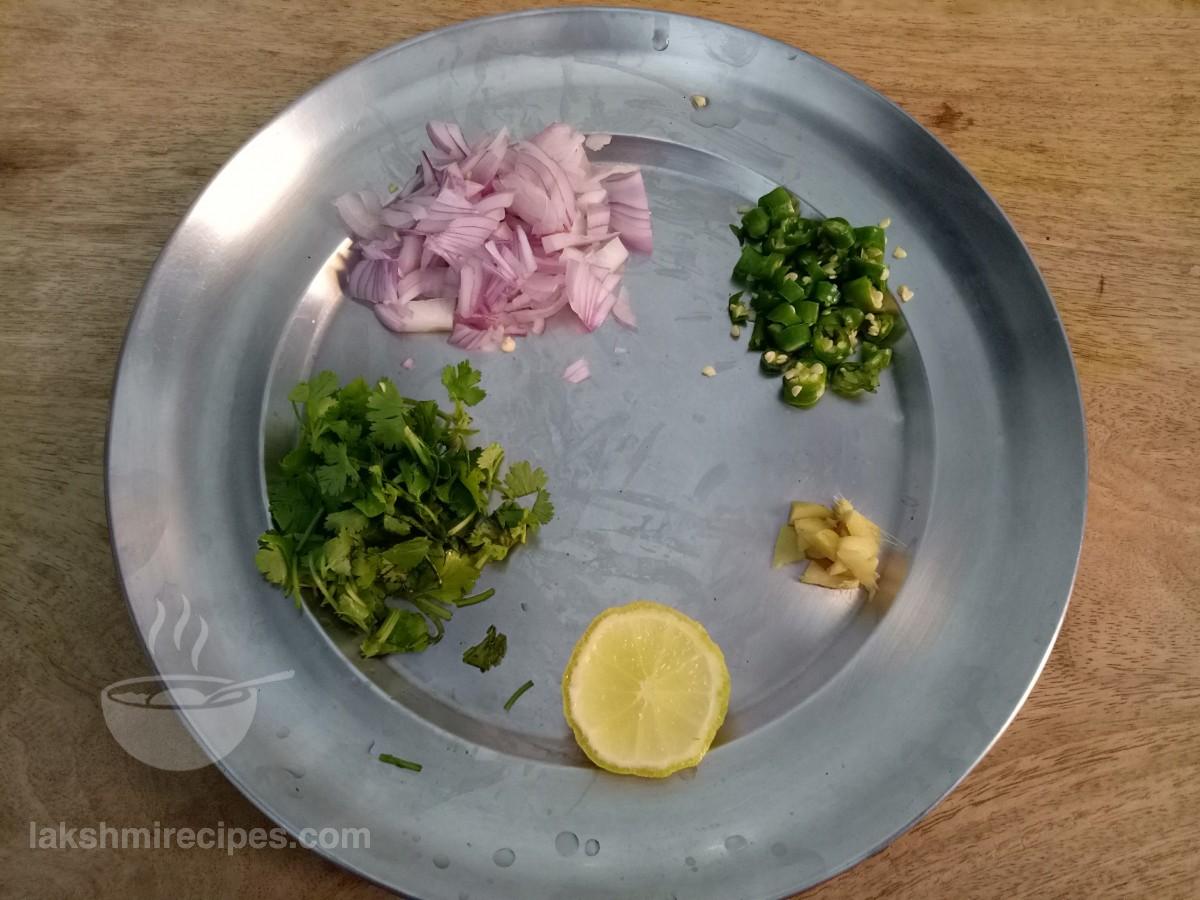
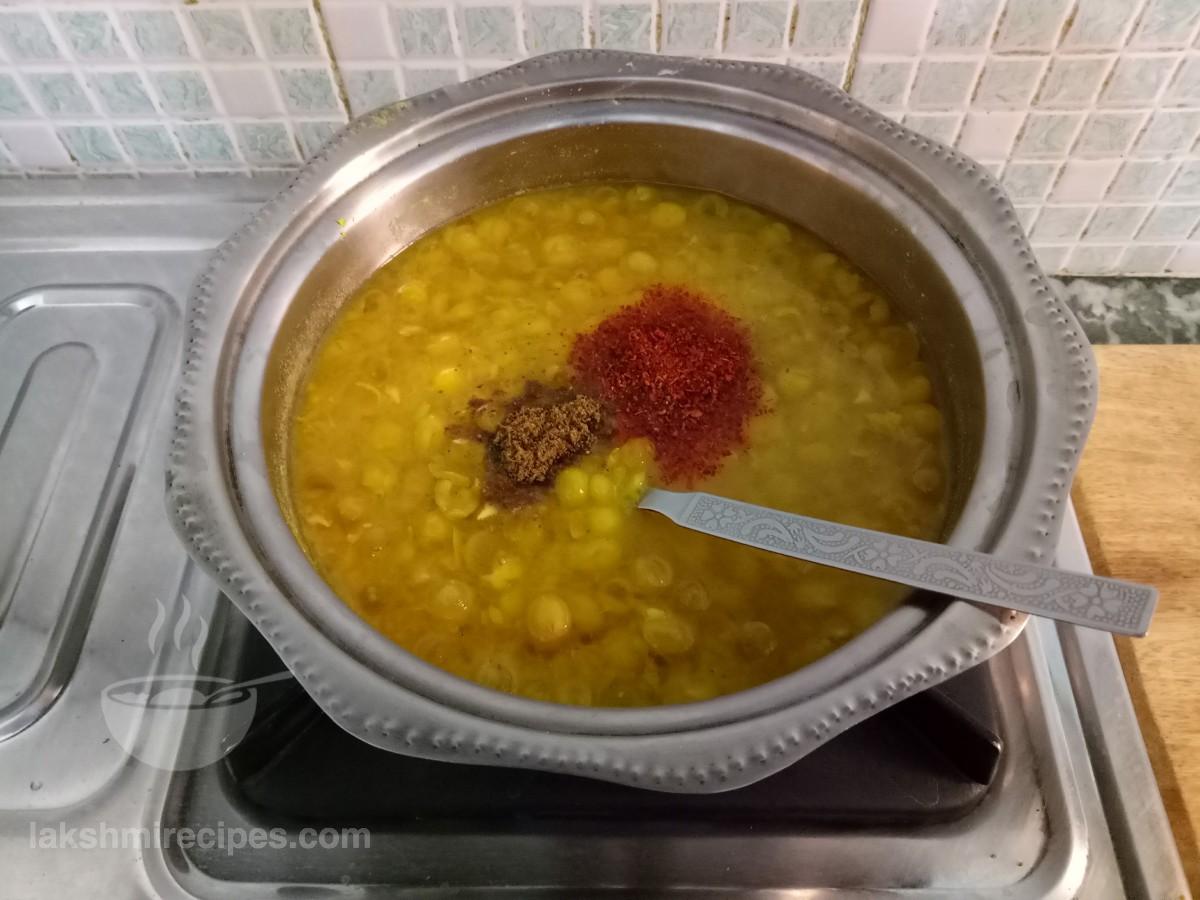
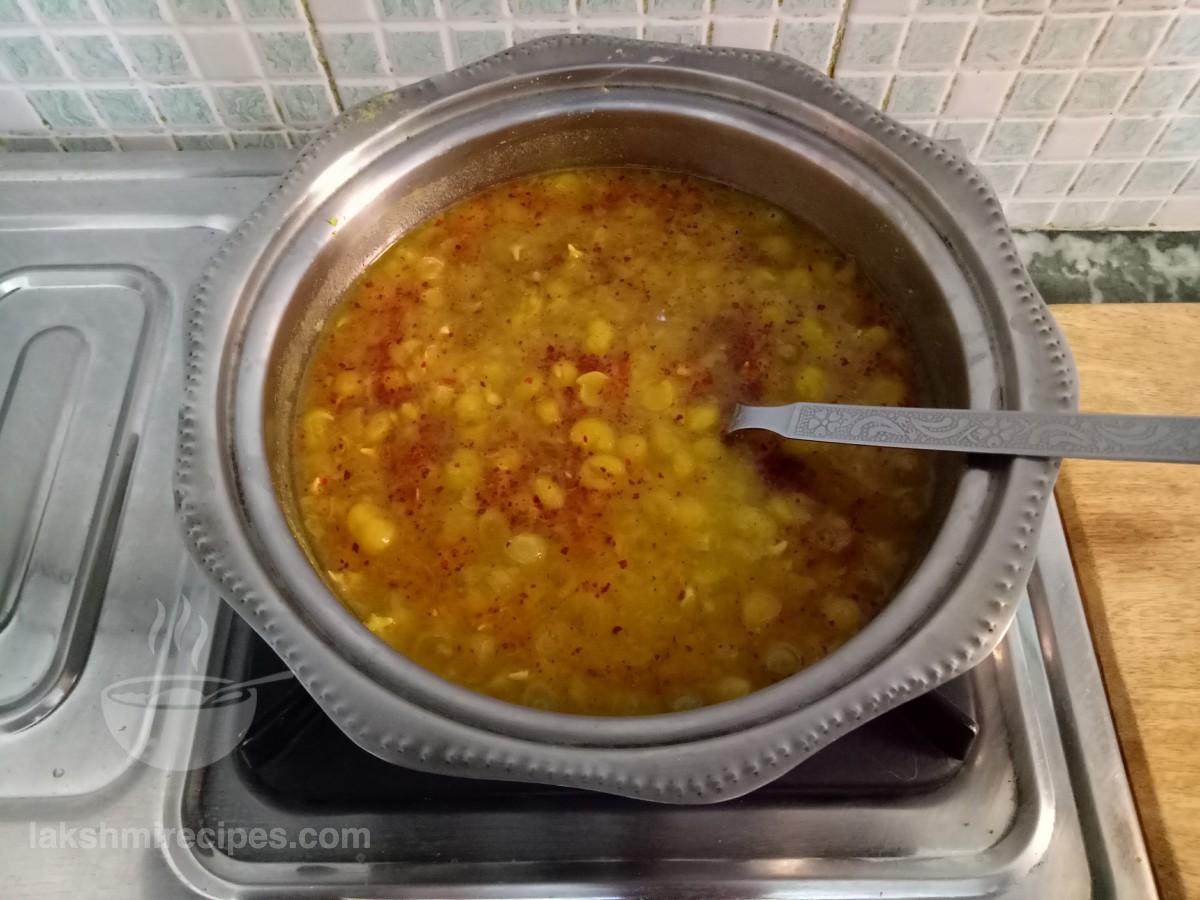
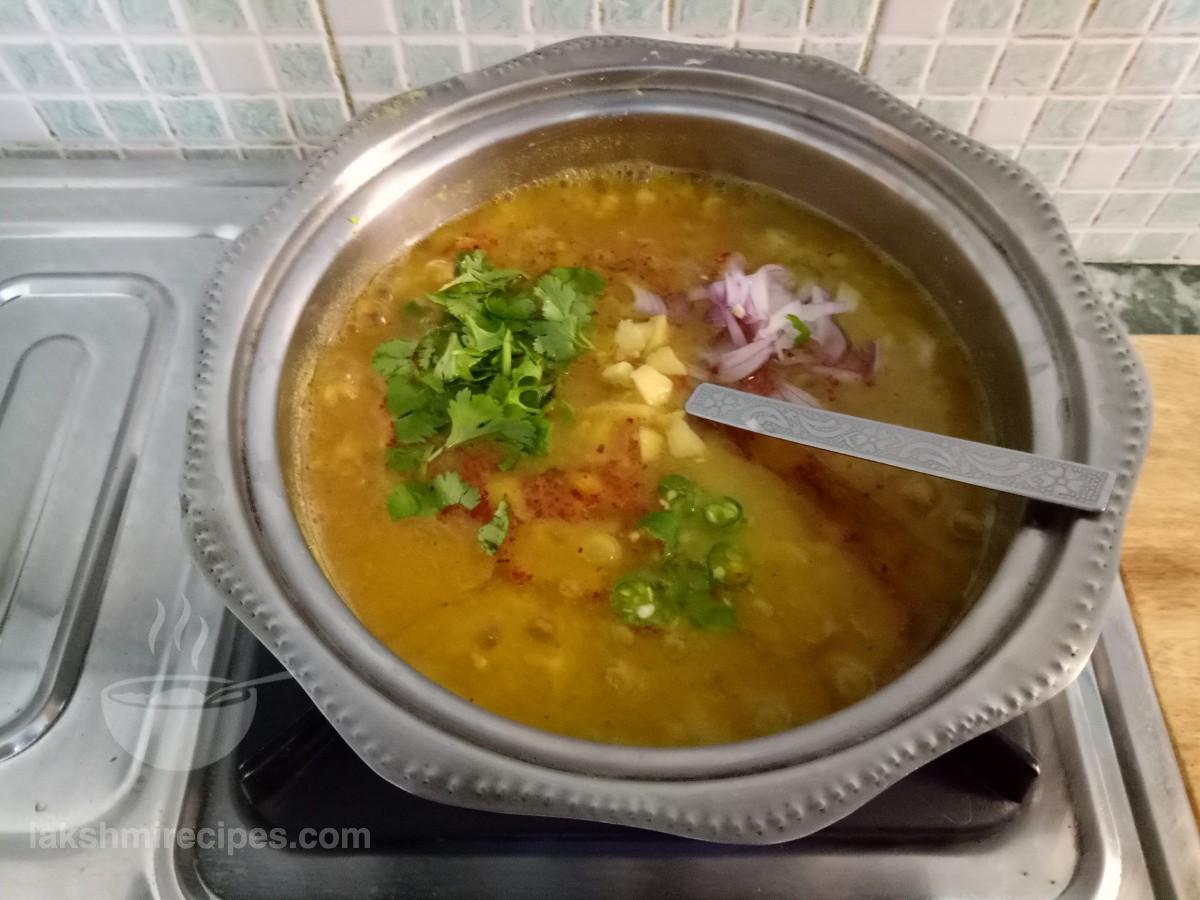
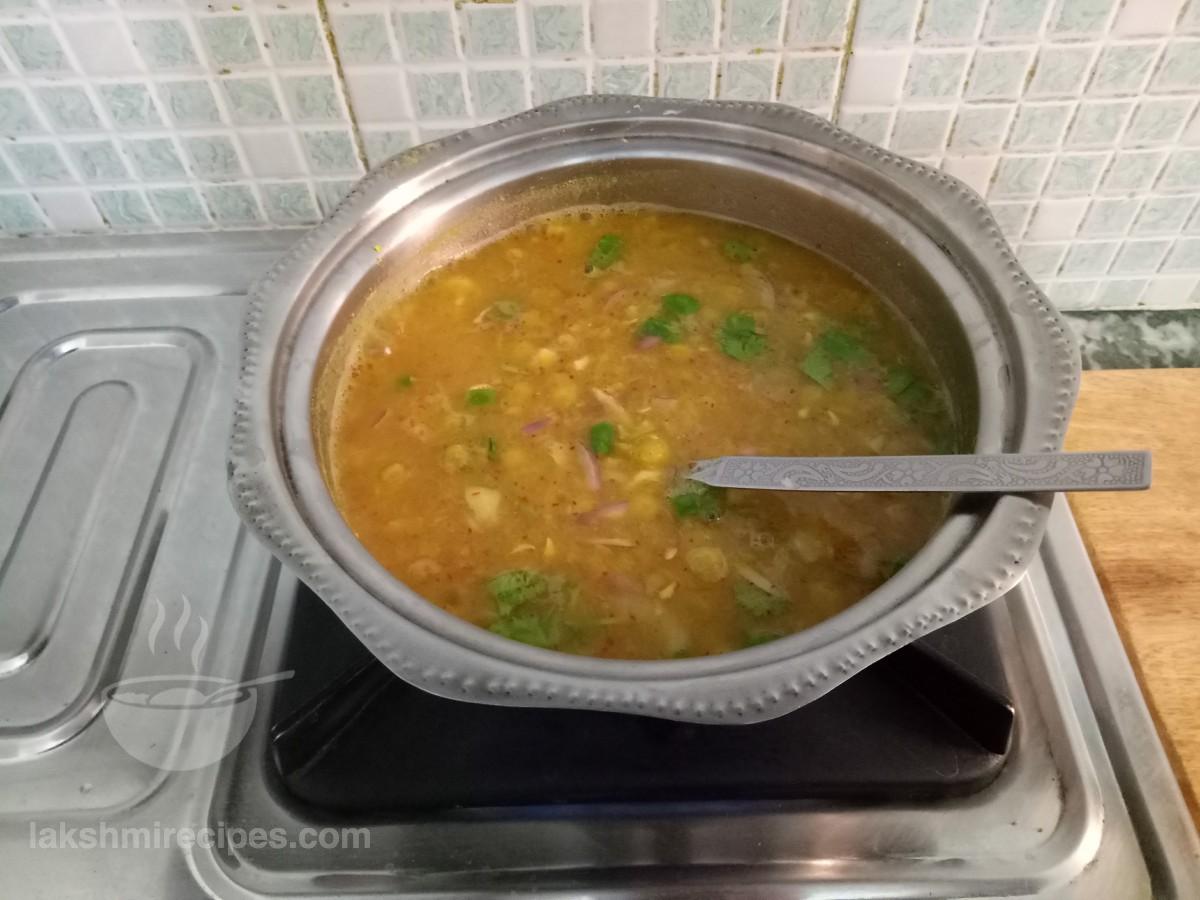
- Now add red chilli powder, chaat masala powder, finely chopped onion, ginger, green chilli and coriander leaves to it. Stir to mix all the ingredients well.
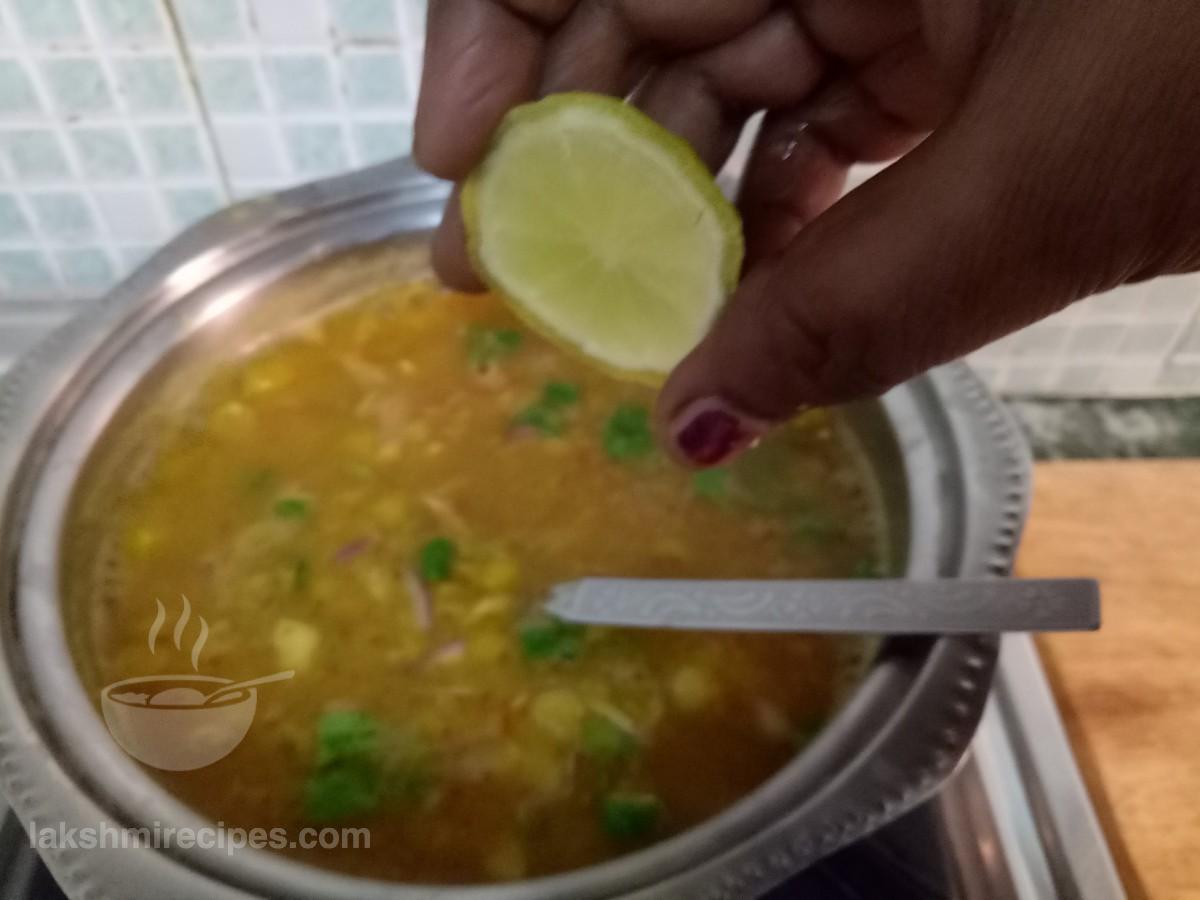
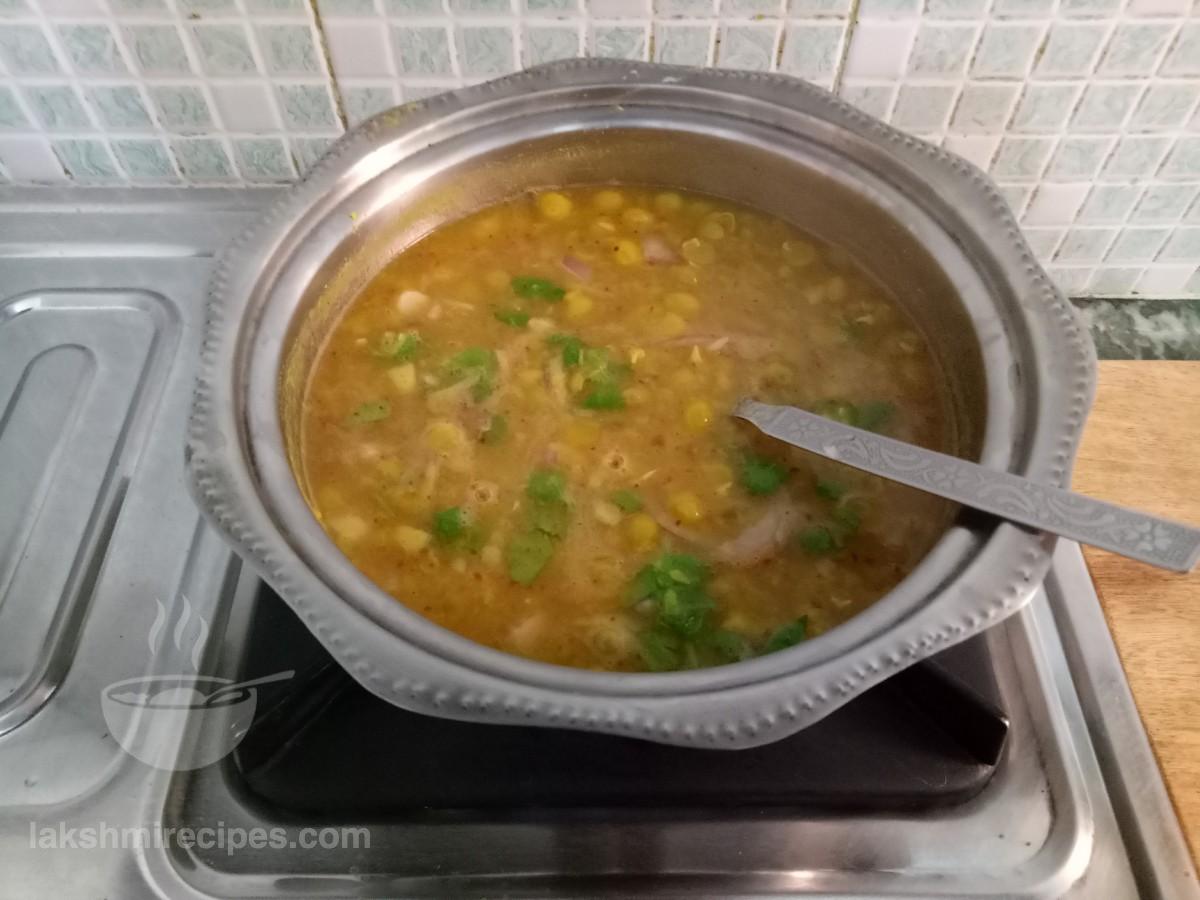
- Then add lemon juice of 1/2 lemon to it and check the salt by tasting with a spoon. Add more salt if needed. Stir to mix the ingredients. The Matar ka chhola is ready to be used later to make the Matar-Tikki Bun. Leave it on the gas stove over low flame while you prepare the tikki, so that it remains hot.
- Preparation of Aloo Tikki:
- The next step is to prepare the aloo tikkis, by taking 3 big sized boiled potatoes and peeling them off.
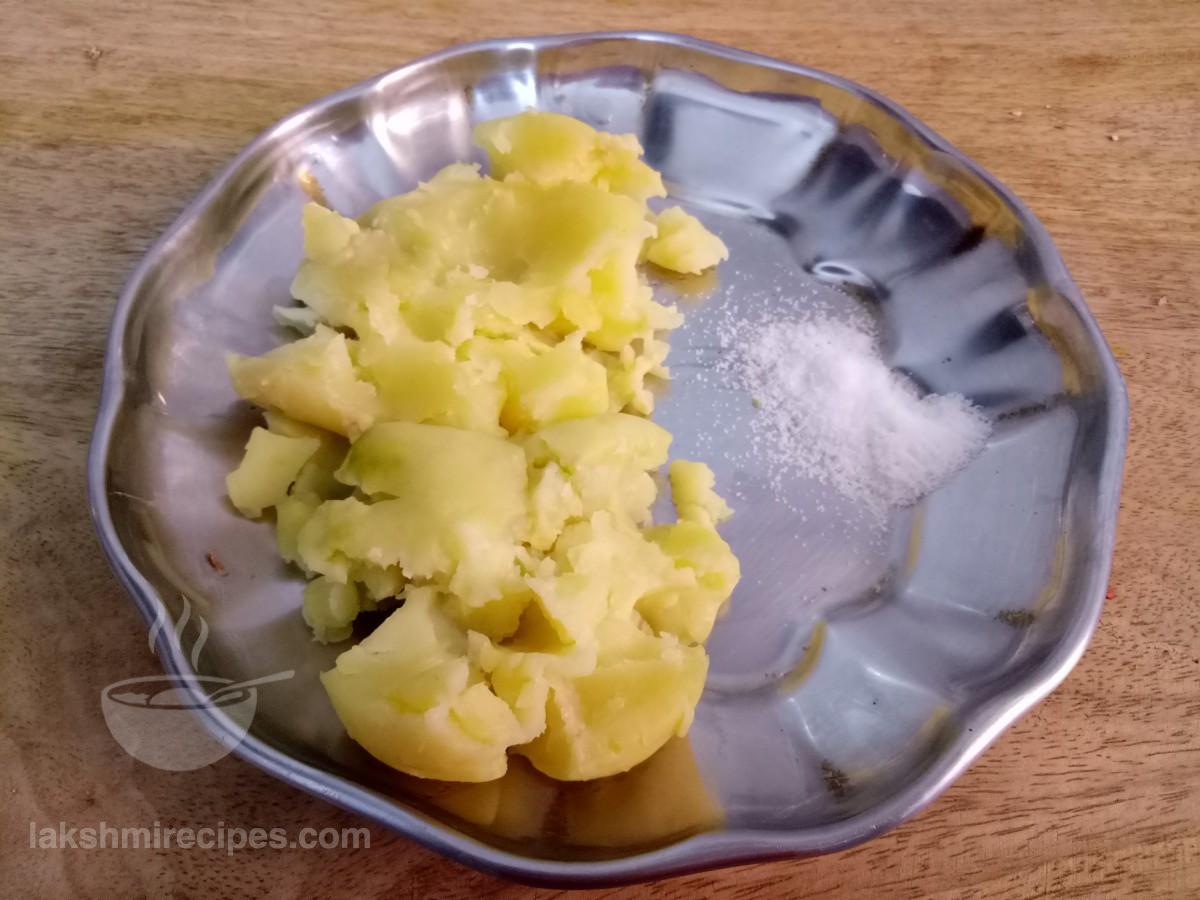
- Then add salt as per taste and mash the boiled potatoes until smooth.
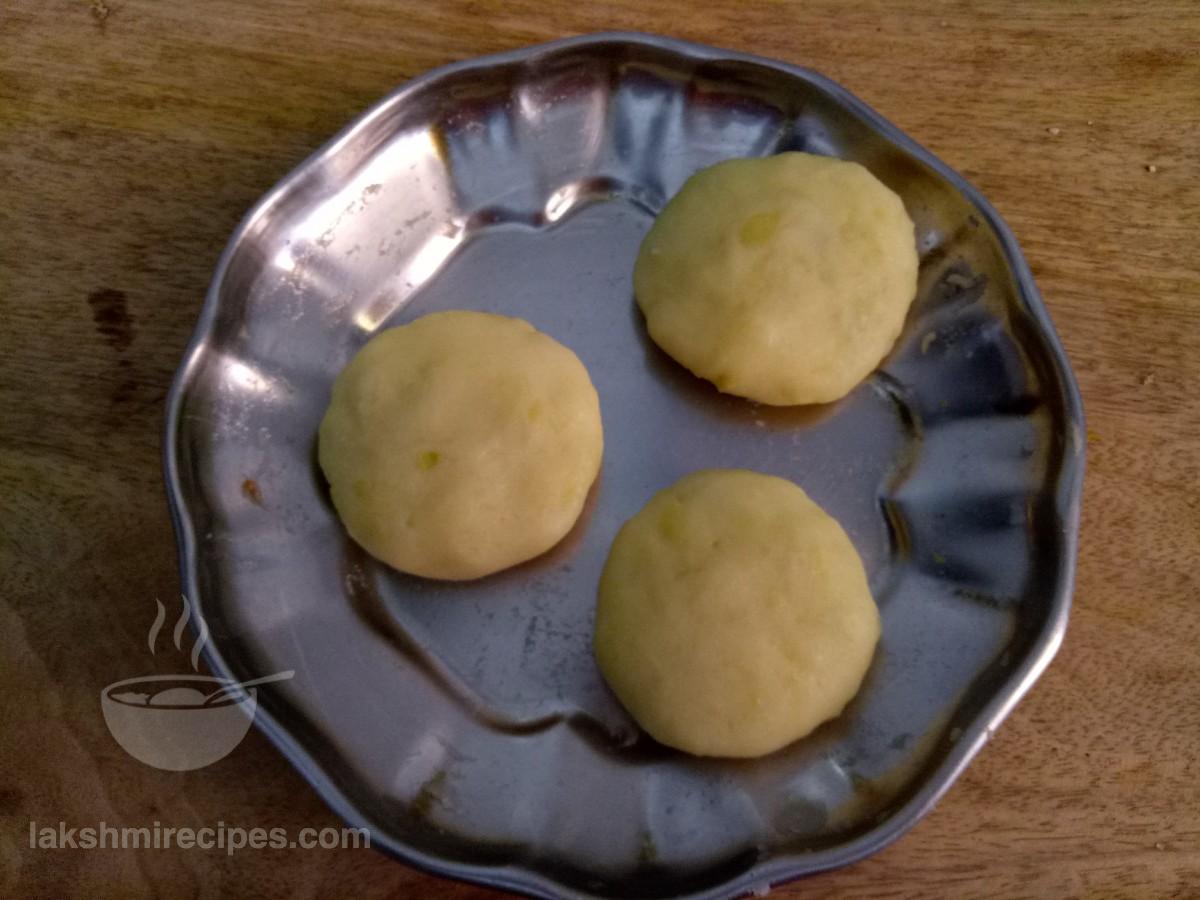
- Now make small sized tikkis of the mashed potatoes.
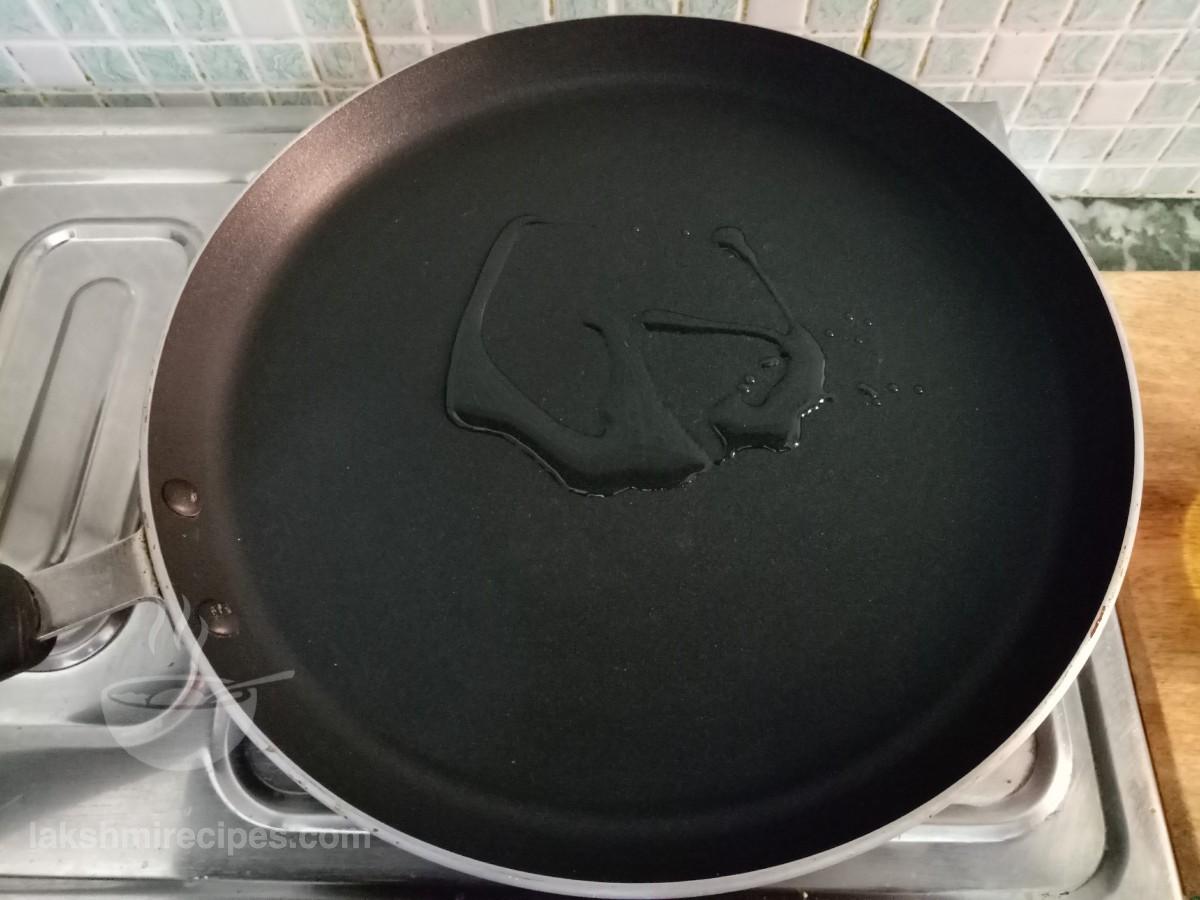
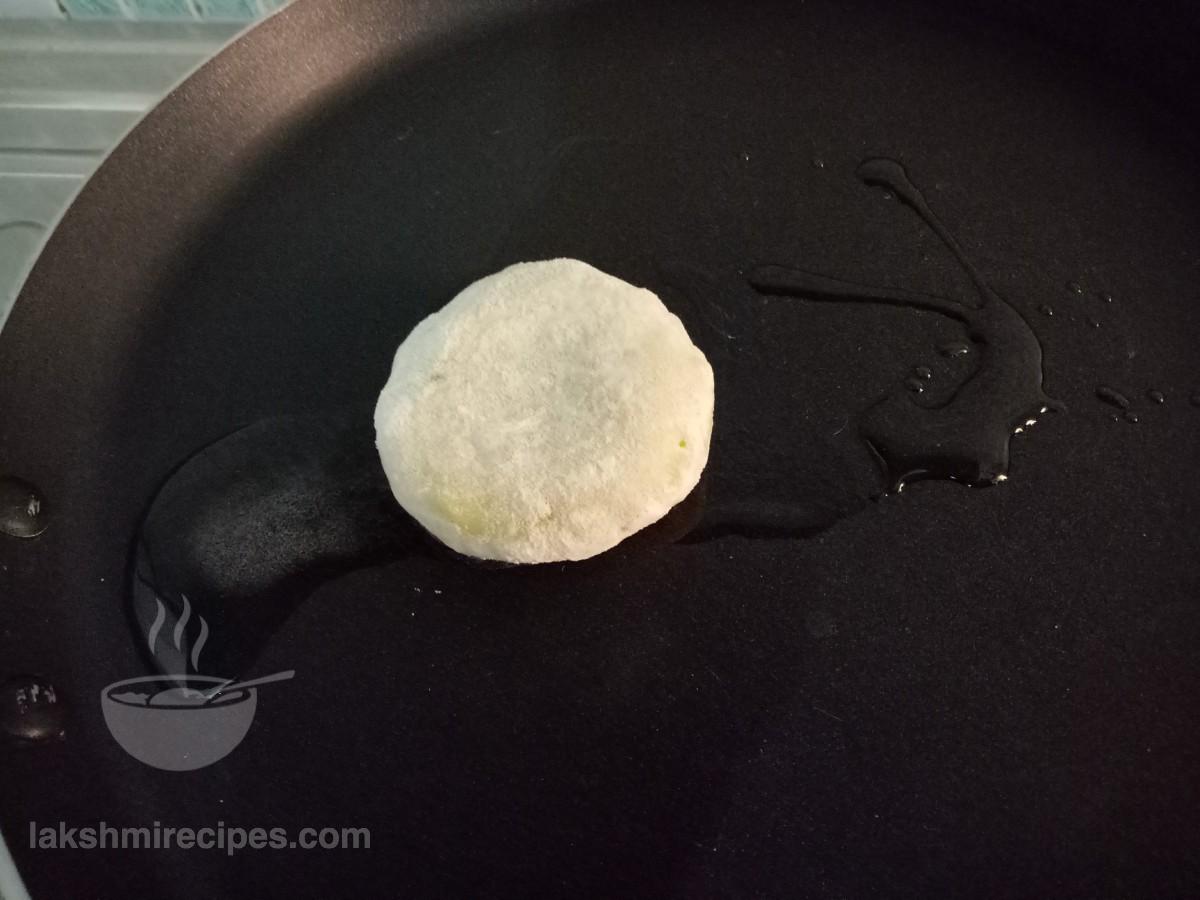
- Heat a tawa or a non-stick pan and grease it with 1 tea spoon oil.
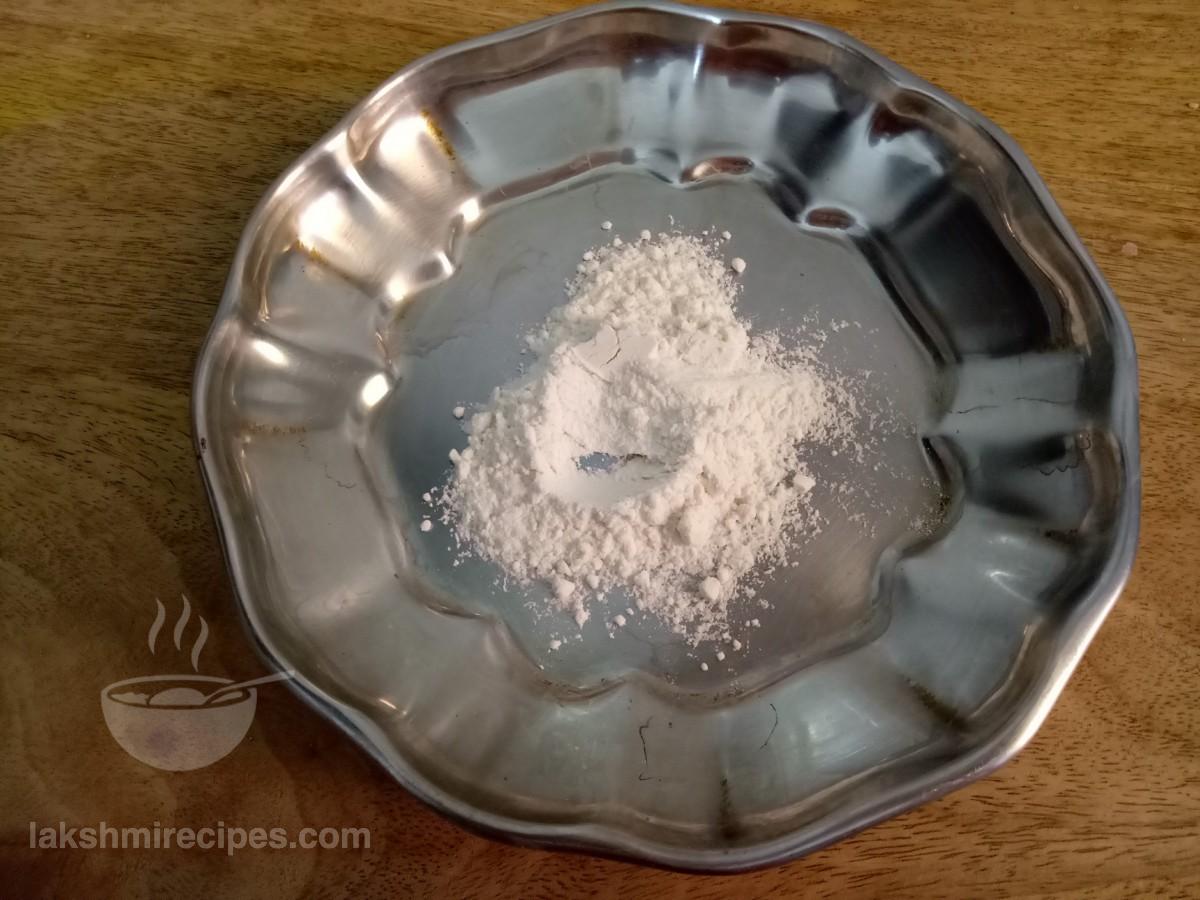
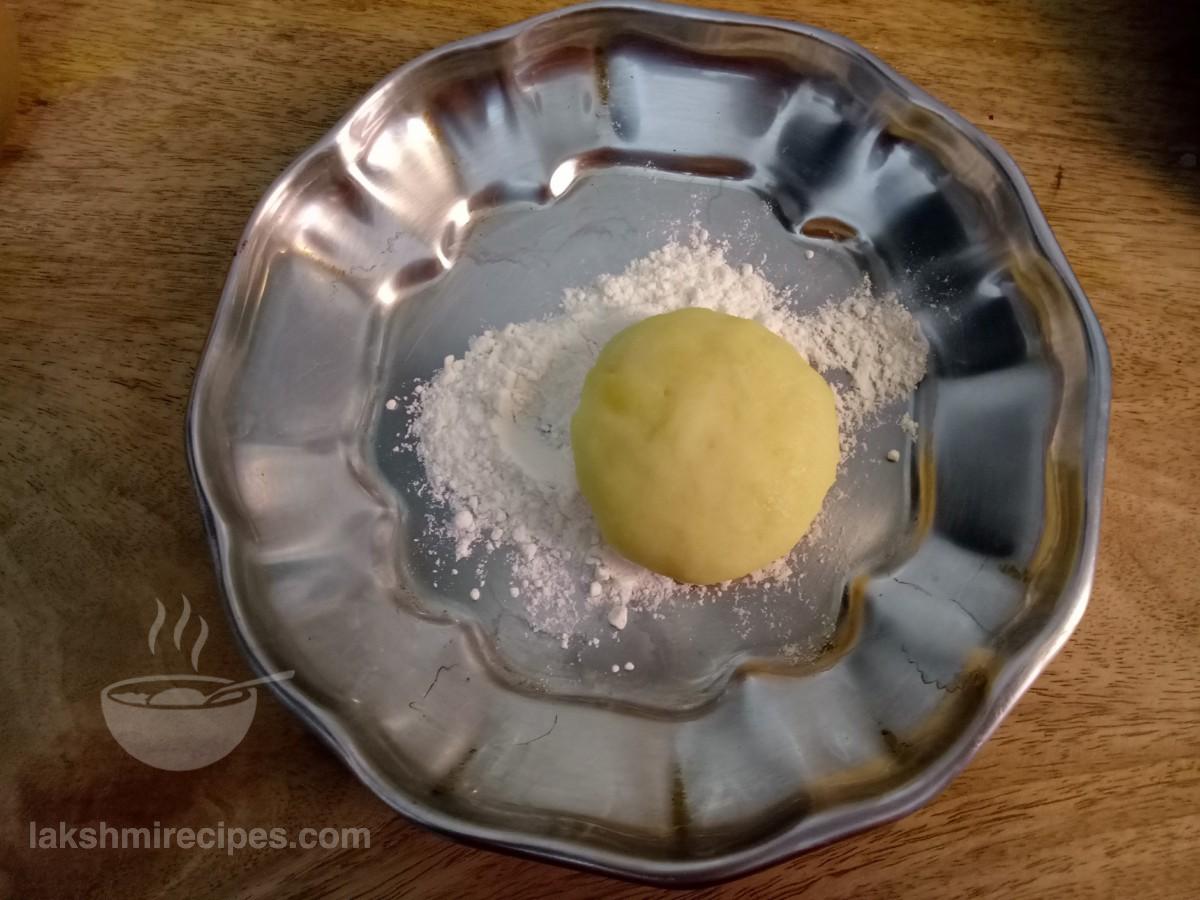
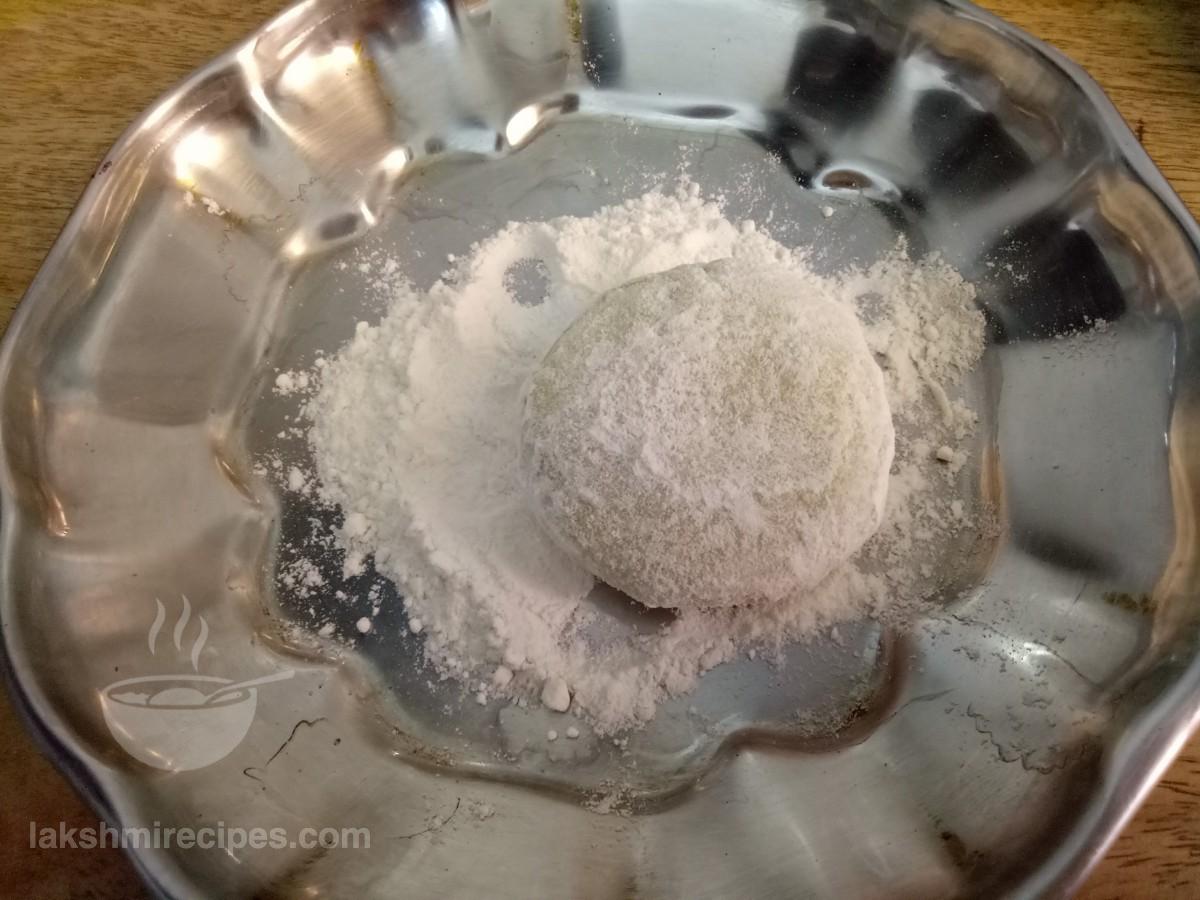
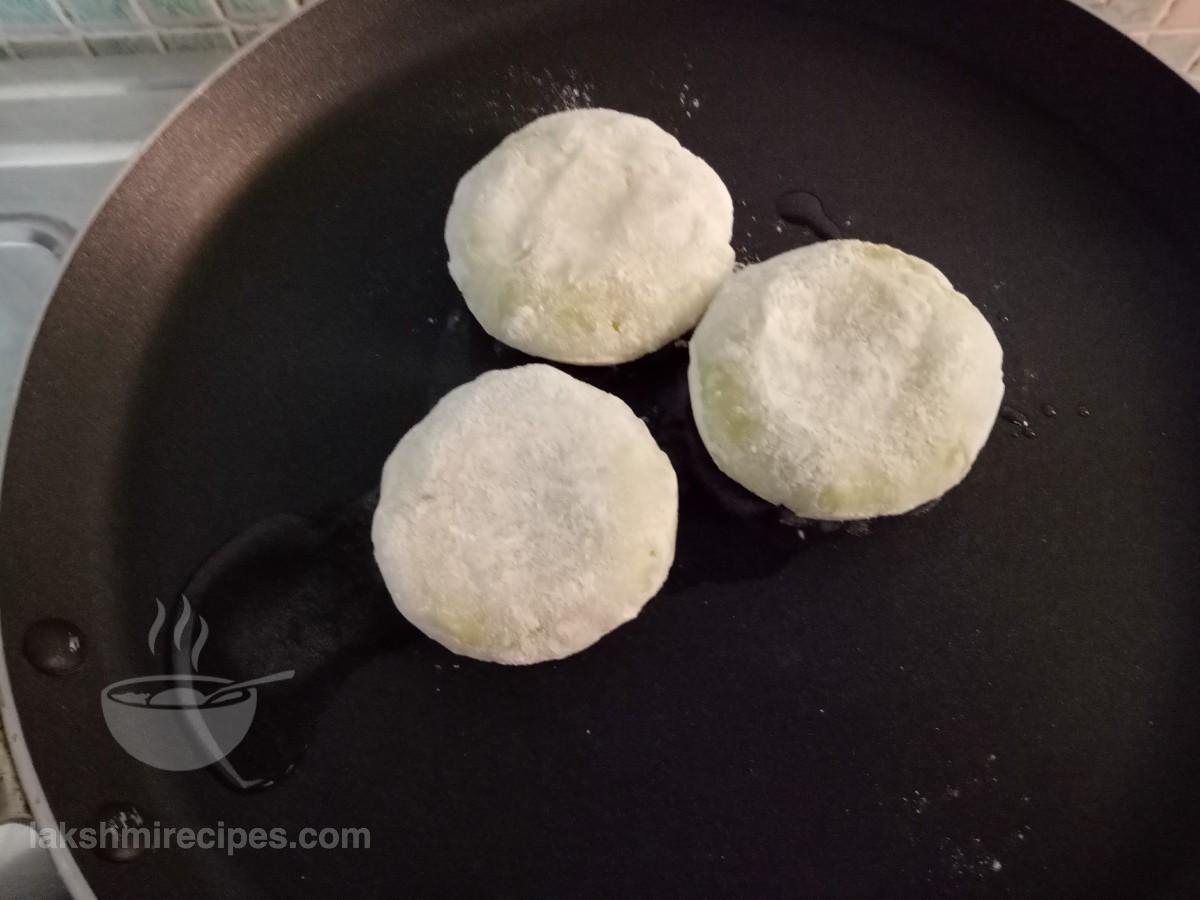
- Then take one tikki and dust it with some dry all purpose flour and place it on the tawa. Similarly dust the remaining tikkis with all purpose flour and place them on the tawa to be cooked.
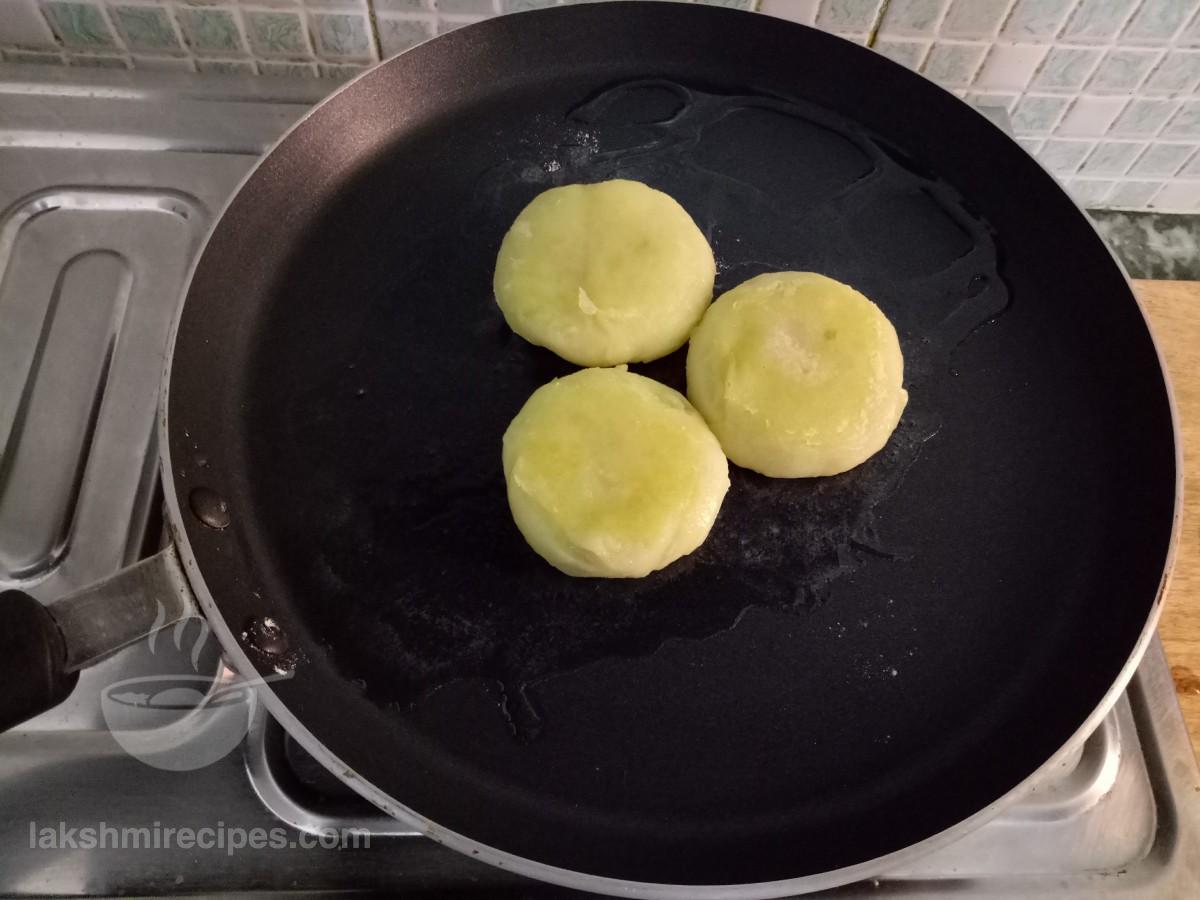
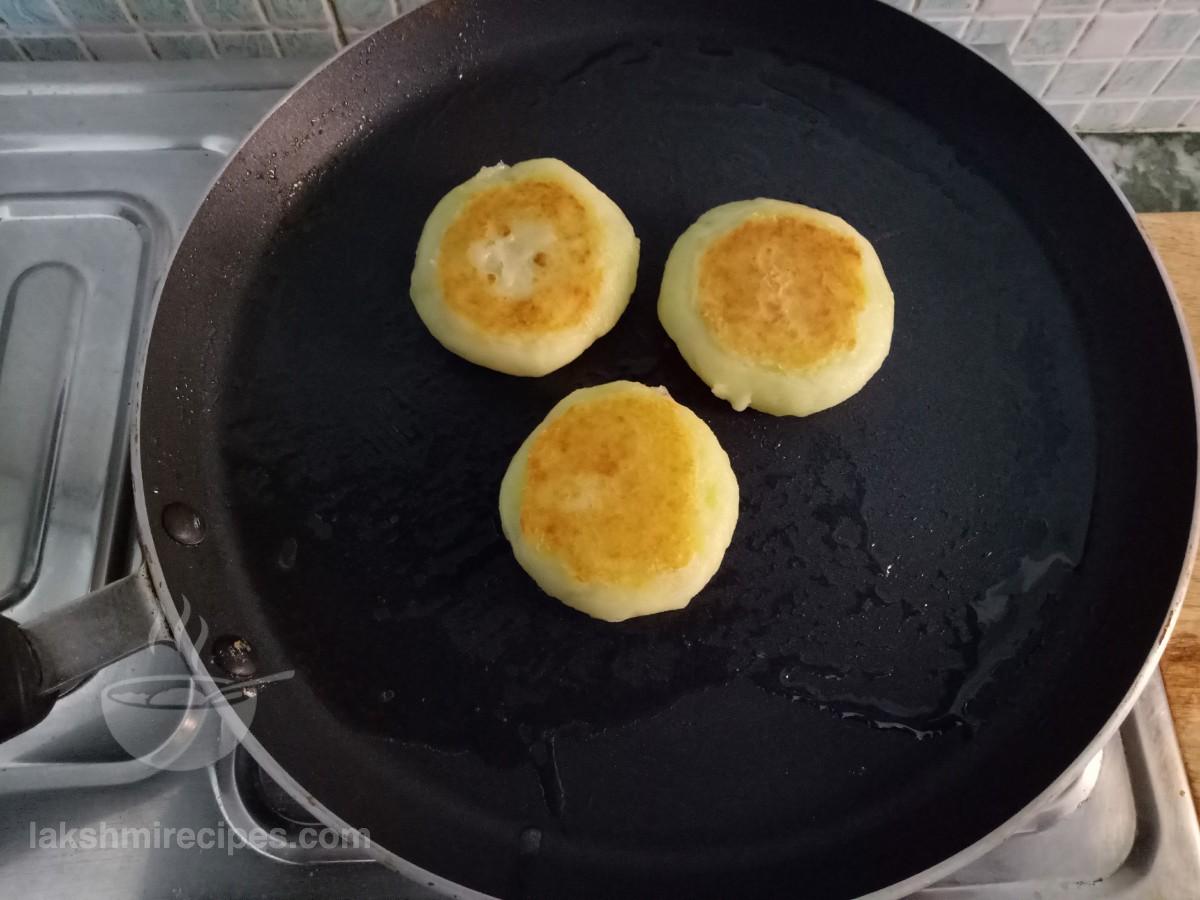
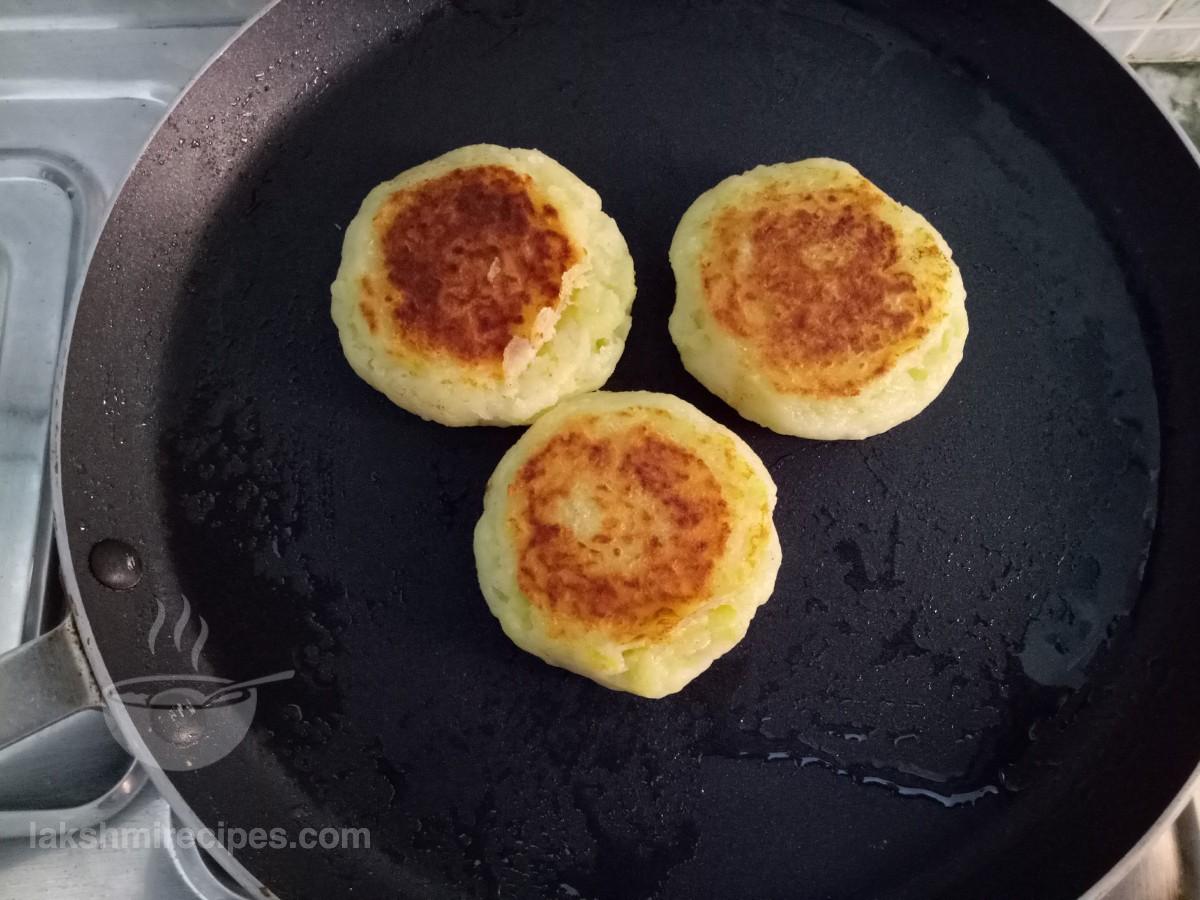
- Lower the flame to the lowest level and slowly cook the tikkis. Pour some oil if needed along the edge of the tawa. When the base turns nice crispy red then flip the tikkis to cook in the same manner on the other side.
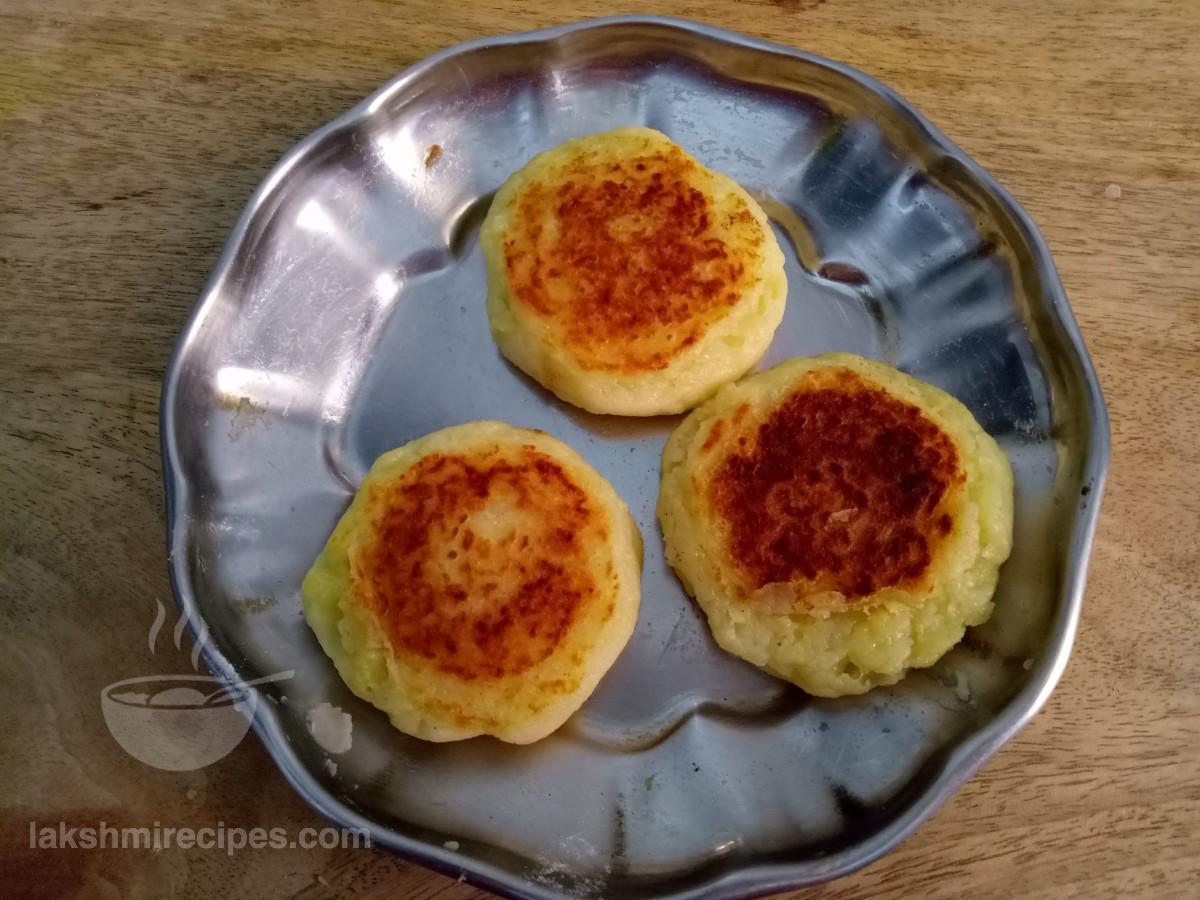
- When both the sides of the tikkis is cooked well and is nice crispy and red then transfer the tikkis to a plate to be used for making Matar-Tikki Bun.
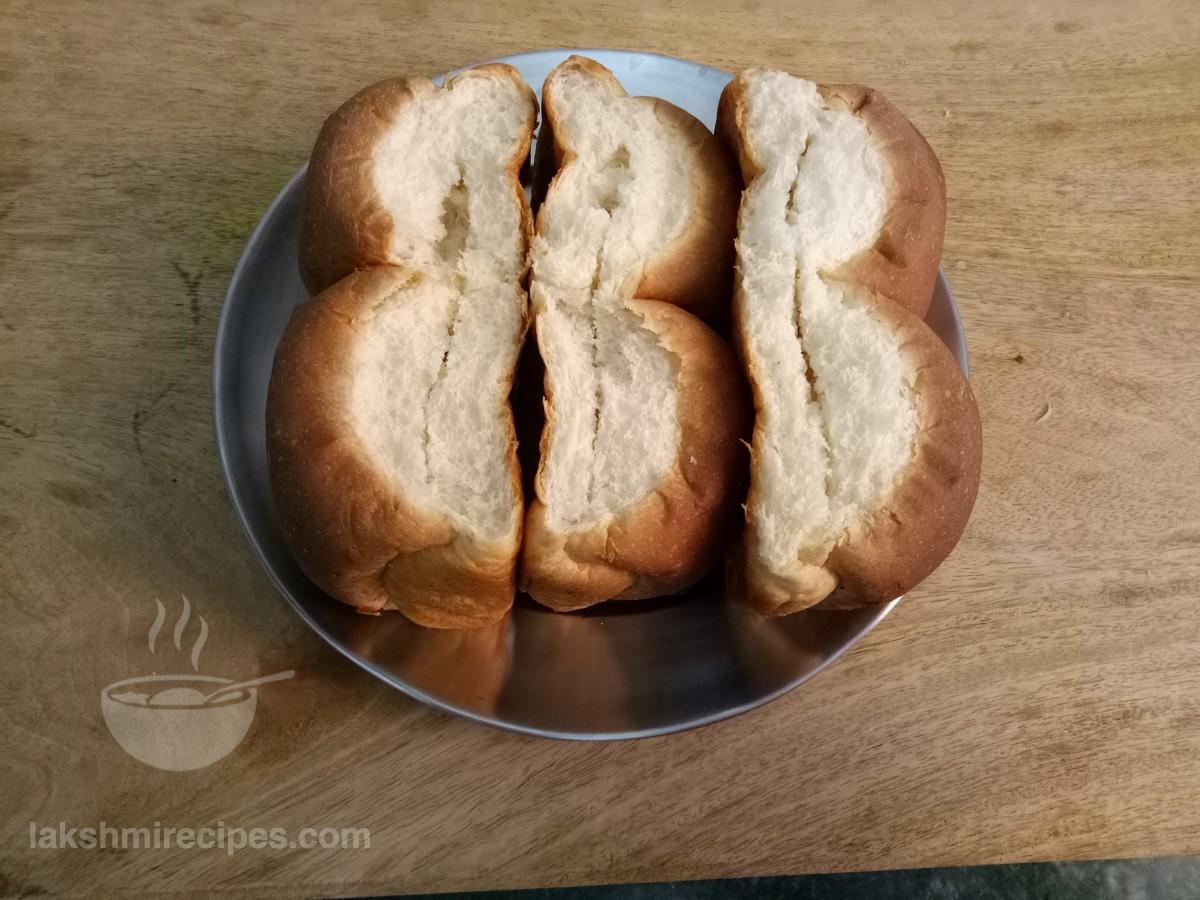
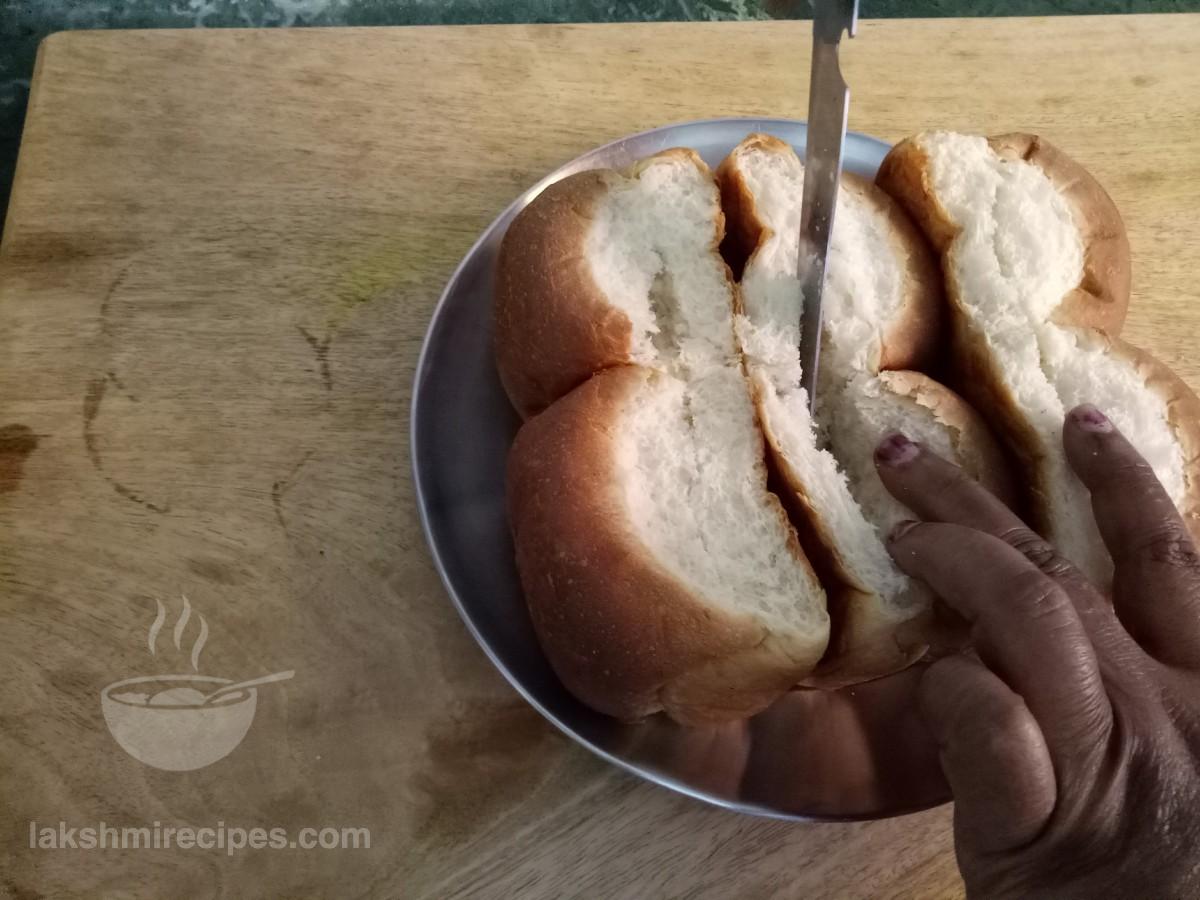
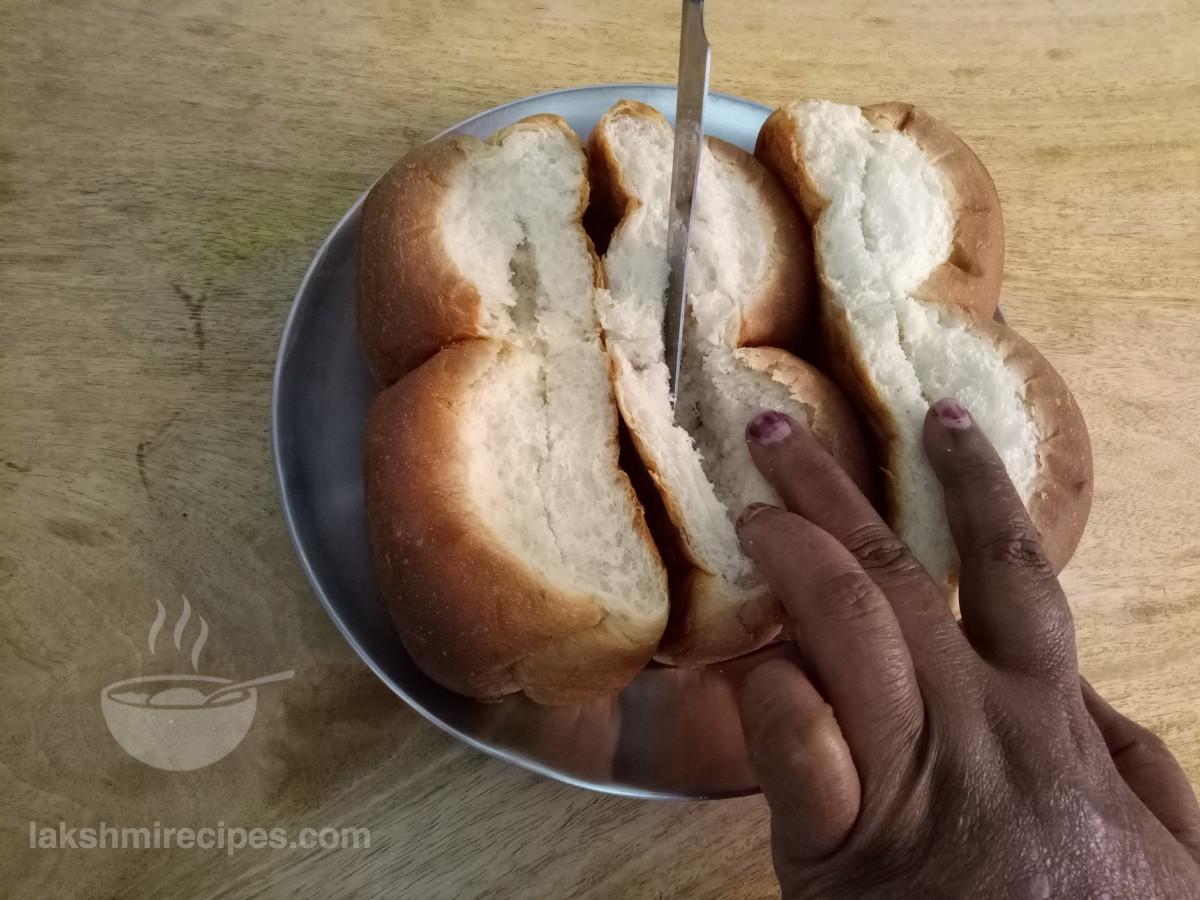
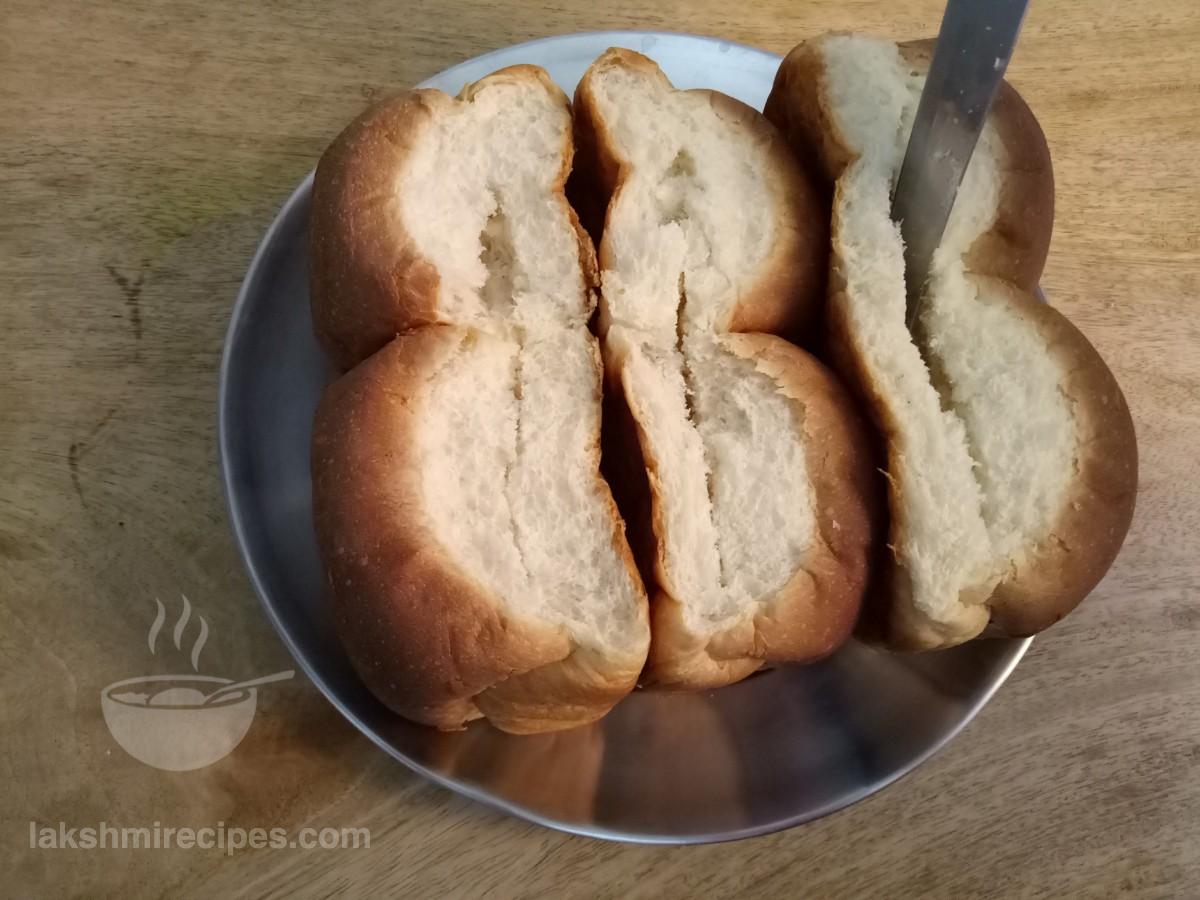
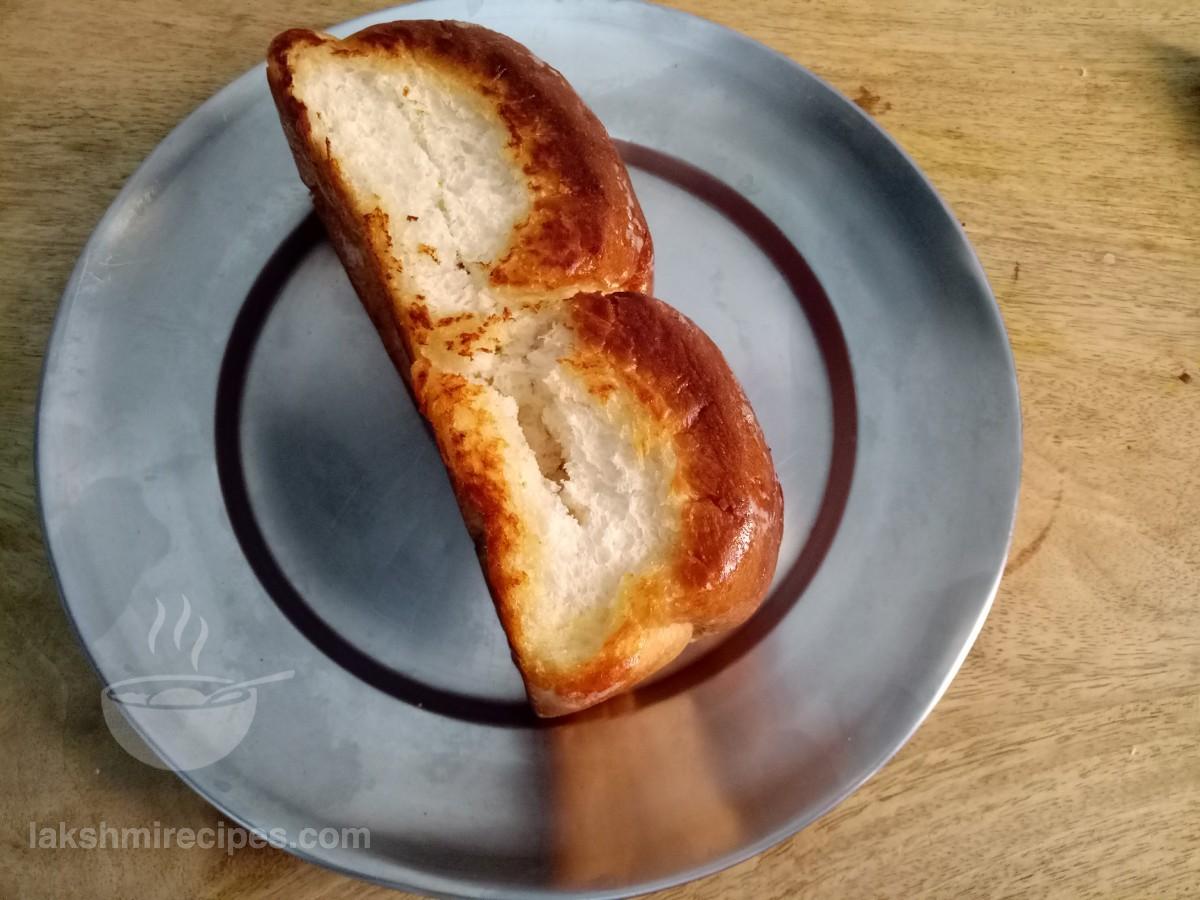
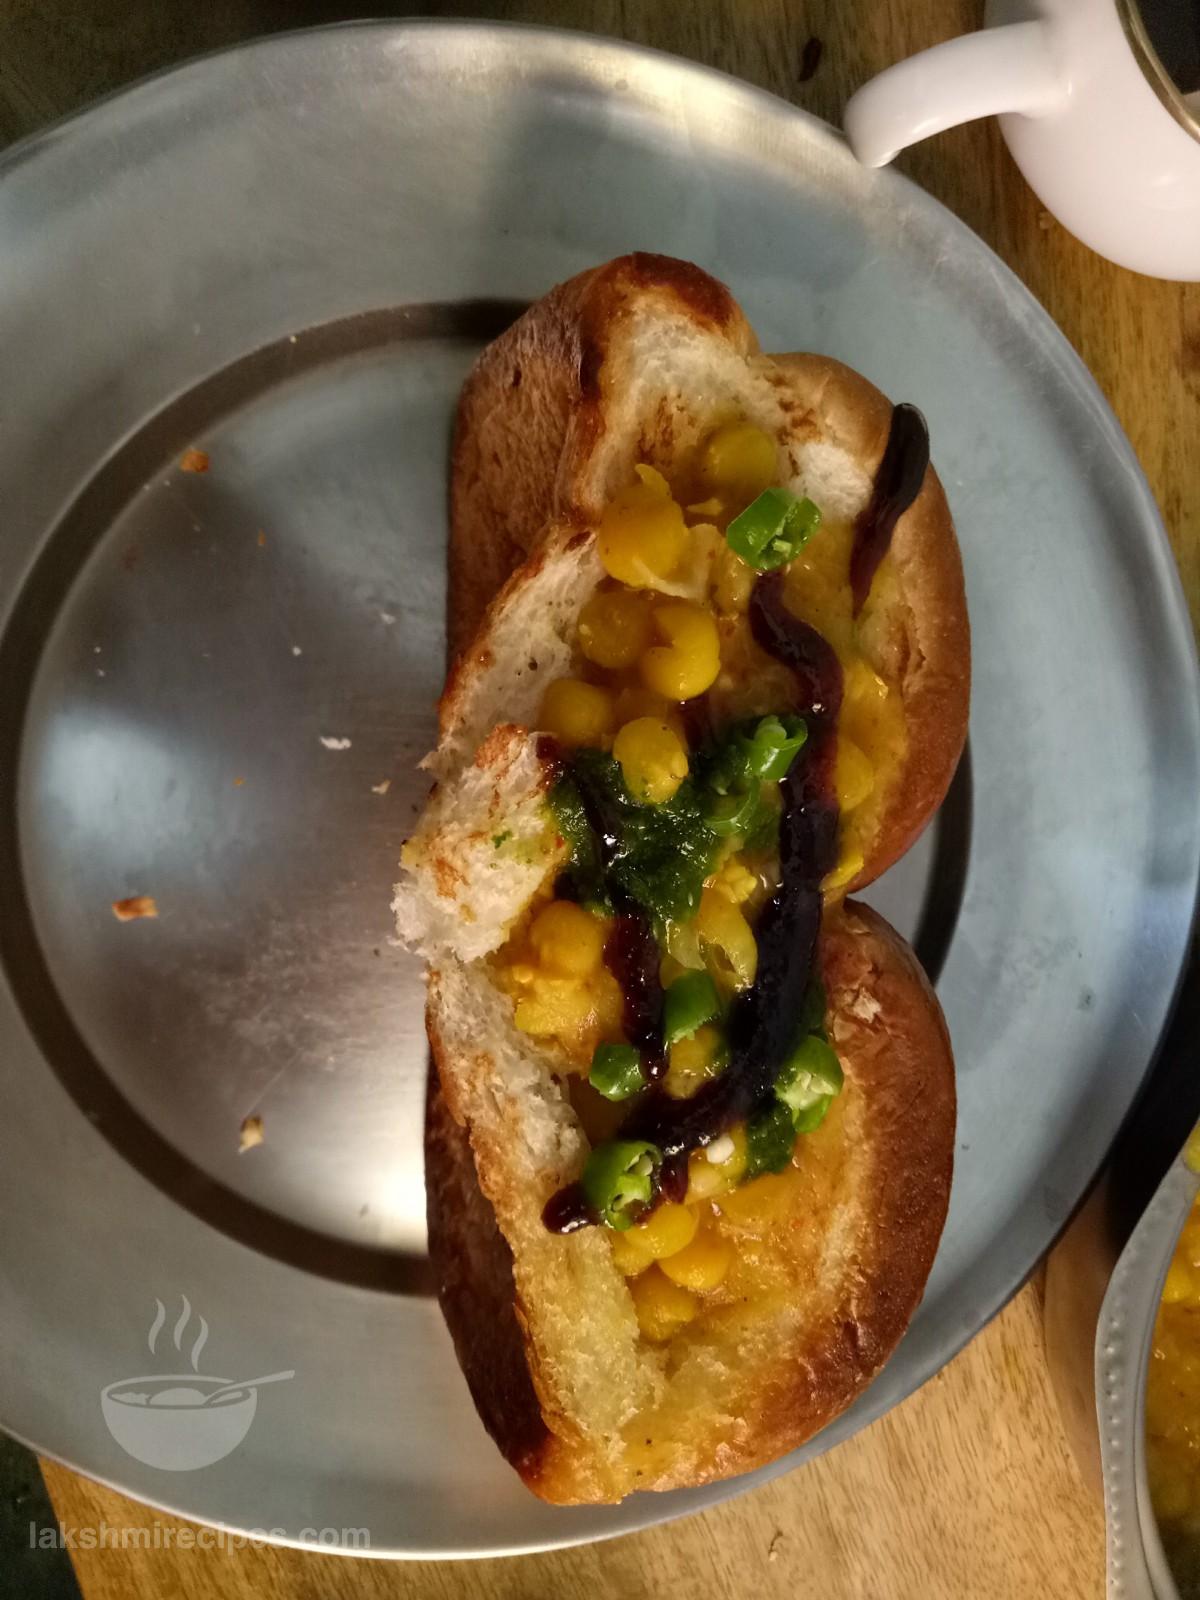
- Now finally take one vada pav bun bread and slit it open like a pocket at its center with the help of a knife (as shown in the image below). Do not cut it completely into two-halves.
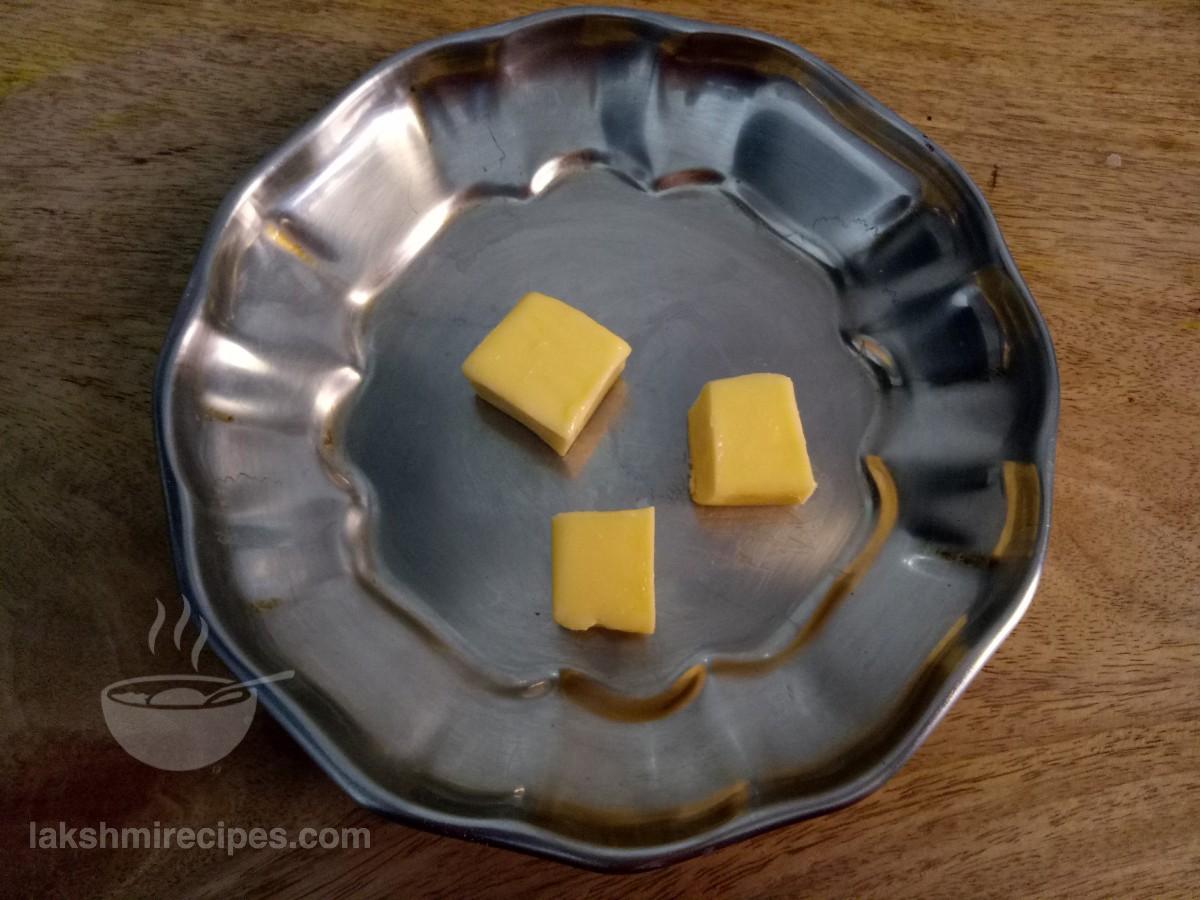
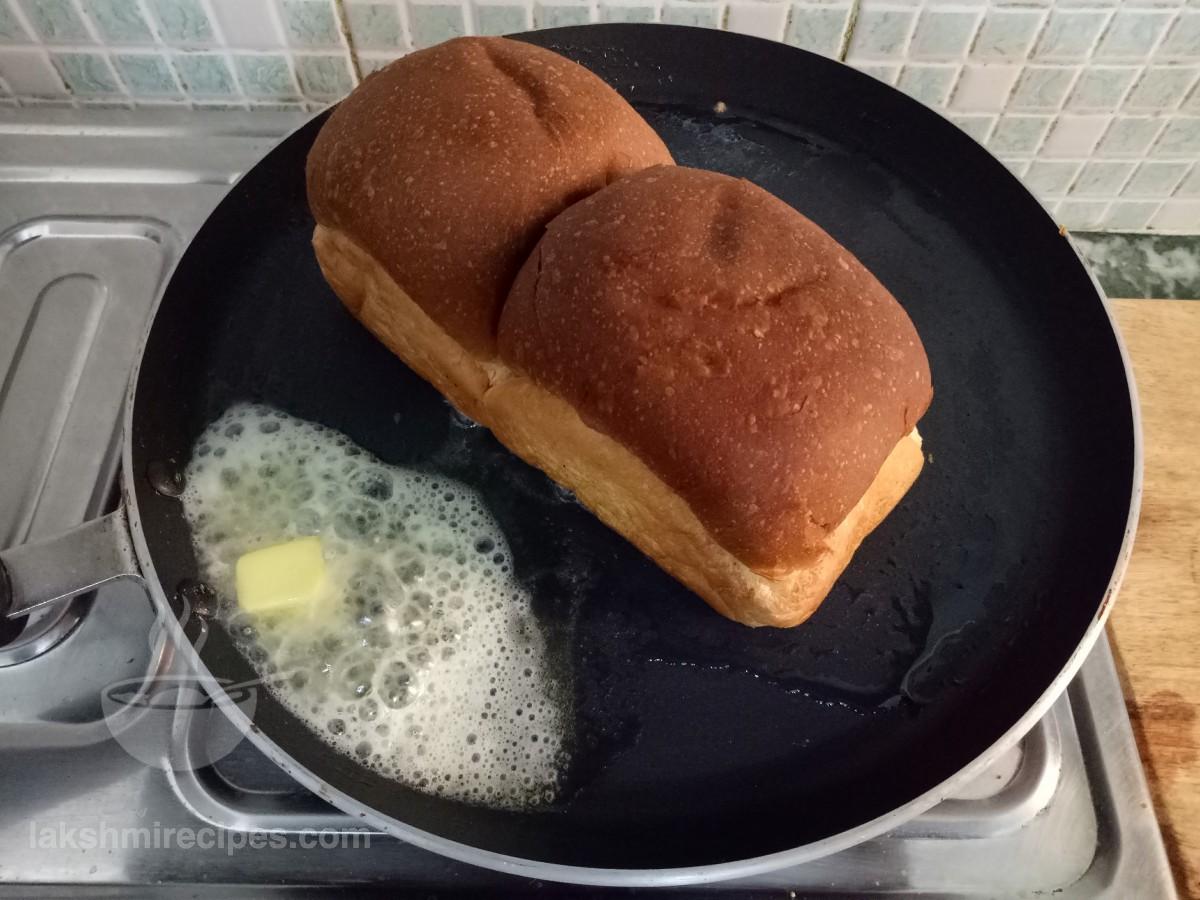
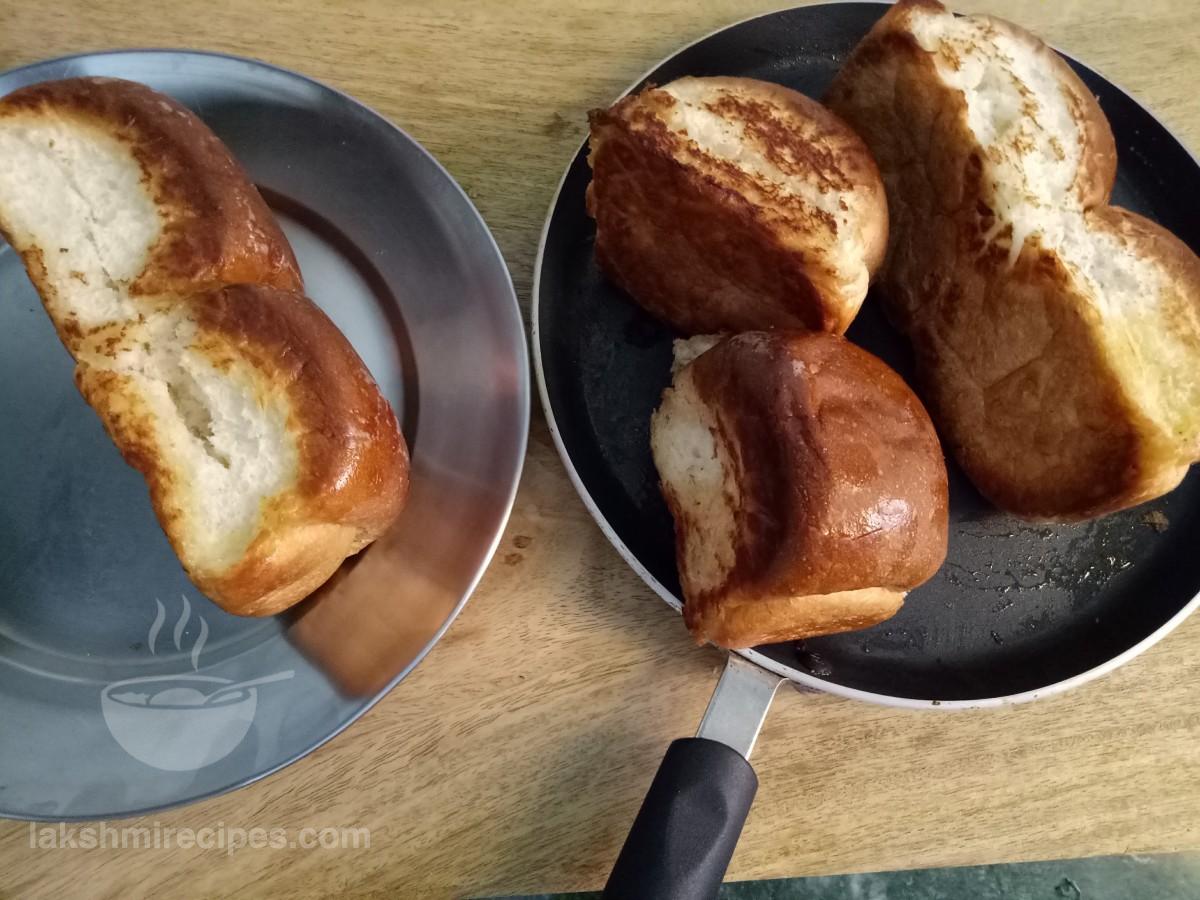
- Then toast the bun bread a little with butter on the hot tawa.
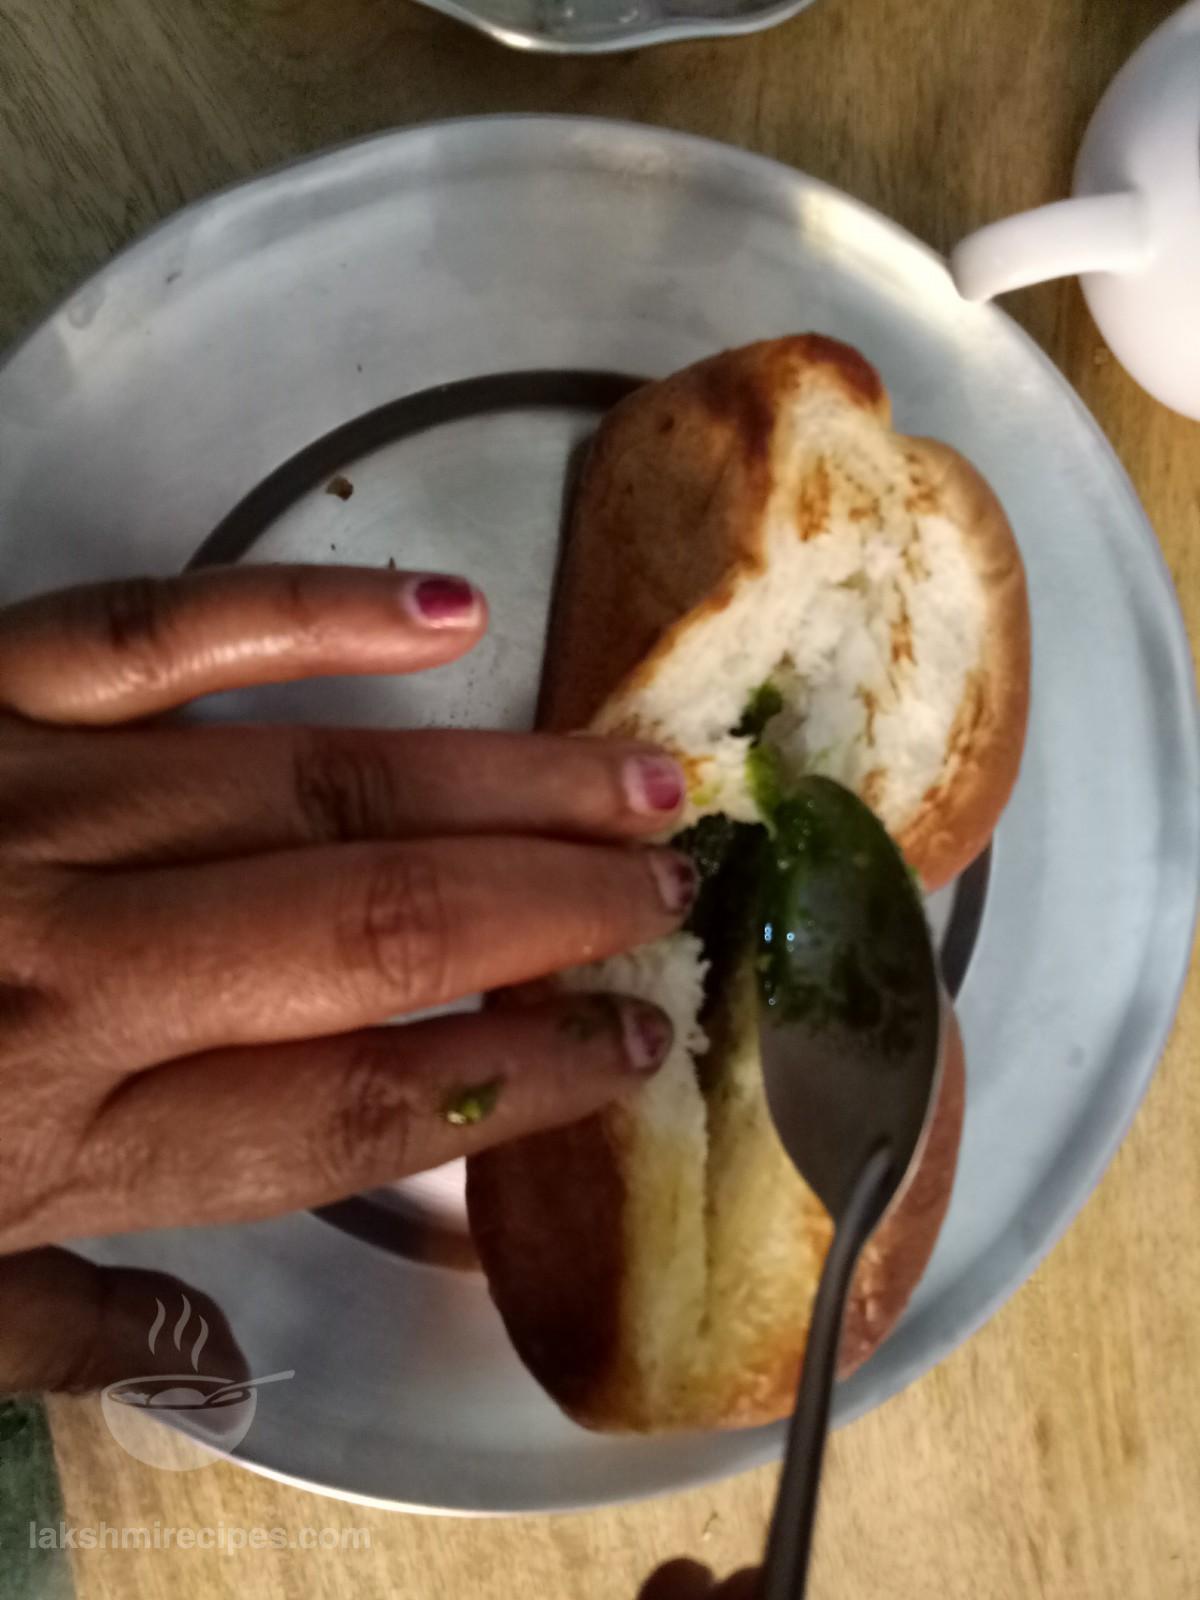
- Now take the bun bread and hold it in such a way so that you can stuff its pocket (as shown in the image below).
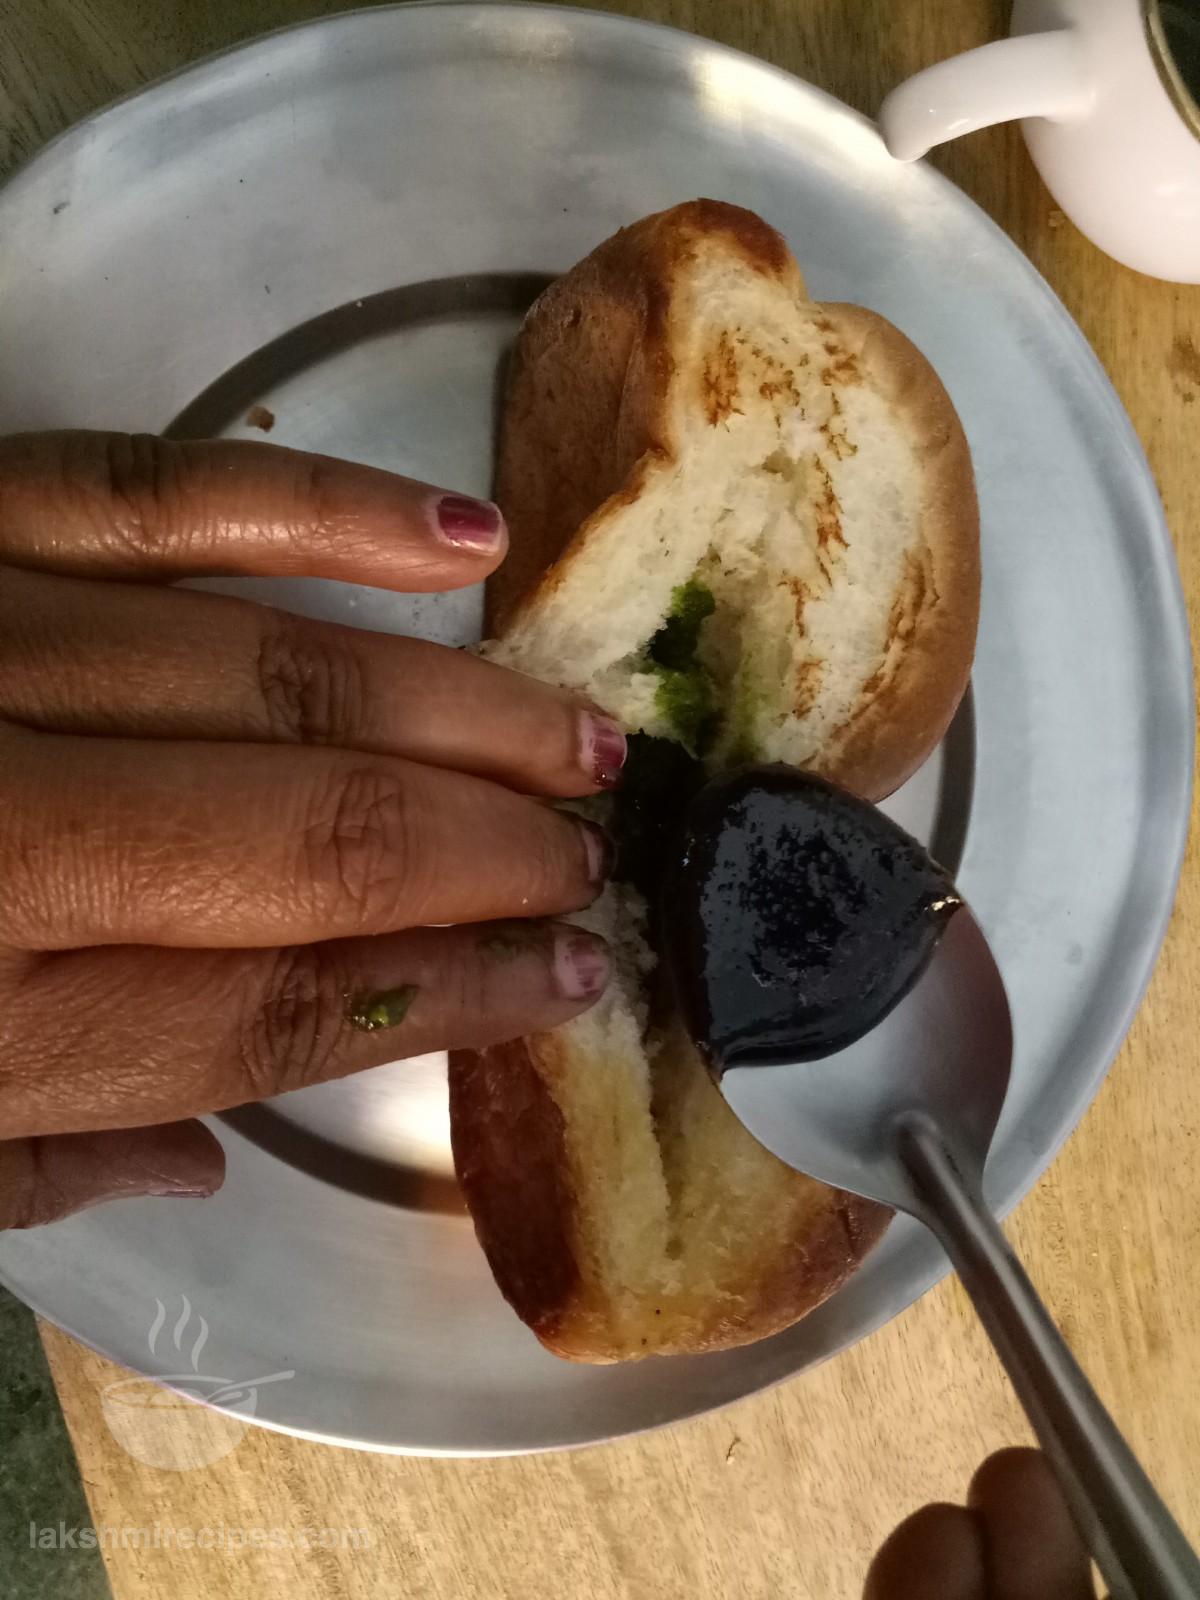
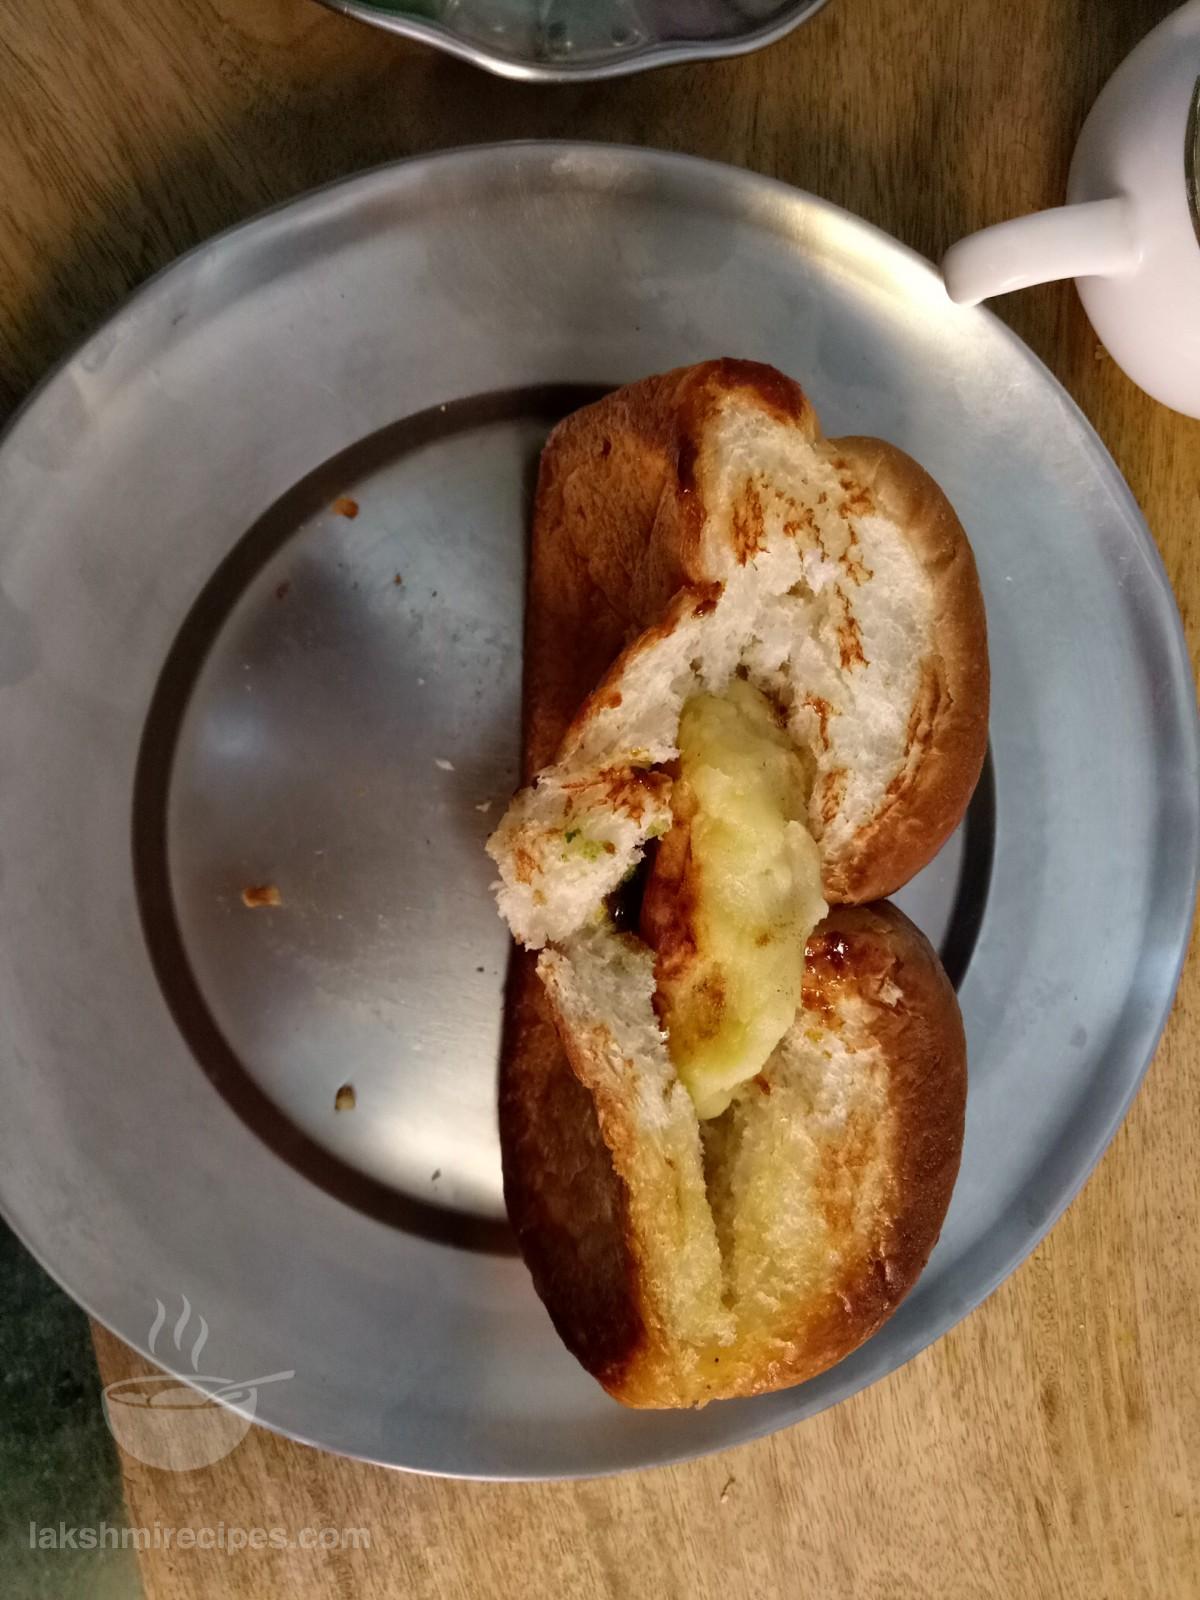
- First, put some imli ki meethi chutney and hari teekhi chutney with a spoon in it, followed by one aloo tikki.
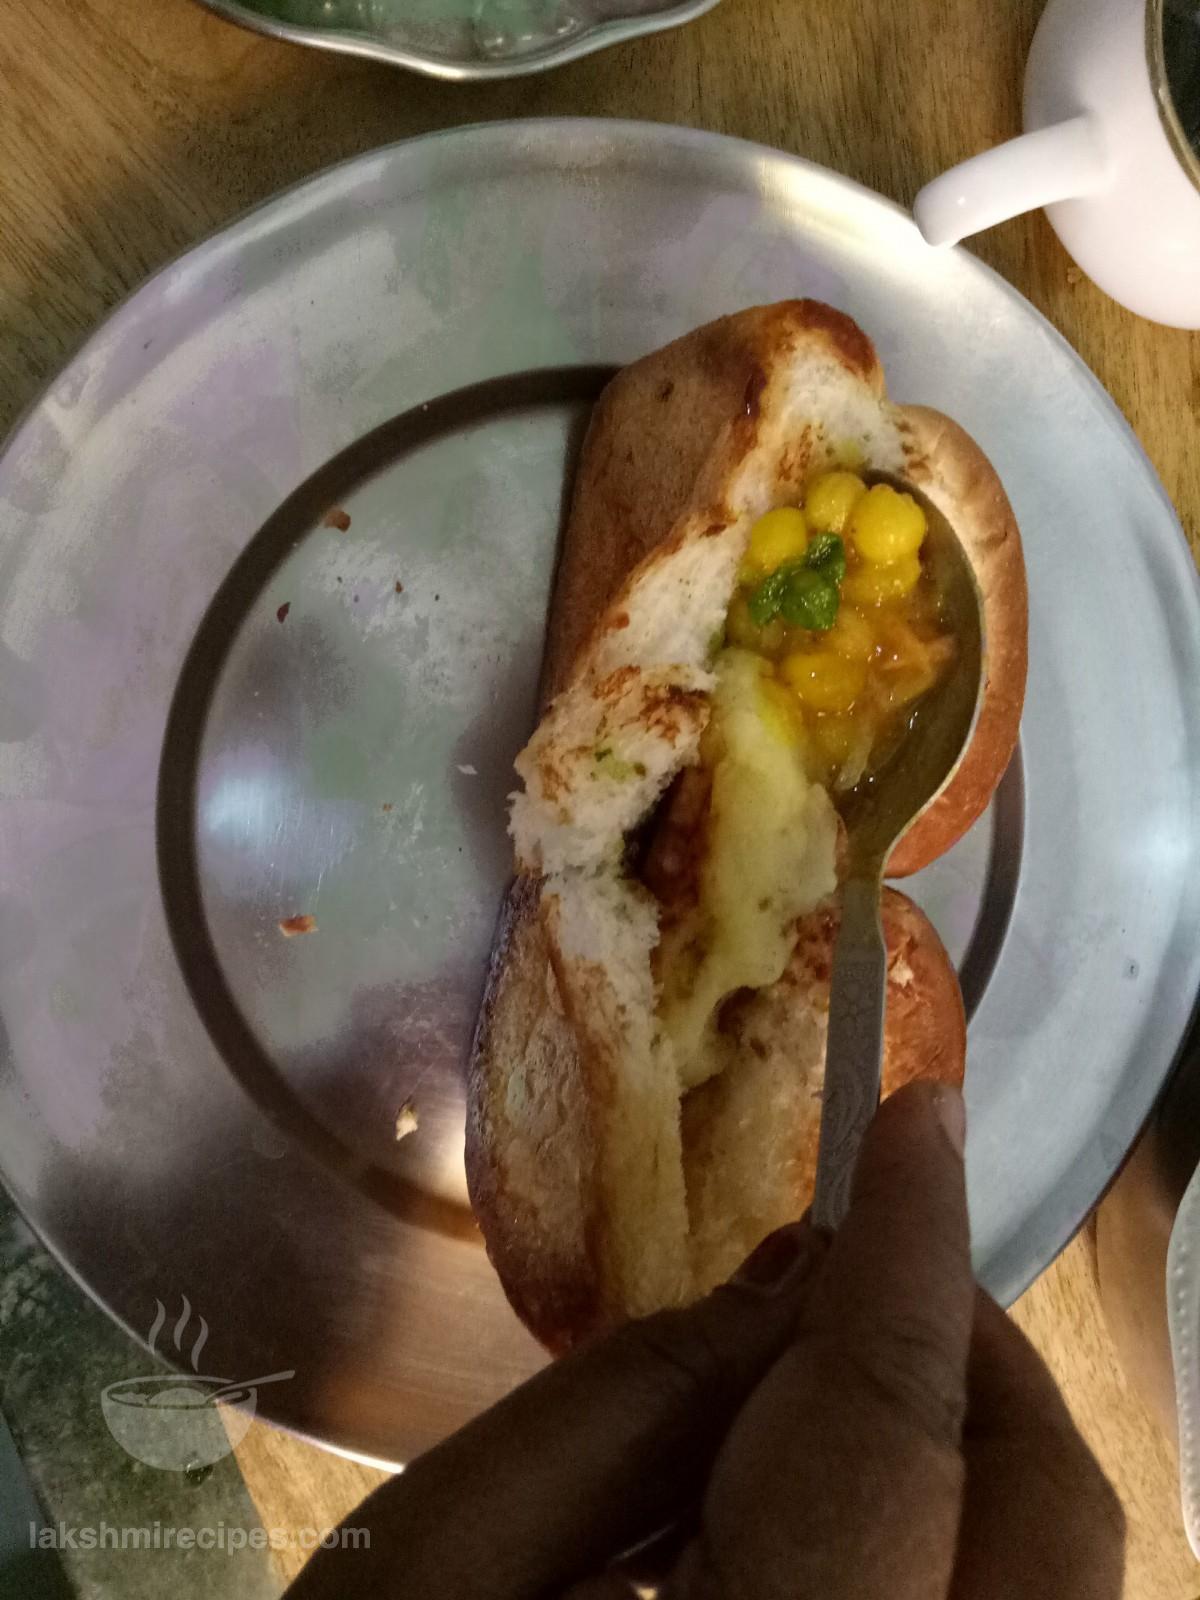
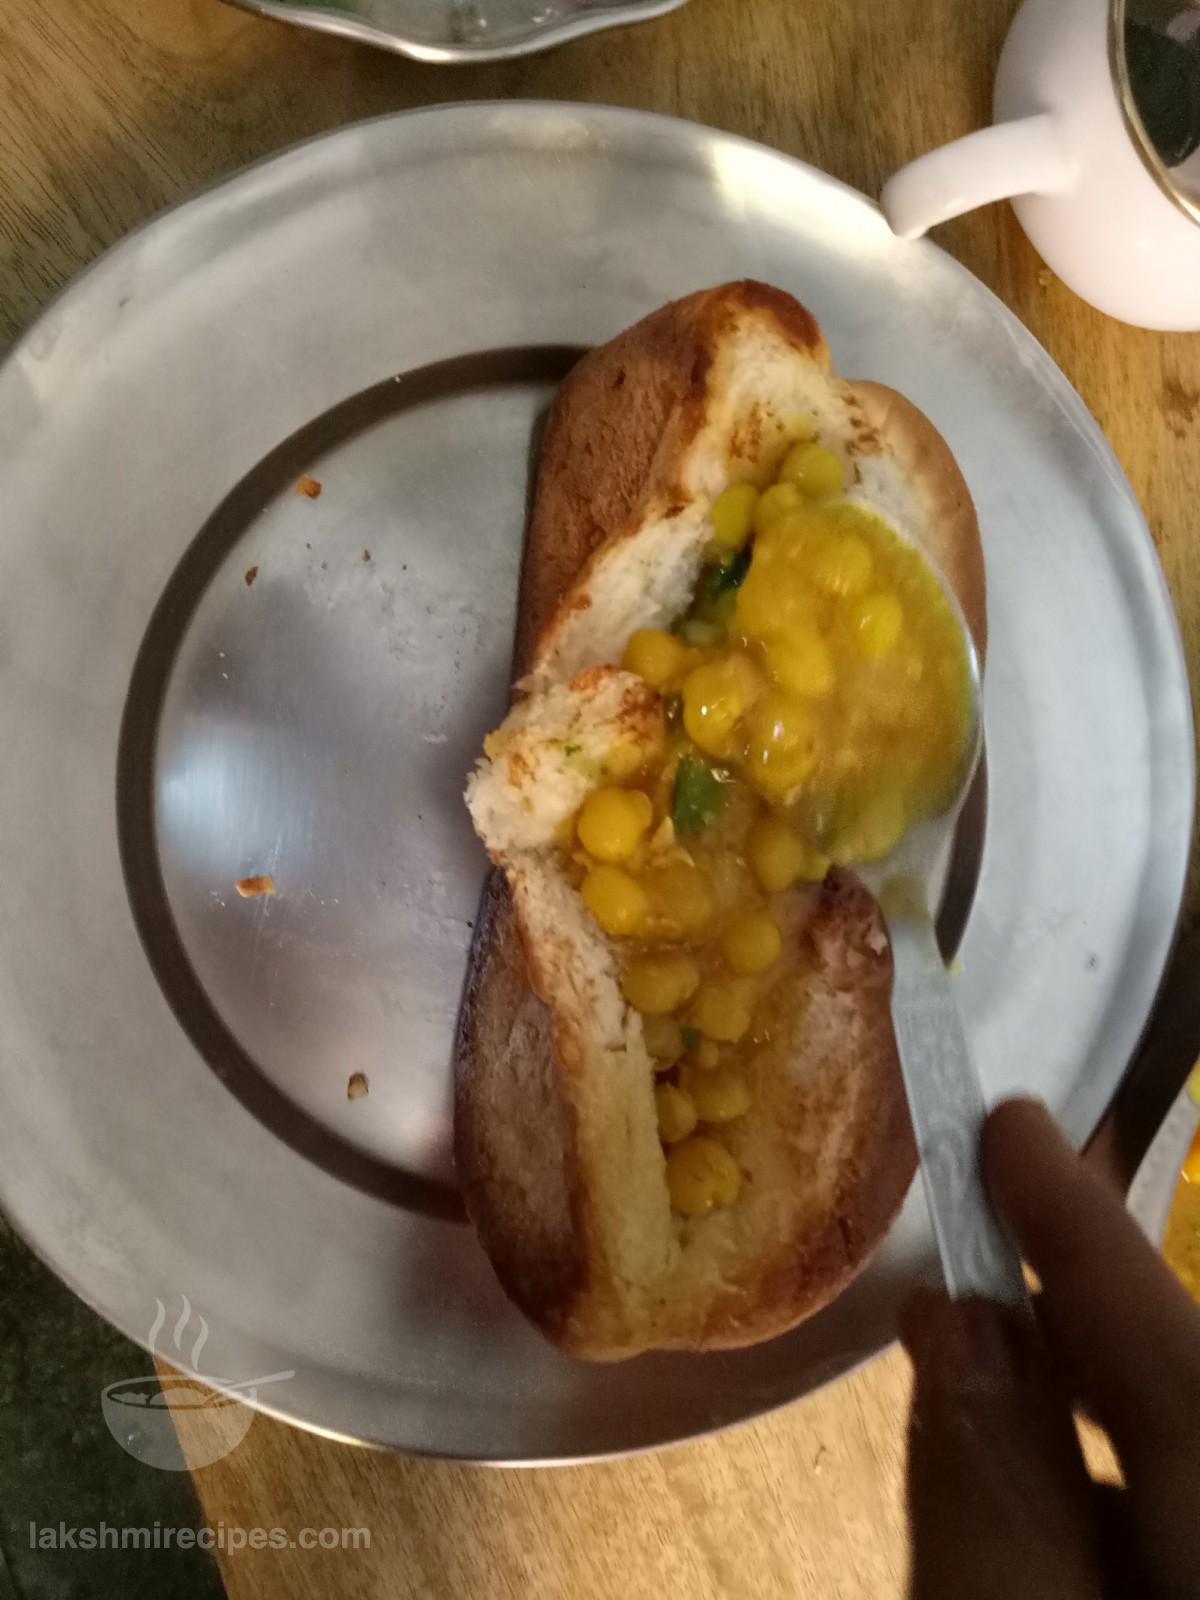
- Now add some matar ka chhola over it and stuff it in the pocket of the bread bun nicely, wi the spoon.
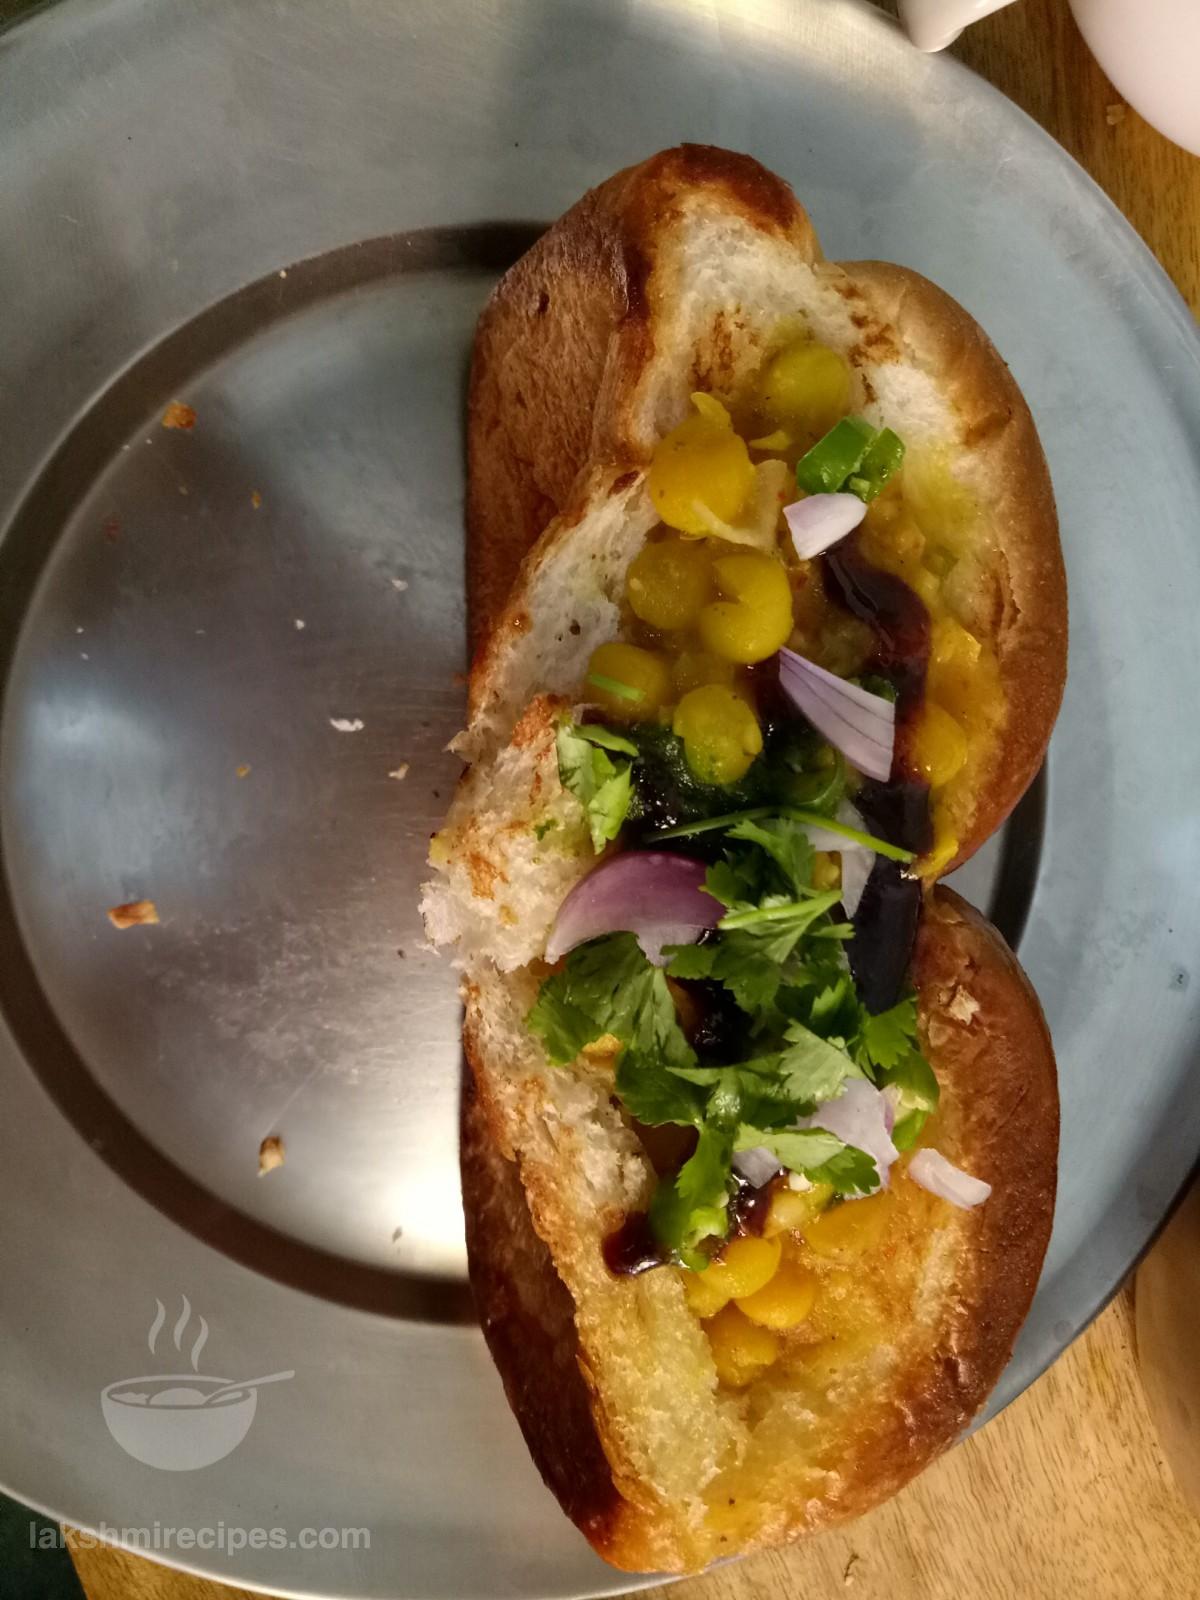
- Then sprinkle some finely chopped onion, green chilli, coriander leaves, red chilli powder and chaat masala powder over it.
- Again add imli ki meethi chutney and hari teekhi chutney with a spoon over it and serve hot.
मटर-टिककी बन बनाने की प्रक्रिया:
- मटर का छोला बनाने की तैयारी:
- सबसे पहले, मटर का छोला को तैयार करने के लिए, सबसे पहले भीगी हुई मटर को सादे पानी से अच्छी तरह से धो लें और फिर उन्हें प्रेशर कुकर में डालें।
- कुकर में 1.5 छोटा कप पानी, हल्दी पाउडर और नमक जोड़ें और मटर को एक सीटी आने तक तेज आँच पकाएं।
- 1 सीटी के बाद आँच को मध्यम स्तर तक कम करें और 15 मिनट के लिए इस तरह से पकाएं।
- 15 मिनट के बाद आँच बंद करें। जब प्रेशर कुकर अपने आप ठंडा होकर और खुल जाए, तो मटर के छोला को एक गहरे बर्तन में निकाल लें और इसे गैस स्टोव पर रखें। याद रखें कि आँच धीमी होनी चाहिए।
- अब इसमें लाल मिर्च पाउडर, चाट मसाला पाउडर, बारीक कटा हुआ प्याज, अदरक, हरी मिर्च और धनिया पत्ती डालें।
- अच्छी तरह से सभी सामग्री को मिलाएं।
- फिर 1/2 नींबू का रस इसमें जोड़ें और चम्मच के साथ से नमक चखकर देख लें। यदि आवश्यक हो तो और नमक जोड़ें, और सामग्री को मिलाएं। मटर का छोला, मटर-टिककी बन बनाने के लिए इस्तेमाल करने के लिए तैयार है। जब तक आप टिककी तैयार करते हैं तब तक इसे कम आँच पर गैस स्टोव पर छोड़ दें, ताकि यह इस्तेमाल होने तक गरम रहे।
- आलू टिक्की बनाने की तैयारी:
- अगले चरण में 3 बड़े आकार के उबले हुए आलू लें और उन्हें छील लें।
- फिर स्वाद के अनुसार नमक जोड़ें और उबले हुए आलू को अच्छी तरह मसल कर चिकना करें (मैश करें)।
- अब मैश किए हुए आलू की छोटे आकार के टिक्की बनाएं।
- एक तवा या नॉन-स्टिक पैन गरम करें और इस पर 1 छोटी चम्मच तेल डालकर फैला दें।
- अब एक टिक्की लें और इसपर थोड़ा मैदा छिड़क कर इसे गरम तवा पर रखें। इसी प्रकार शेष टिक्की भी तैयार करें और उन्हें तवा पर रखकर पकाएं।
- आँच को कम ही आँच और टिक्की को धीरे-धीरे पकाएं। जरूरत पड़ने पर थोड़ा तेल तवा पर घुमा कर डालें जब टिक्की नीचे कि तरफ अच्छे से लाल होजाए तो दूसरी तरफ उसी तरीके से पकाने के लिए टिक्की को पलट दें।
- जब टिक्की के दोनों तरफ से अच्छी तरह से पक जाए है और लाल होजाए तो टिक्की को एक प्लेट में निकाल लें।
- अब अंत में एक वडा पाव बन लें और इसके बीच में एक चाकू की मदद से चीरा लगाएं। बन को इस जगह से एक जेब की तरह खोलें (जैसा कि नीचे की छवि में दिखाया गया है)। इसे पूरी तरह से दो हिस्सों में नहीं काटना है।
- फिर गर्म तावा पर मक्खन लगाकर बन को थोड़ा सेक लें।
- अब एक सेका हुआ बन लें और इसे इस तरह से पकड़ लें ताकि आप उसकी जेब में मटर का छोला, टिक्की और अन्य सामग्री डाल सकें (जैसा कि नीचे की छवि में दिखाया गया है)।
- सबसे पहले, थोड़ी इमली की मीठी चटनी और हरि तीखी चटनी को इसमें चम्मच से डालें। उसके बाद बन में एक आलू टिक्की डालें।
- अब इसमें चम्मच से दबा-दबाके थोड़ा मटर का छोला डालें।
- फिर थोड़ा बारीक कटा हुआ प्याज, हरी मिर्च और धनिया पत्ती, लाल मिर्च पाउडर और चाट मसाला पाउडर को ऊपर से छिड़क दें।
- फिर थोड़ी इमली की मीठी चटनी और हरि तीखी चटनी को इसके ऊपर डालें और गरमा-गरम परोसें।
(Tips: Remember that both matar ka chhola and aloo tikki shuld be hot while stuffing them in the pocket of bun bread)


SHARE YOUR FEEDBACK